Topographic Carving of the Family Farm
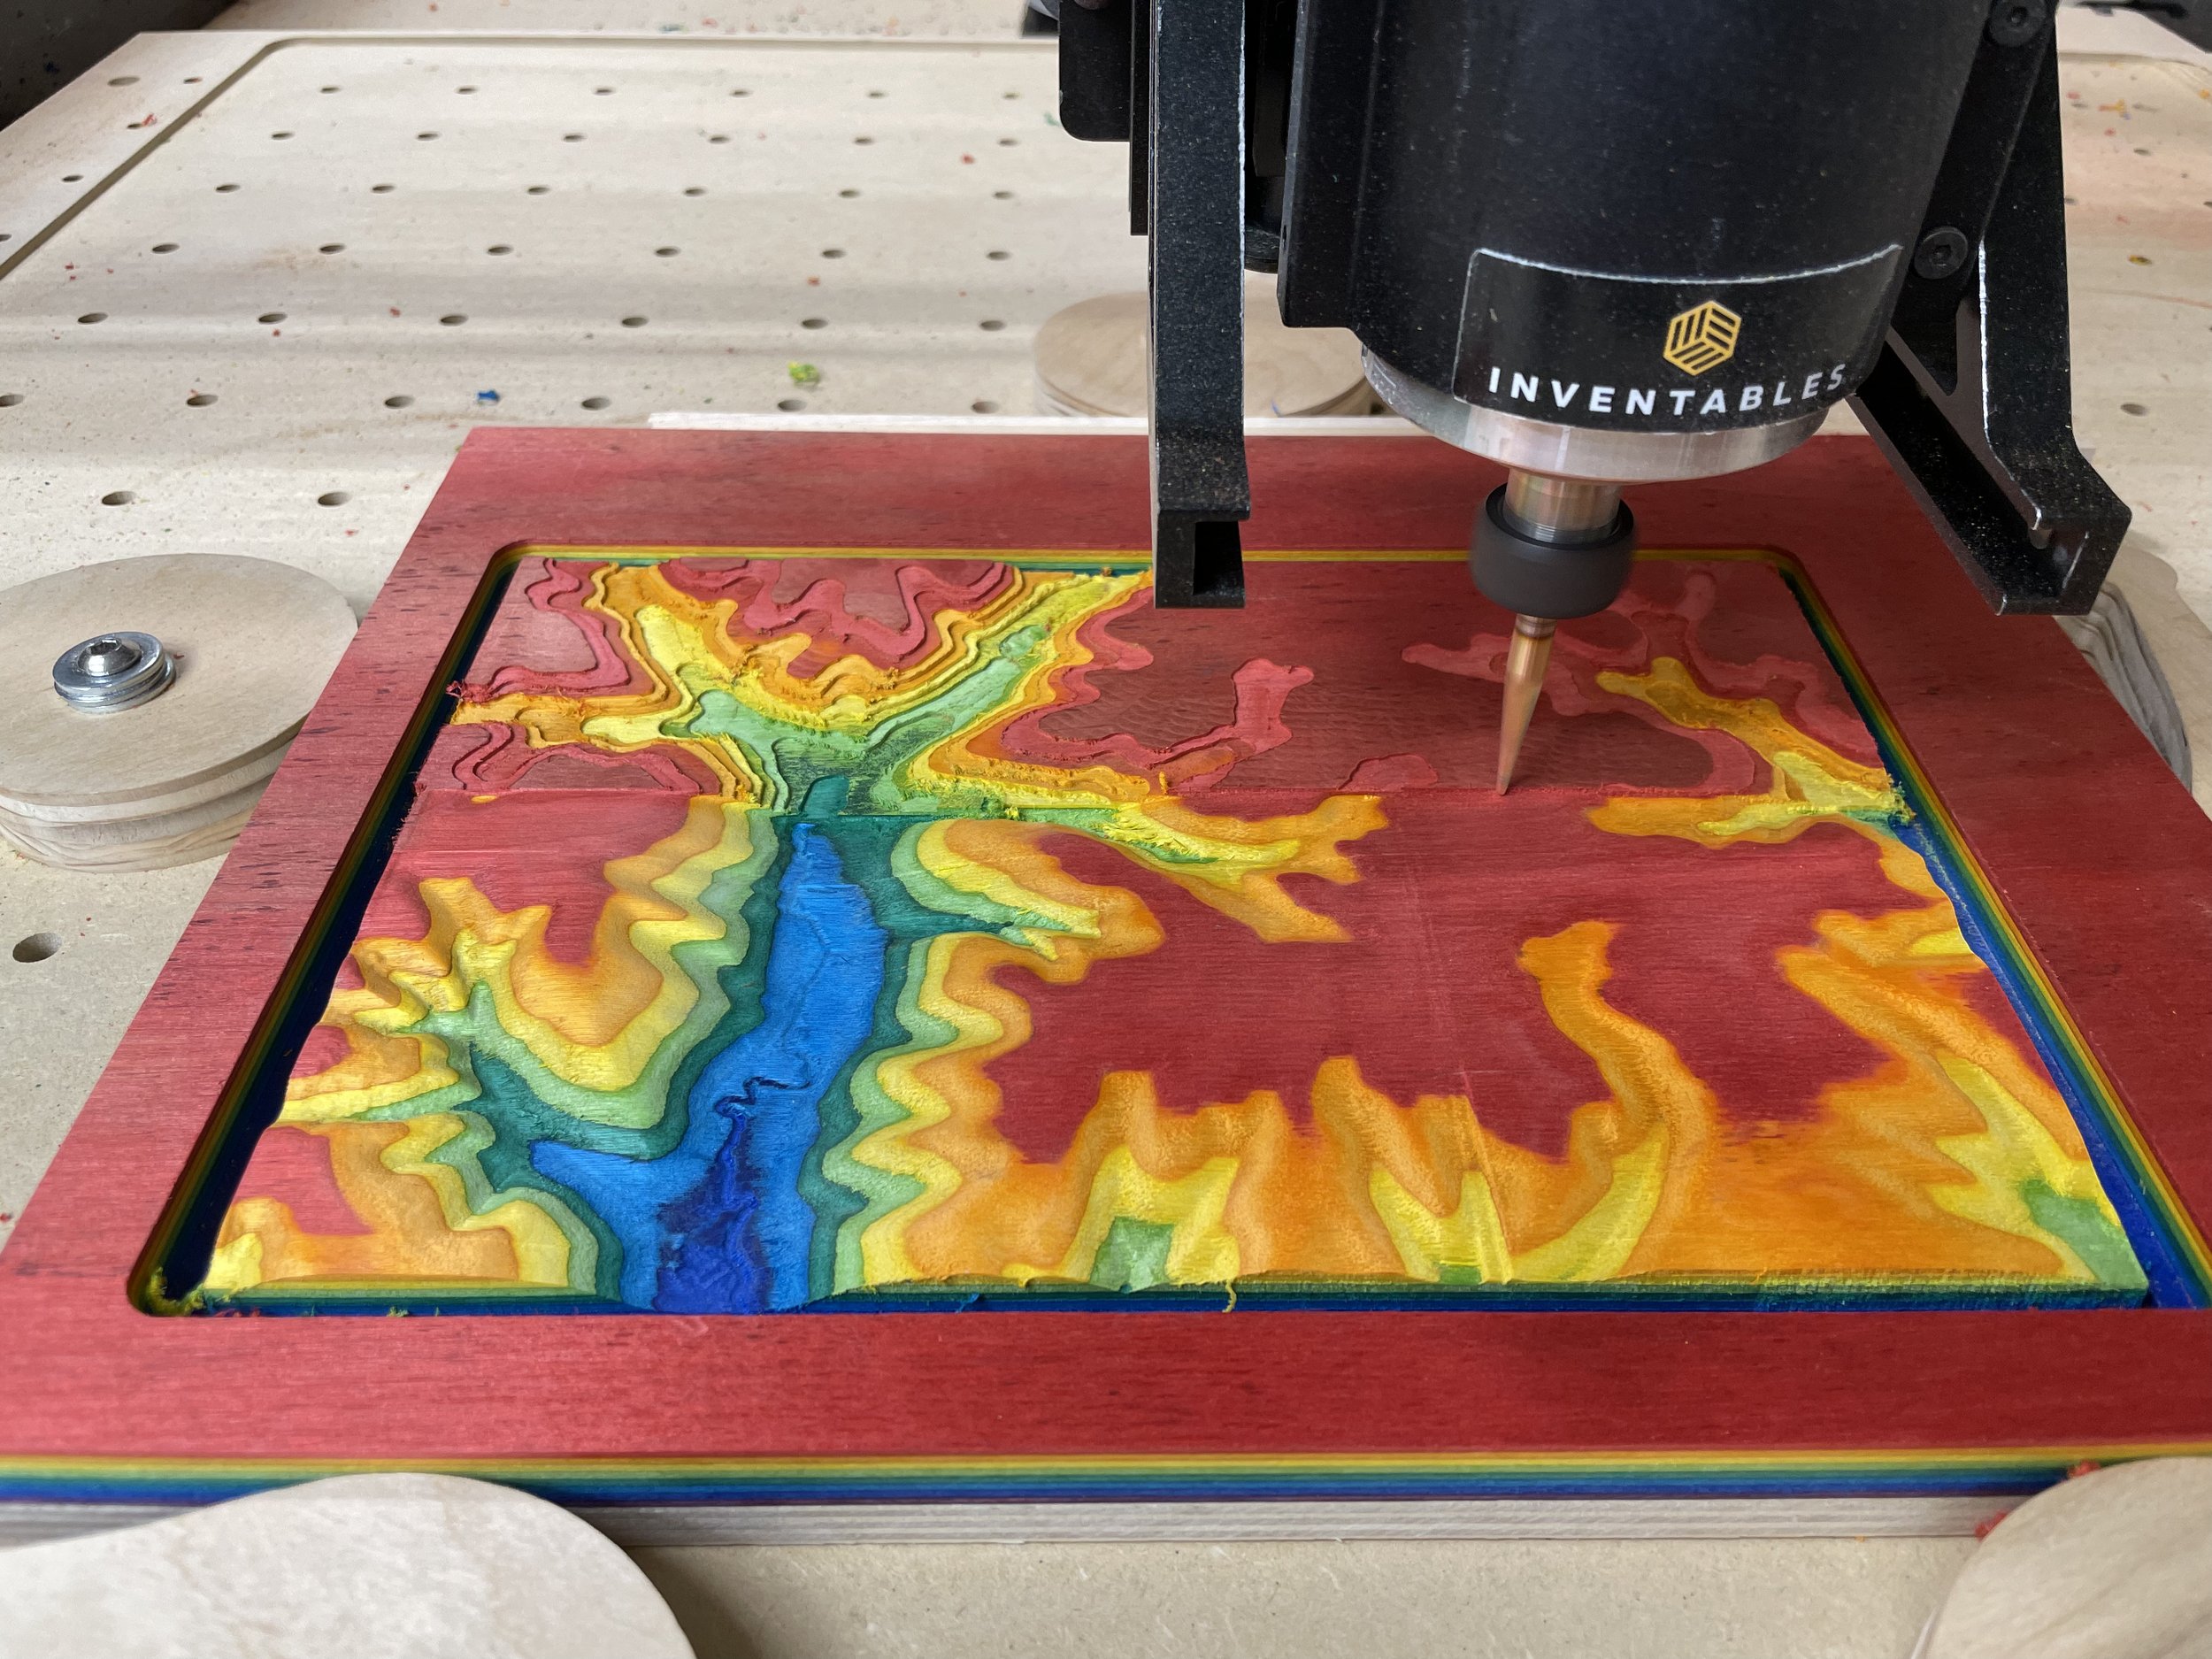
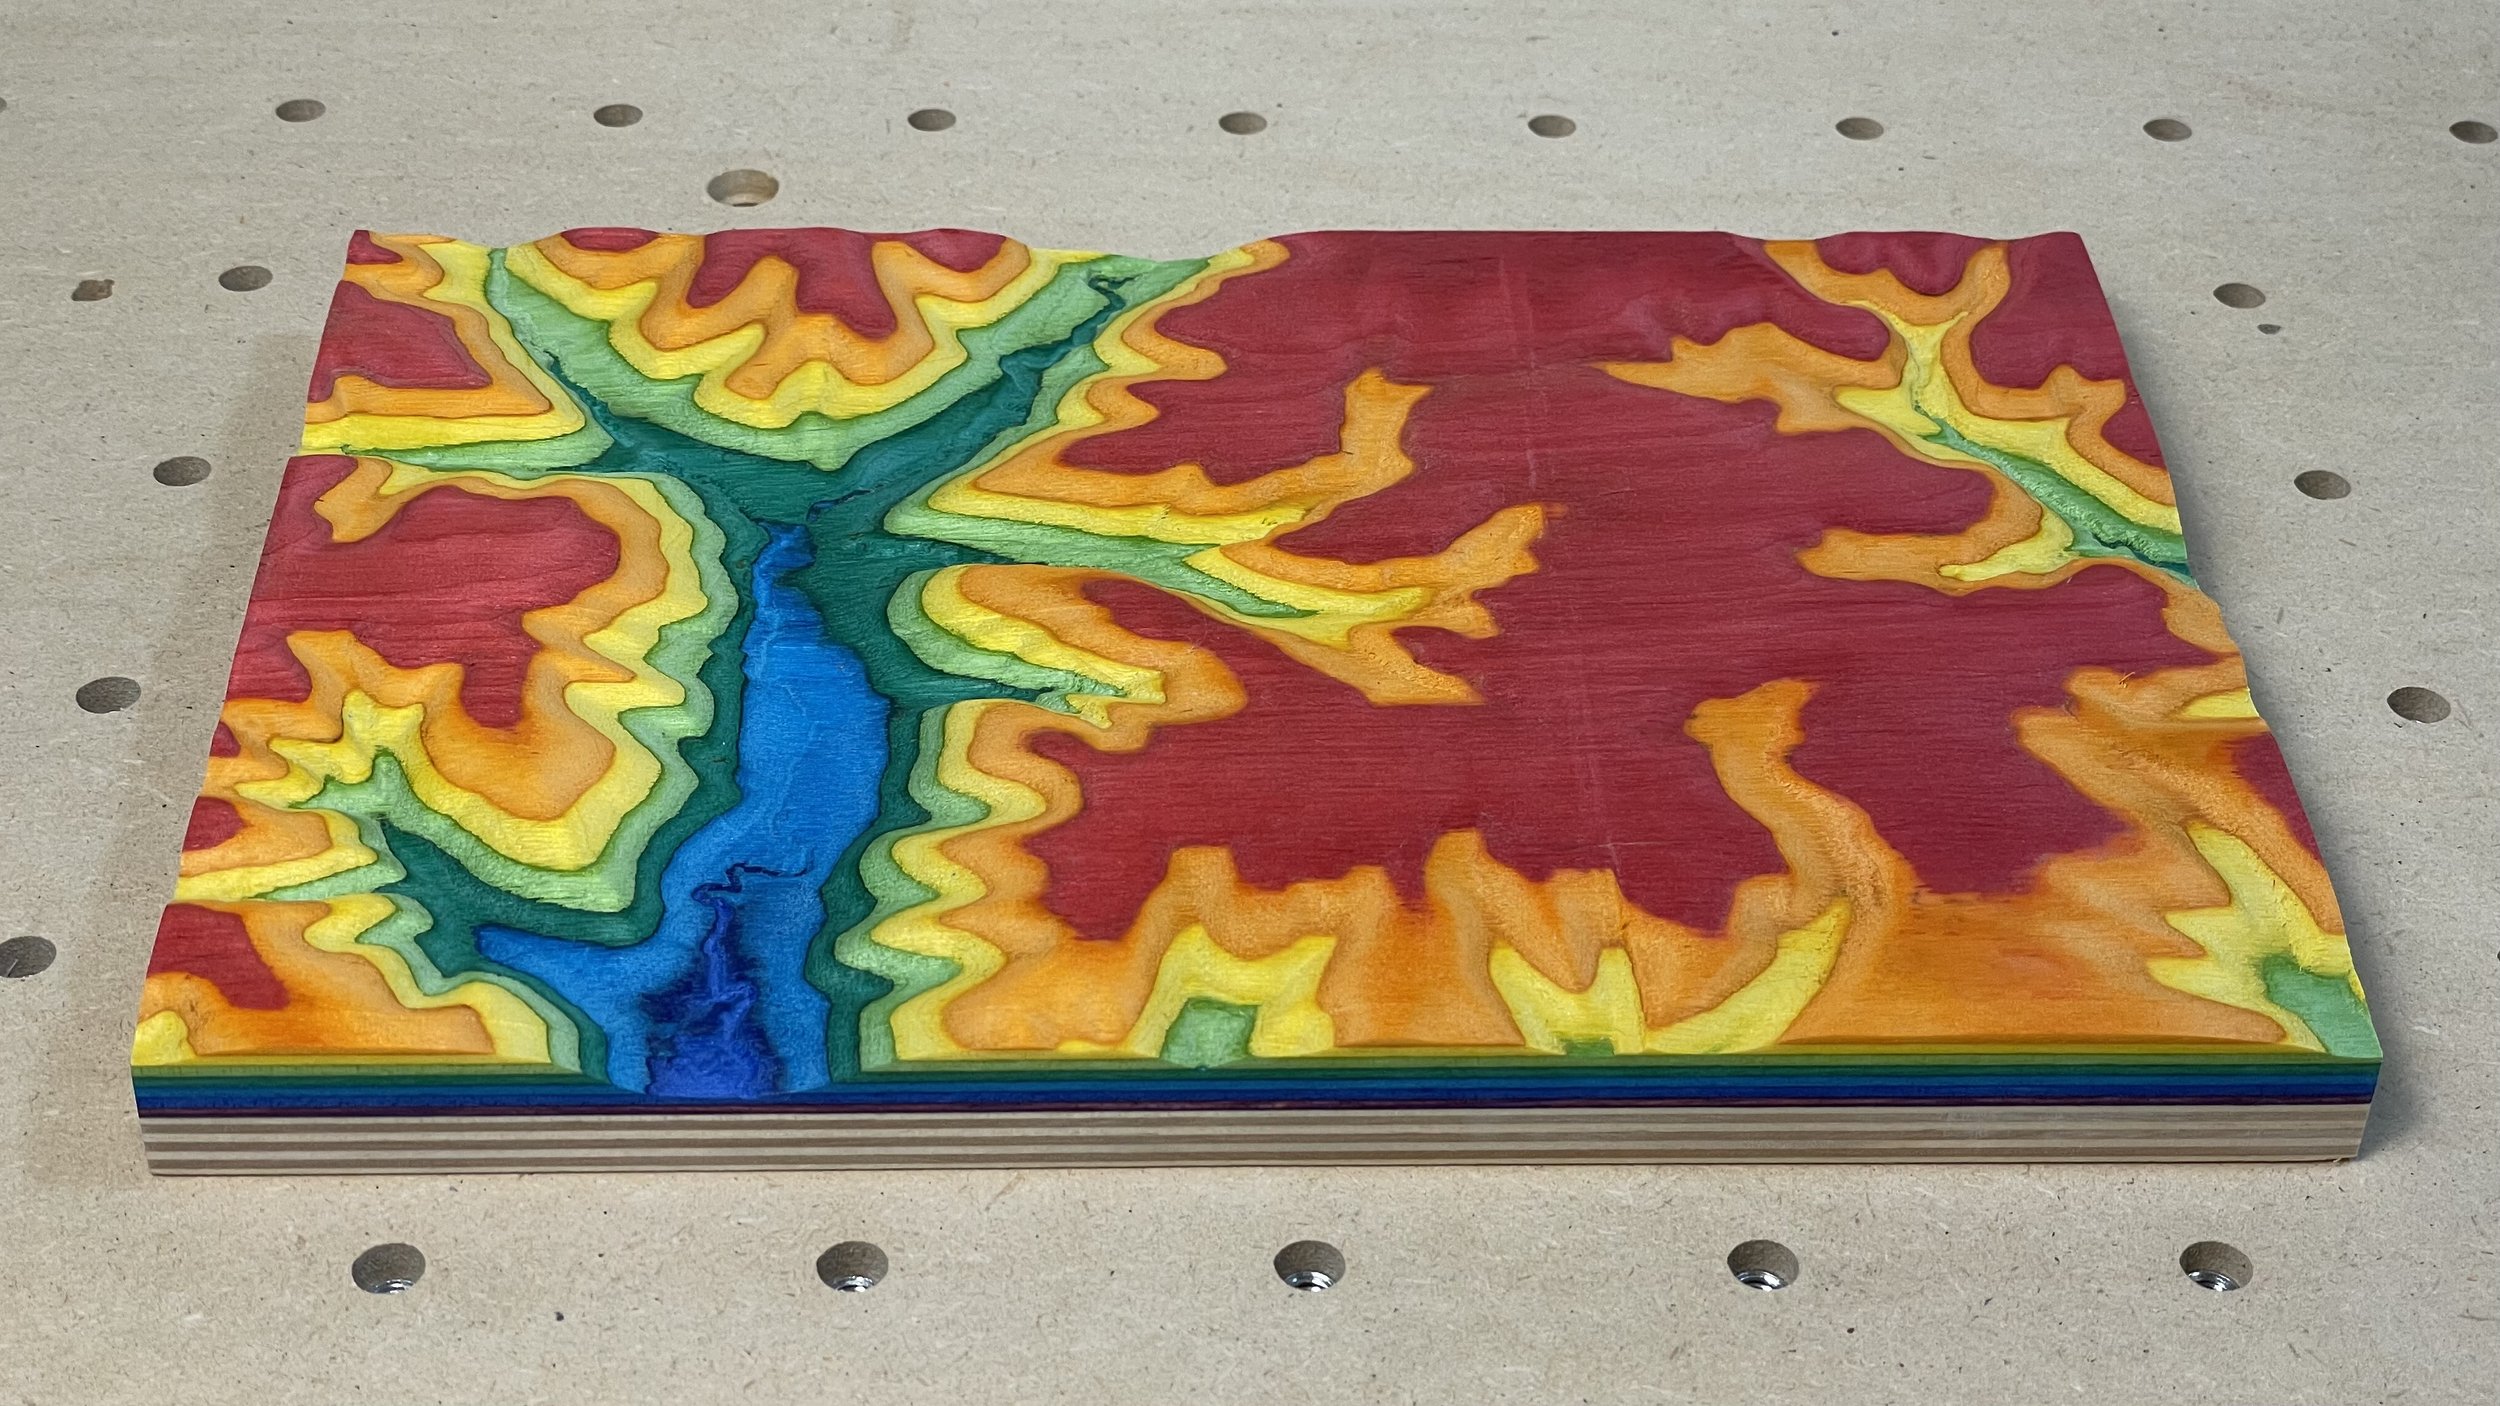
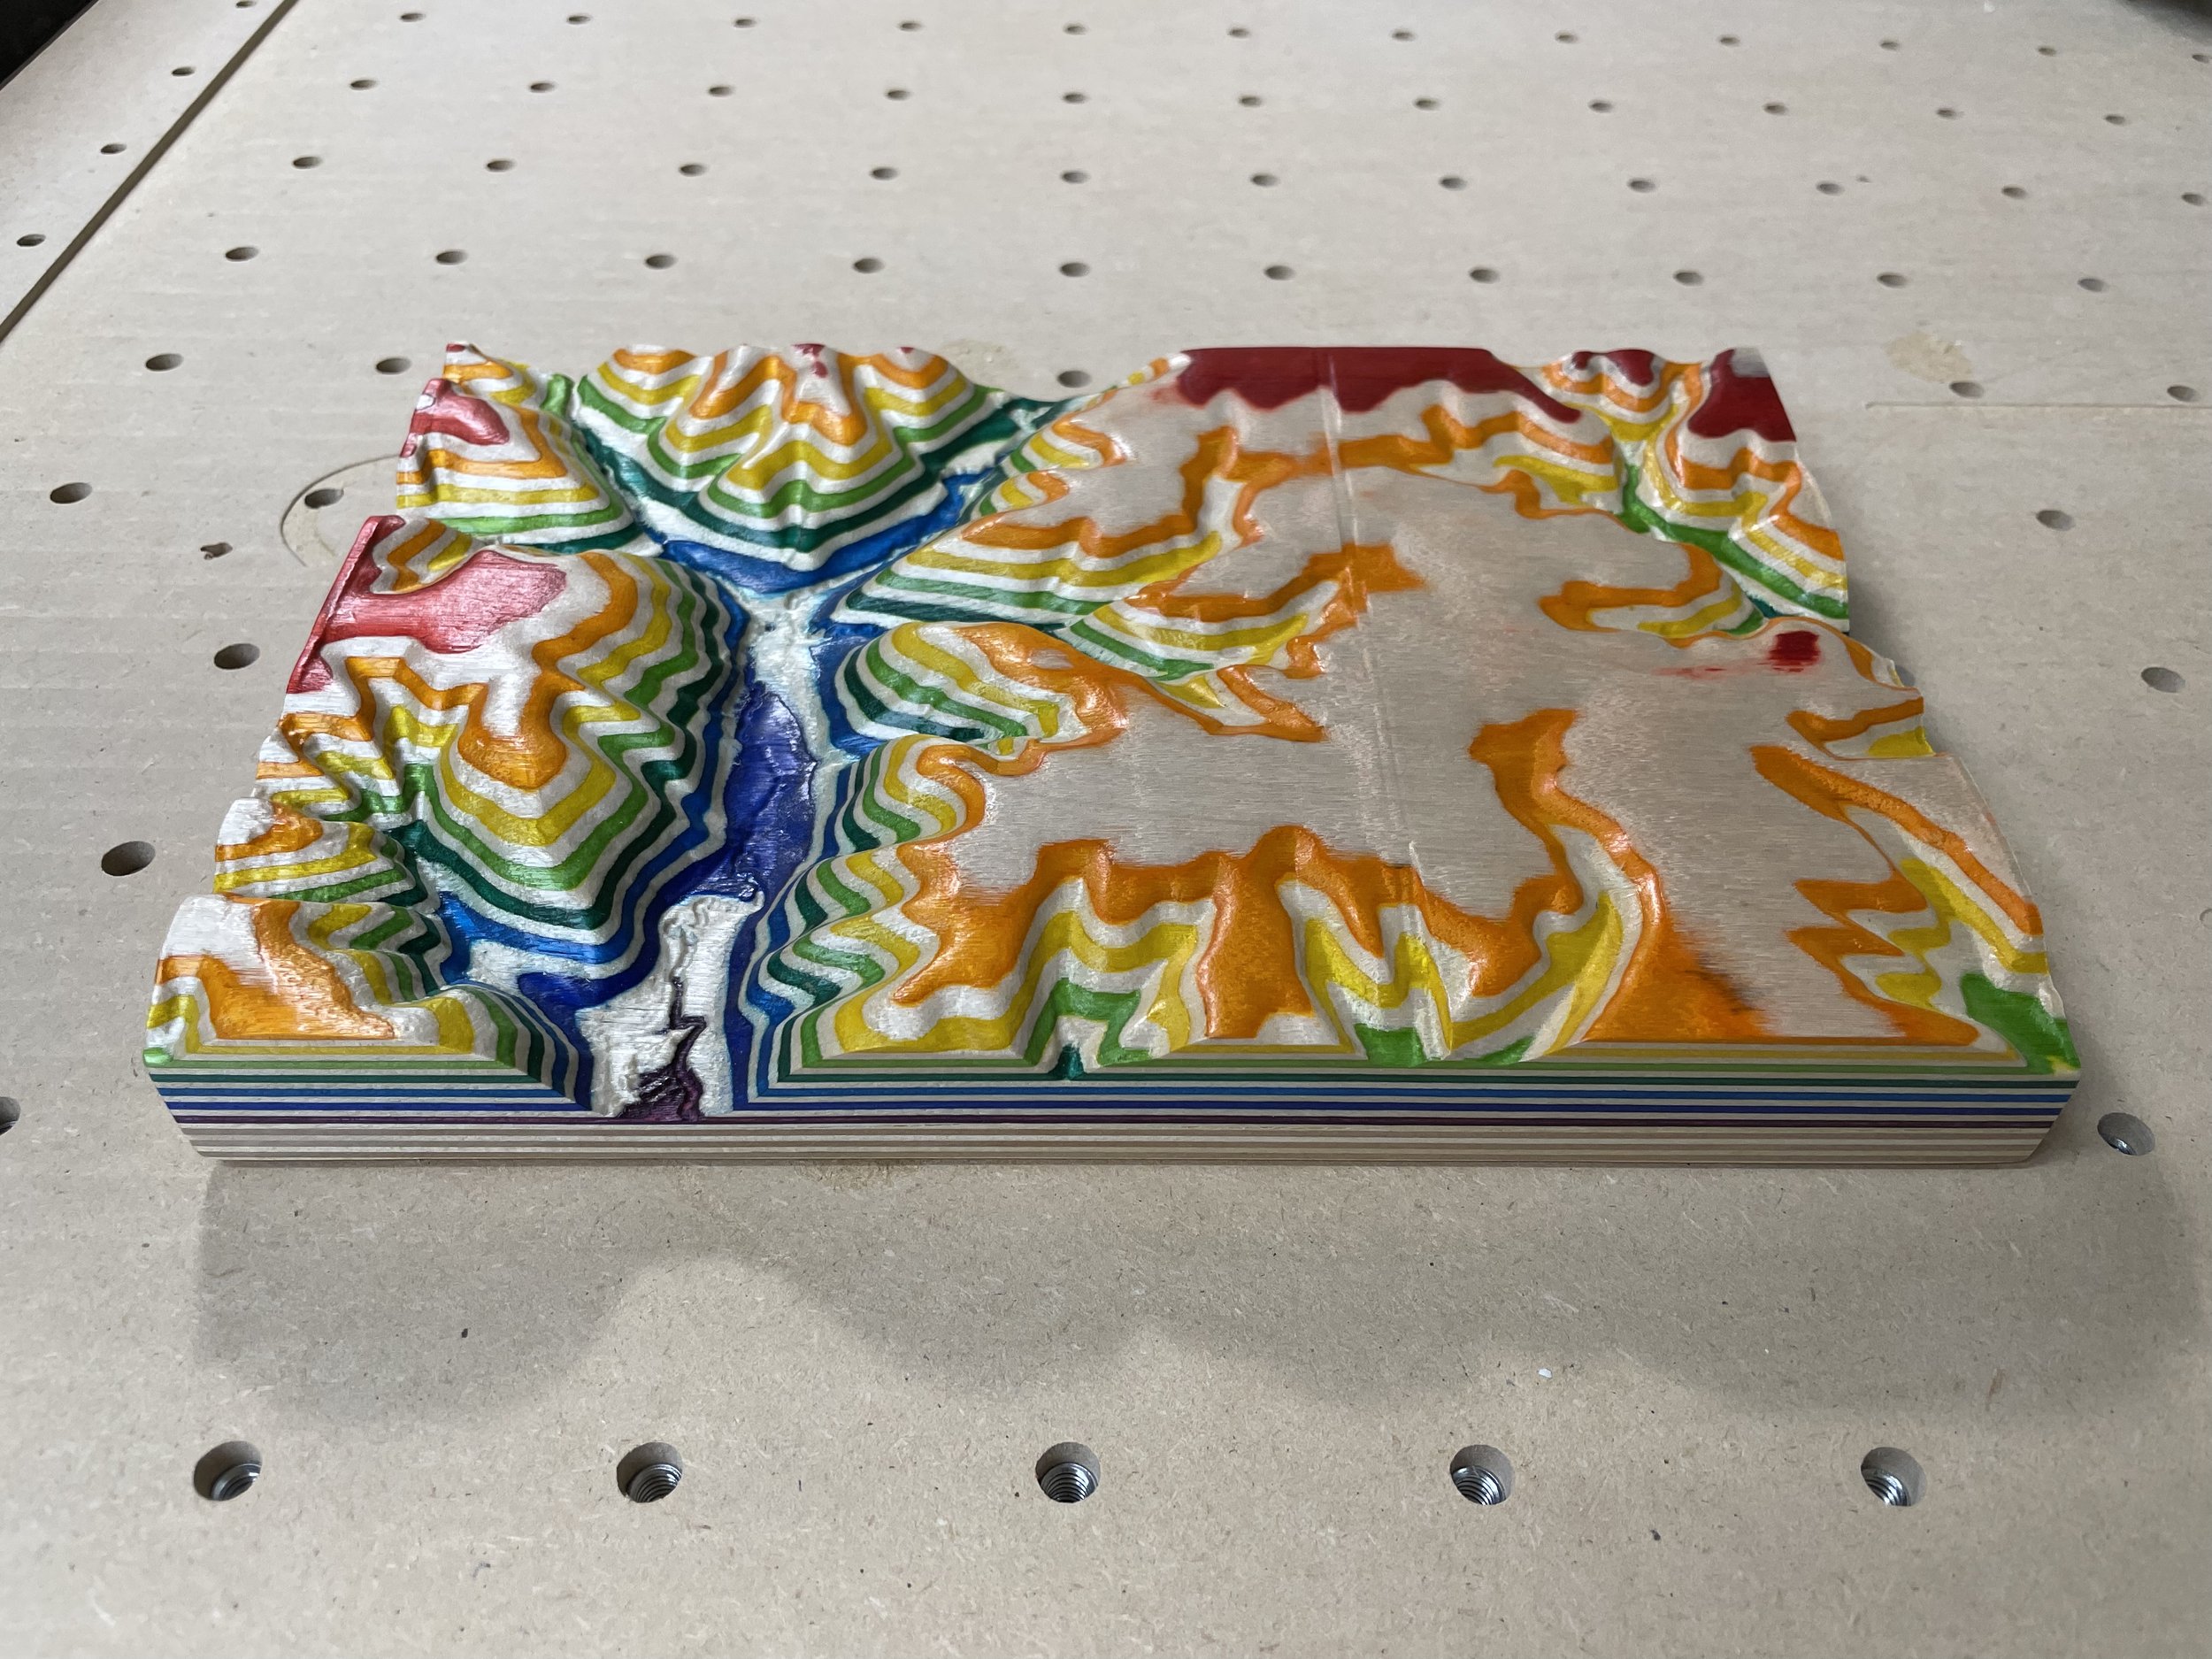
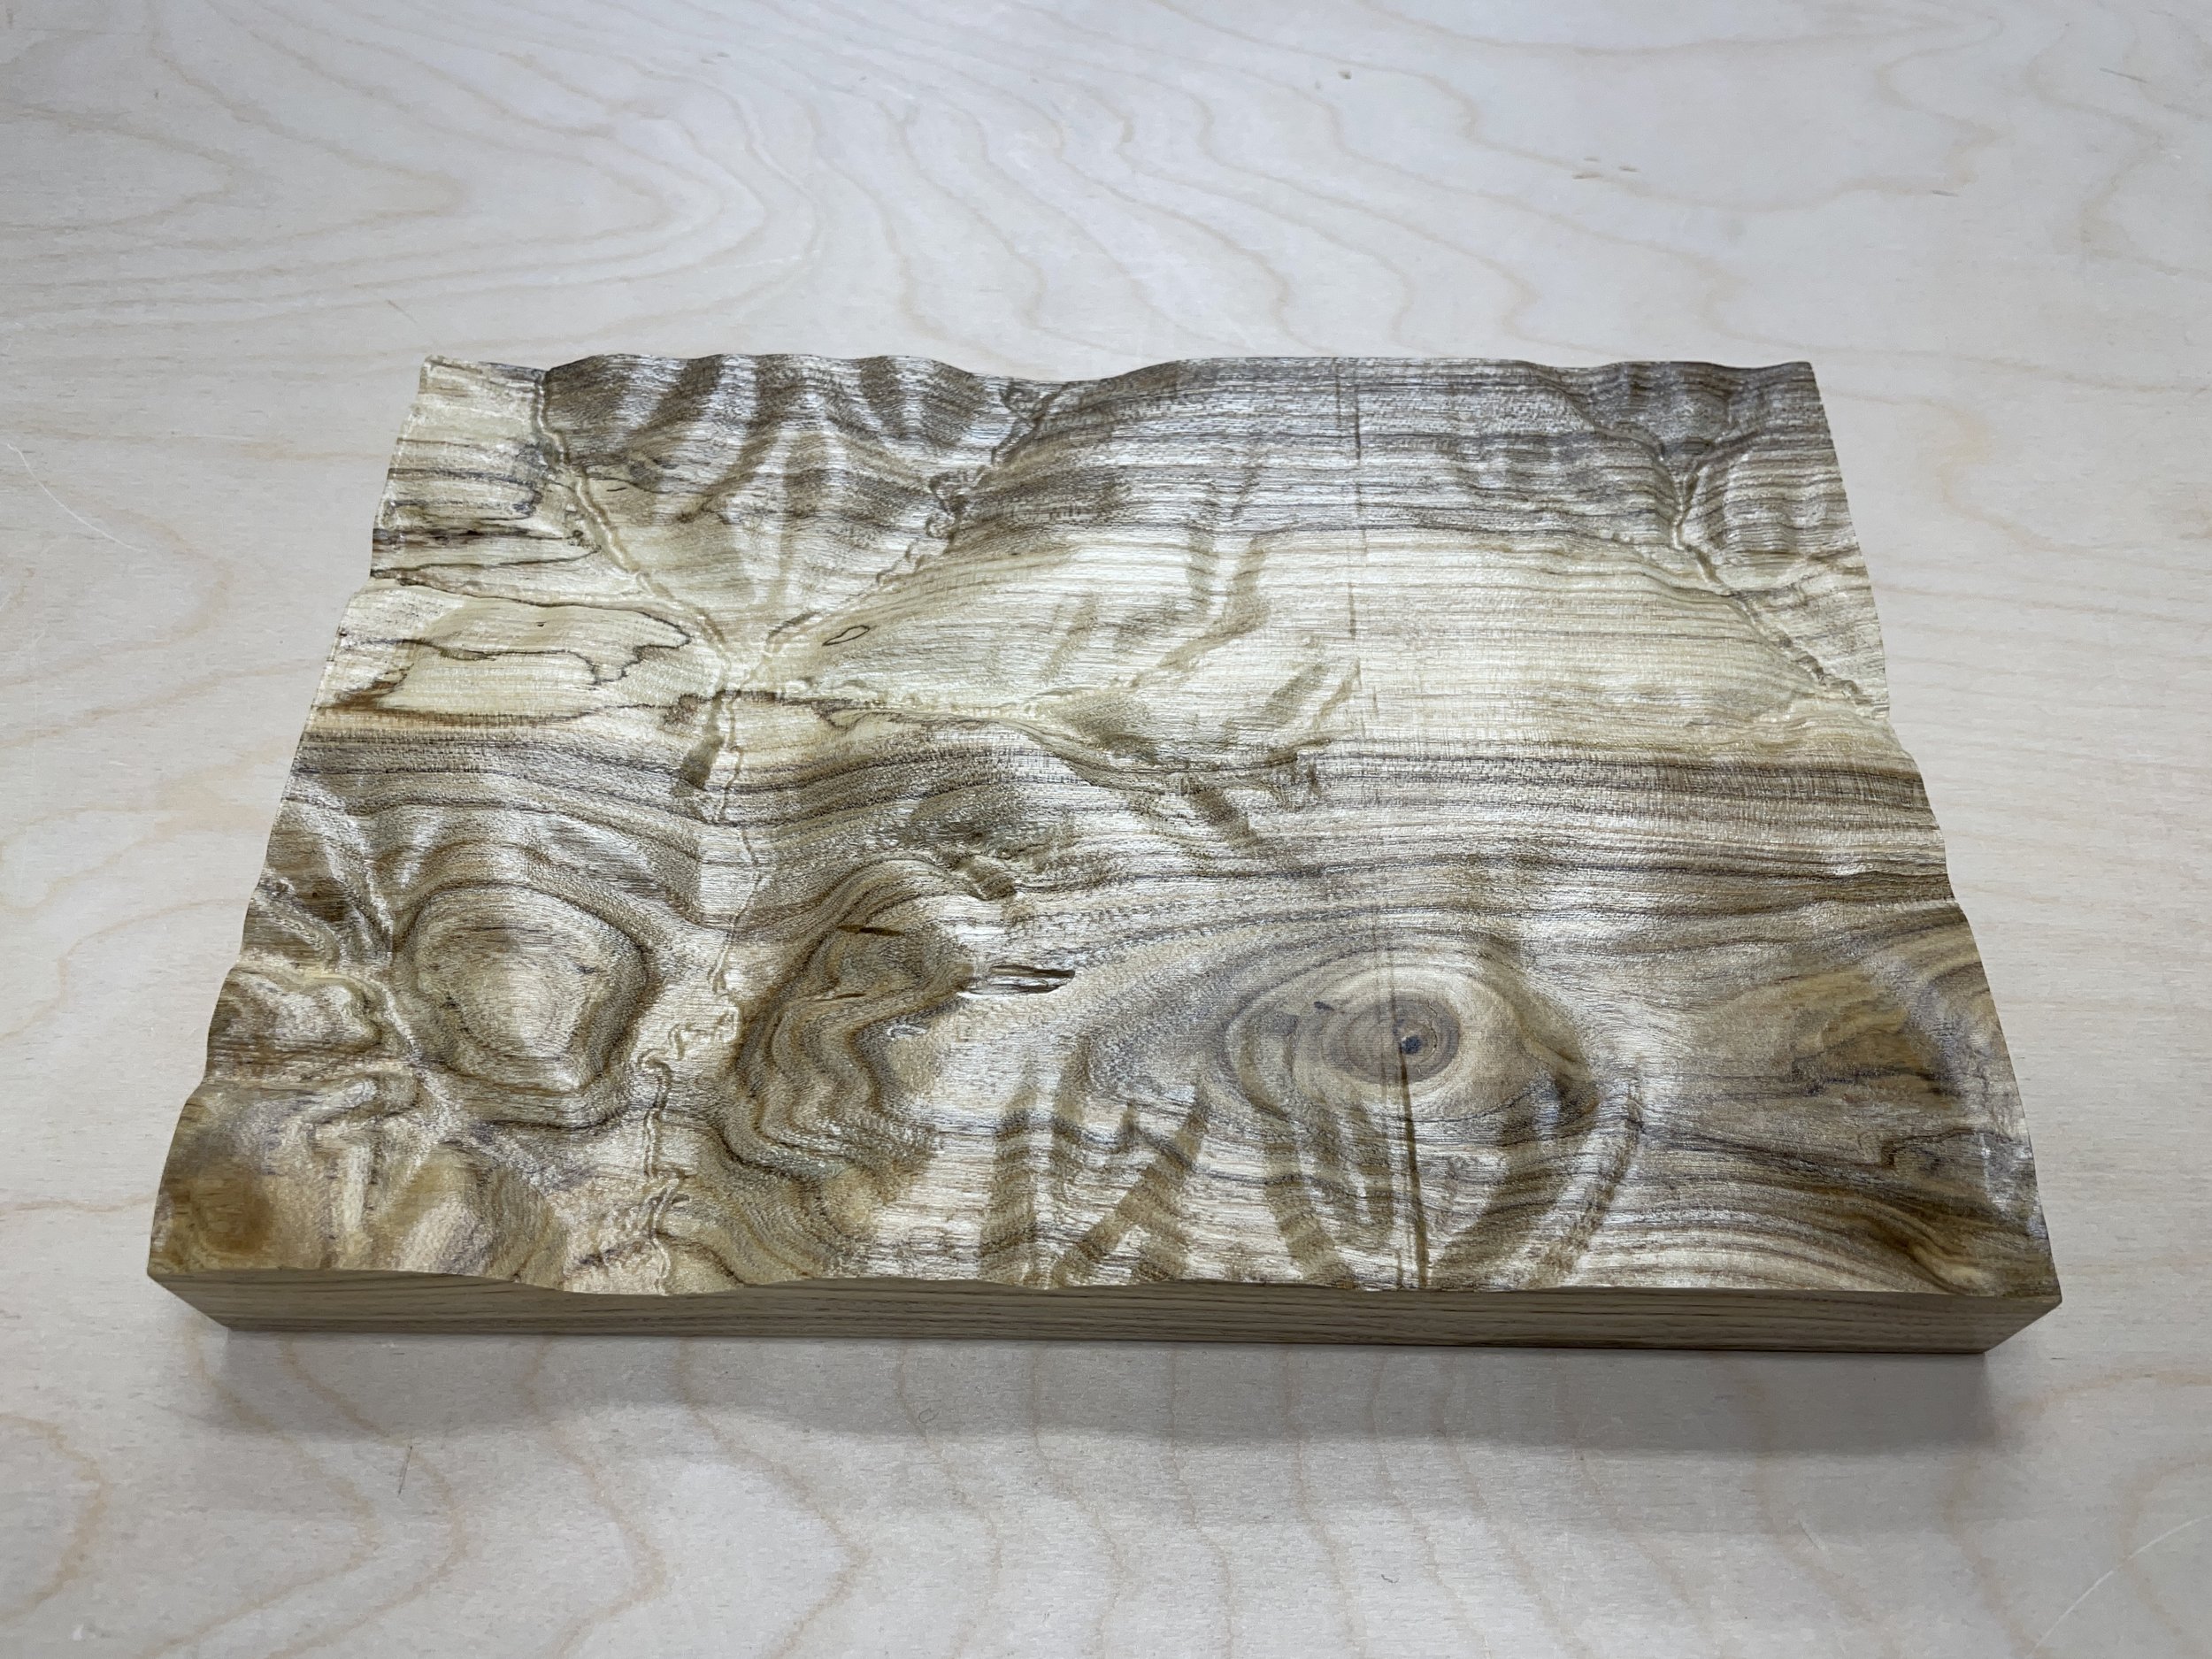
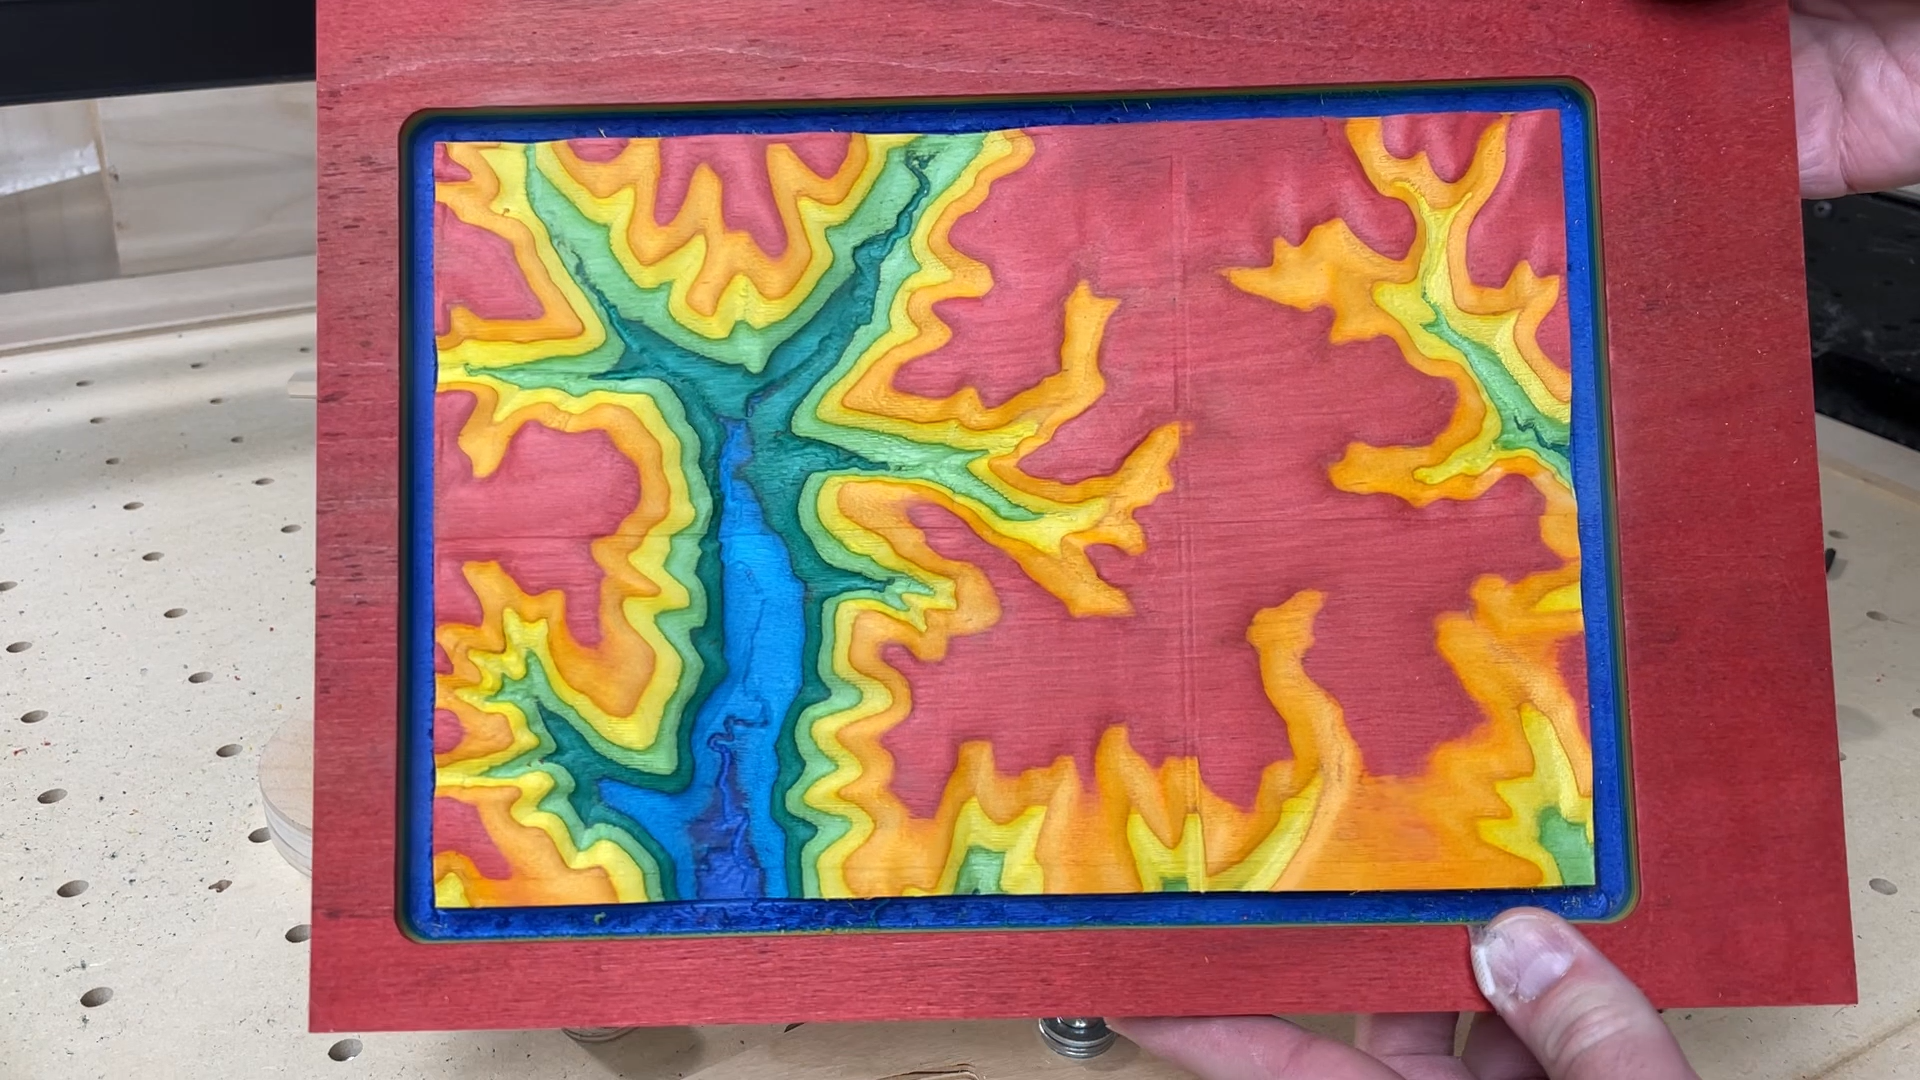
In this project I am going to show you a couple different options for downloading topographic terrain data and then set up Easel Pro software to carve those models into wood with your CNC.
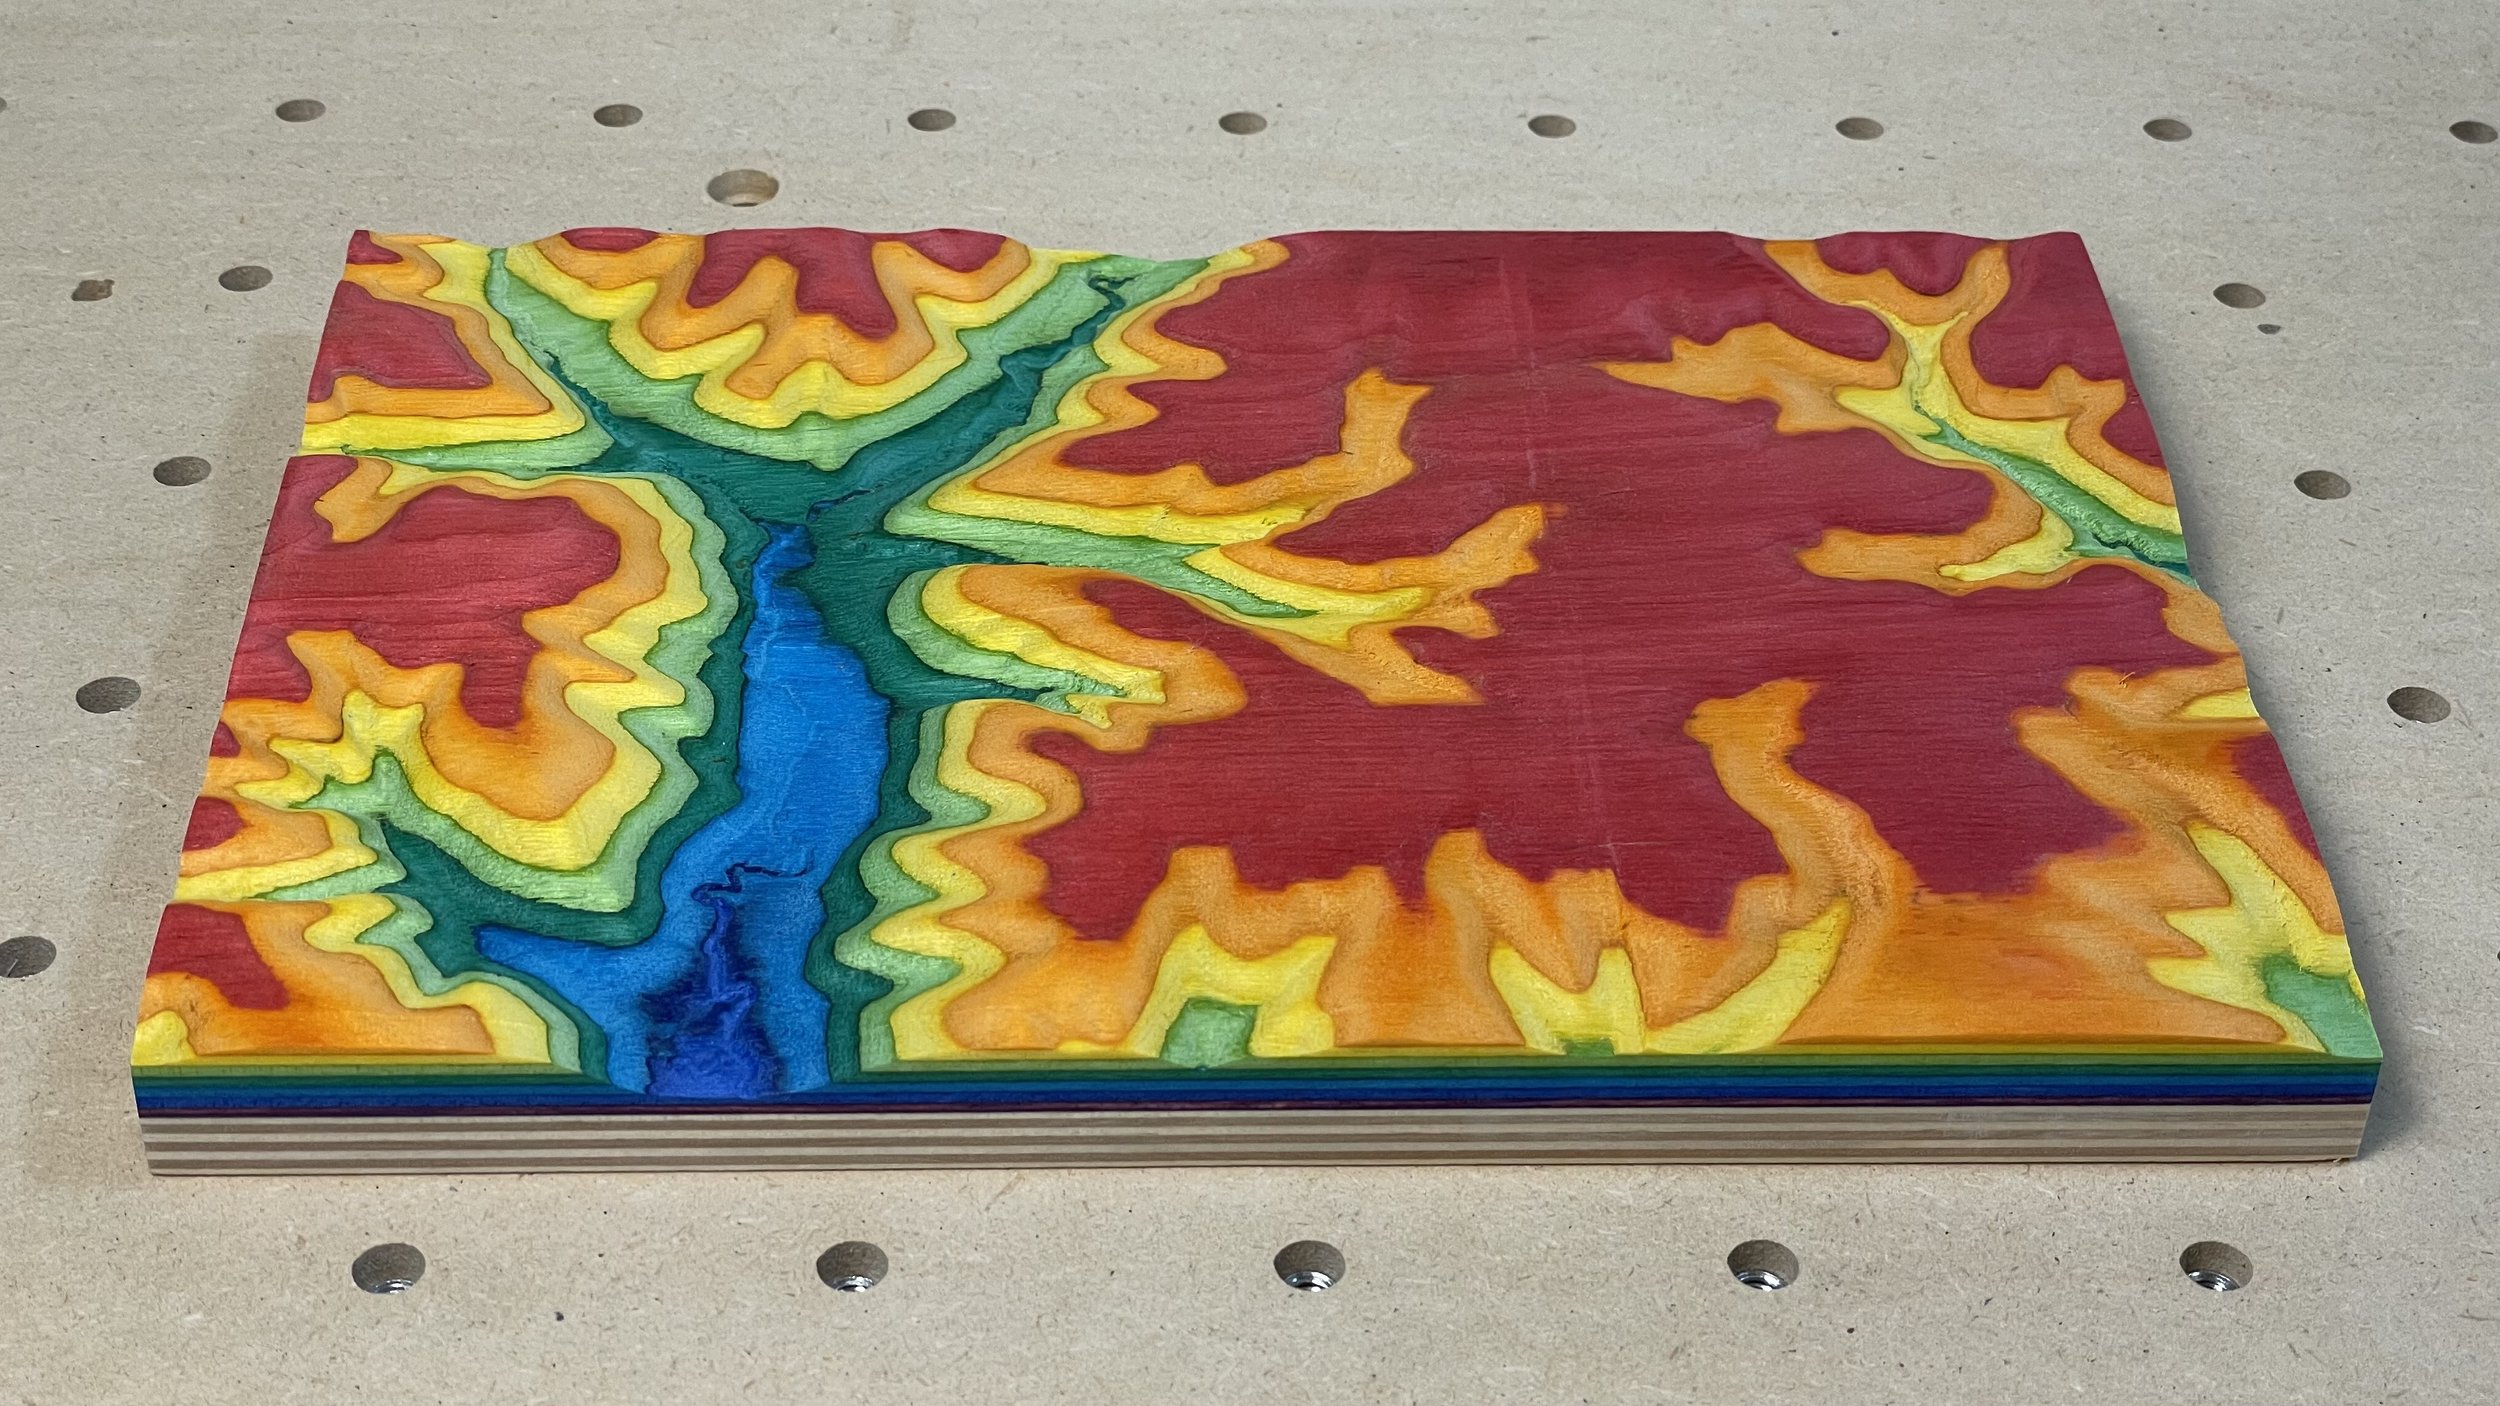
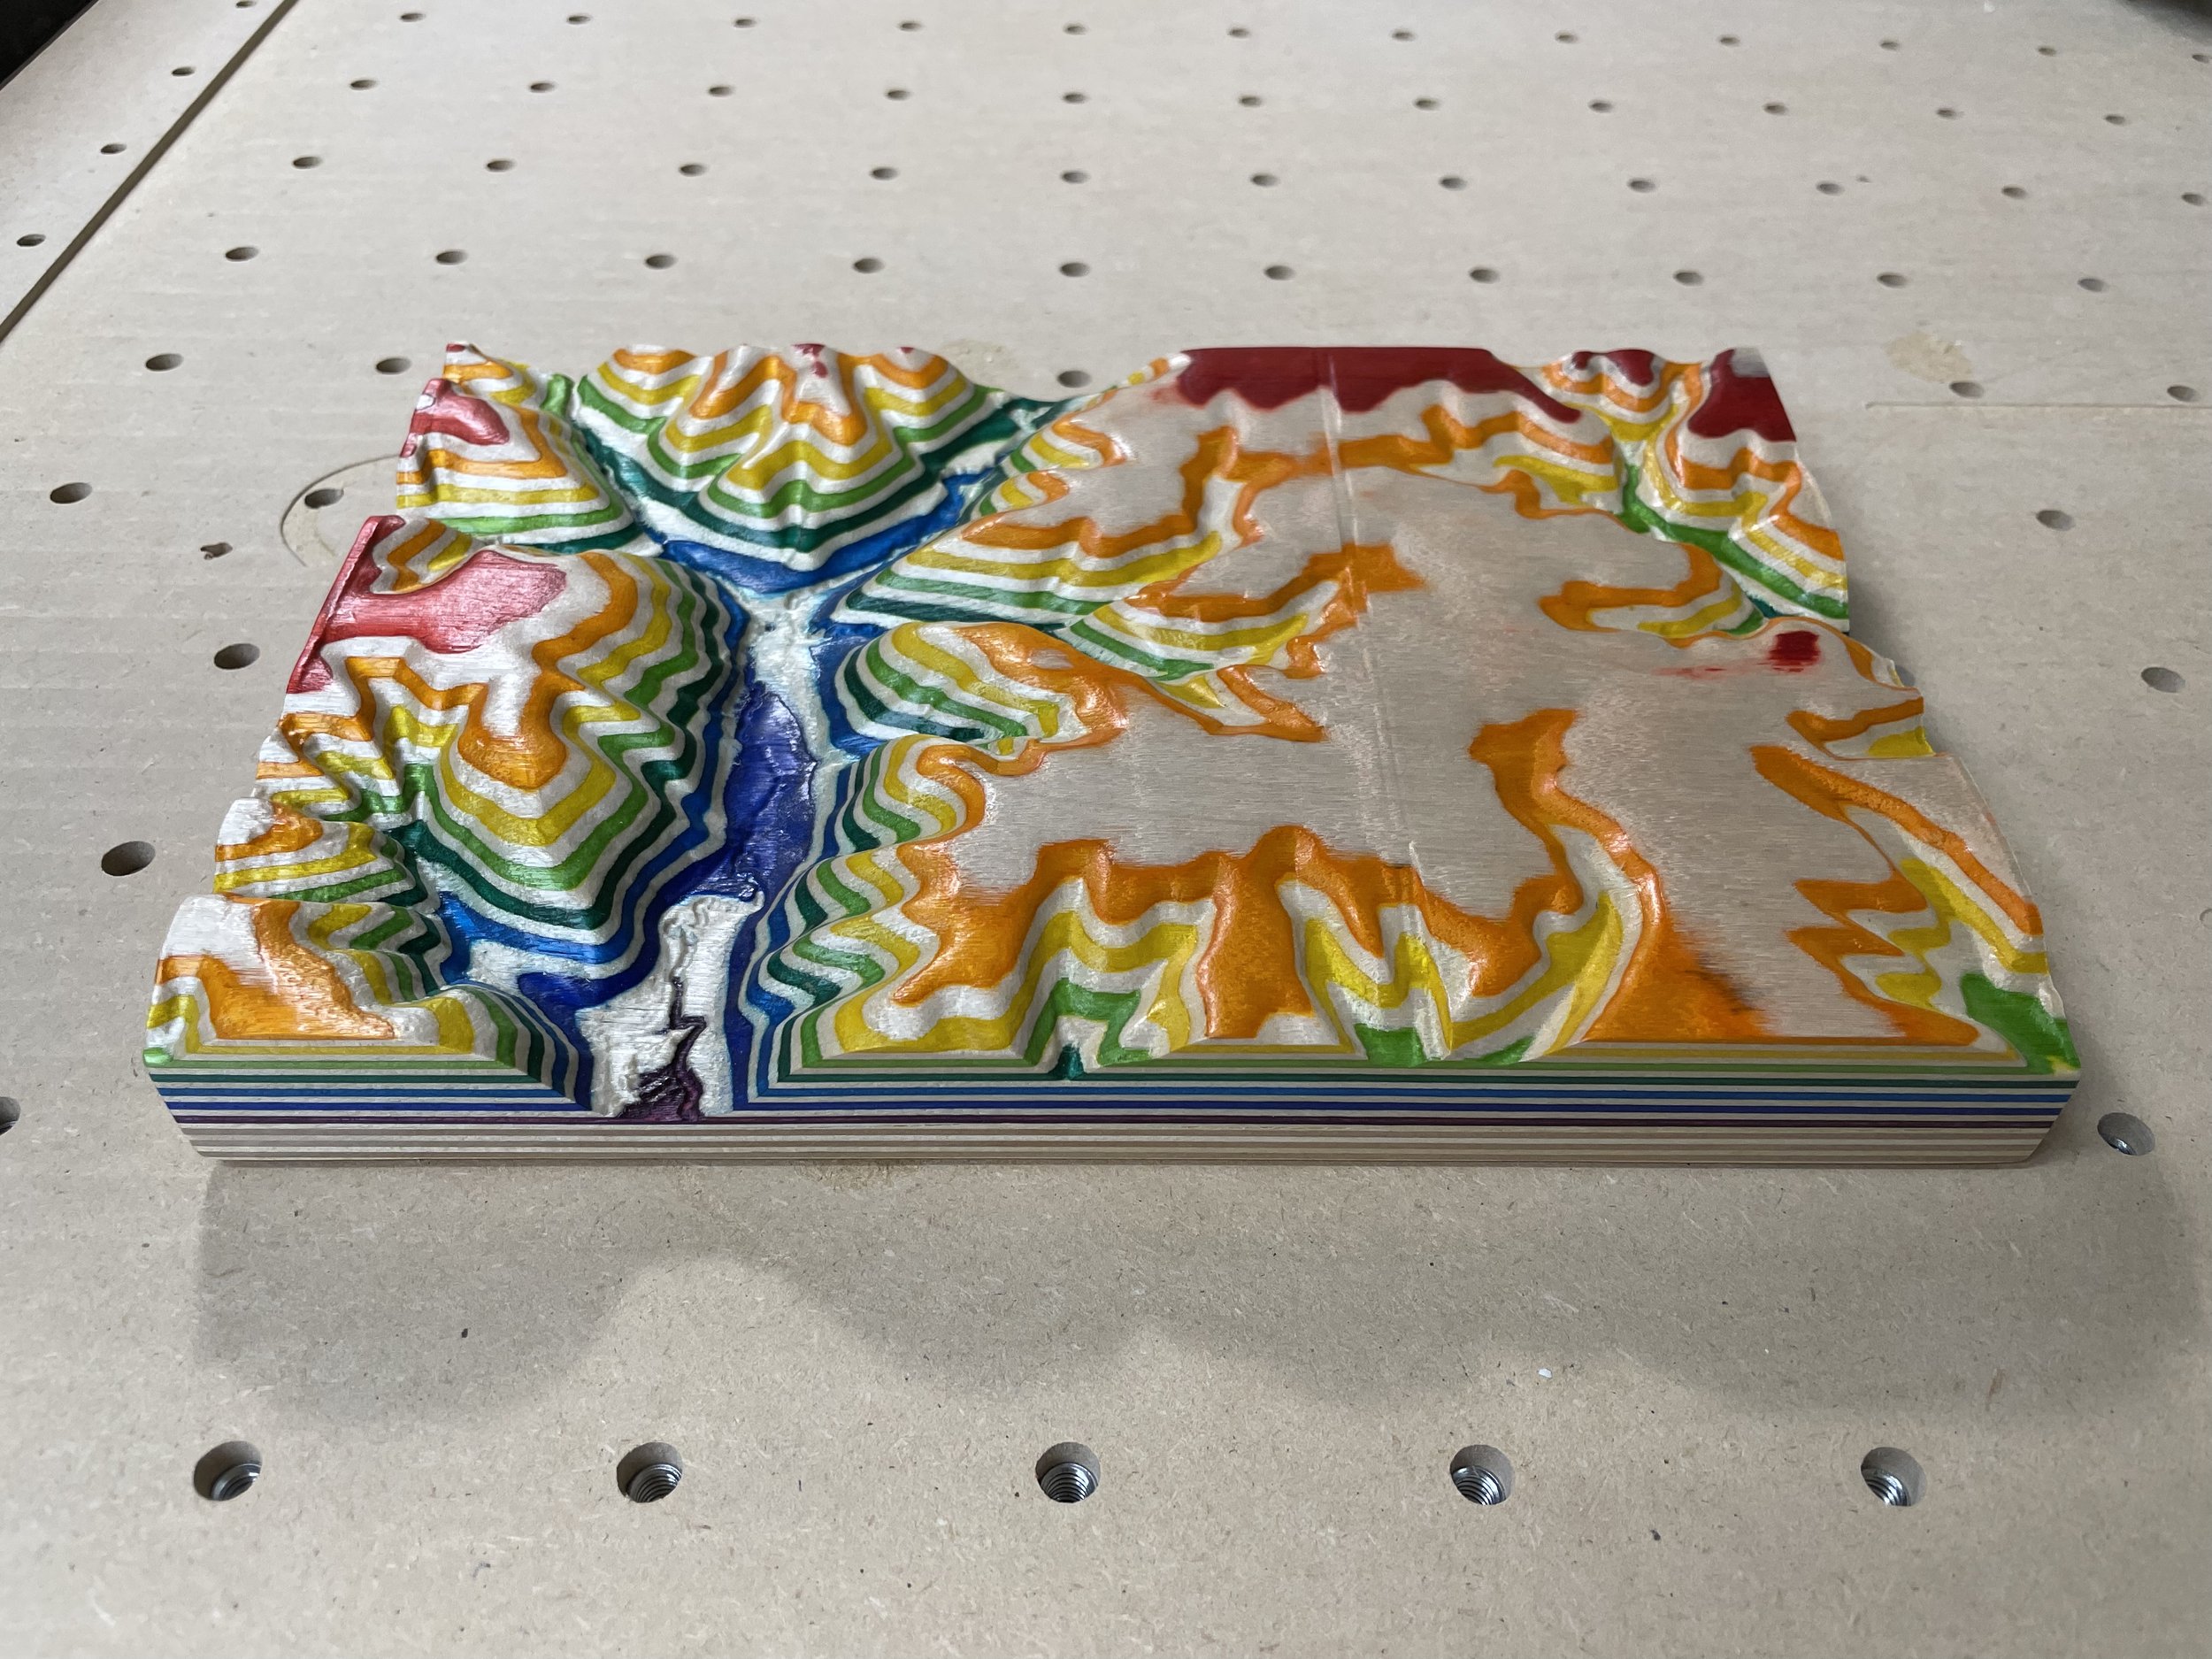
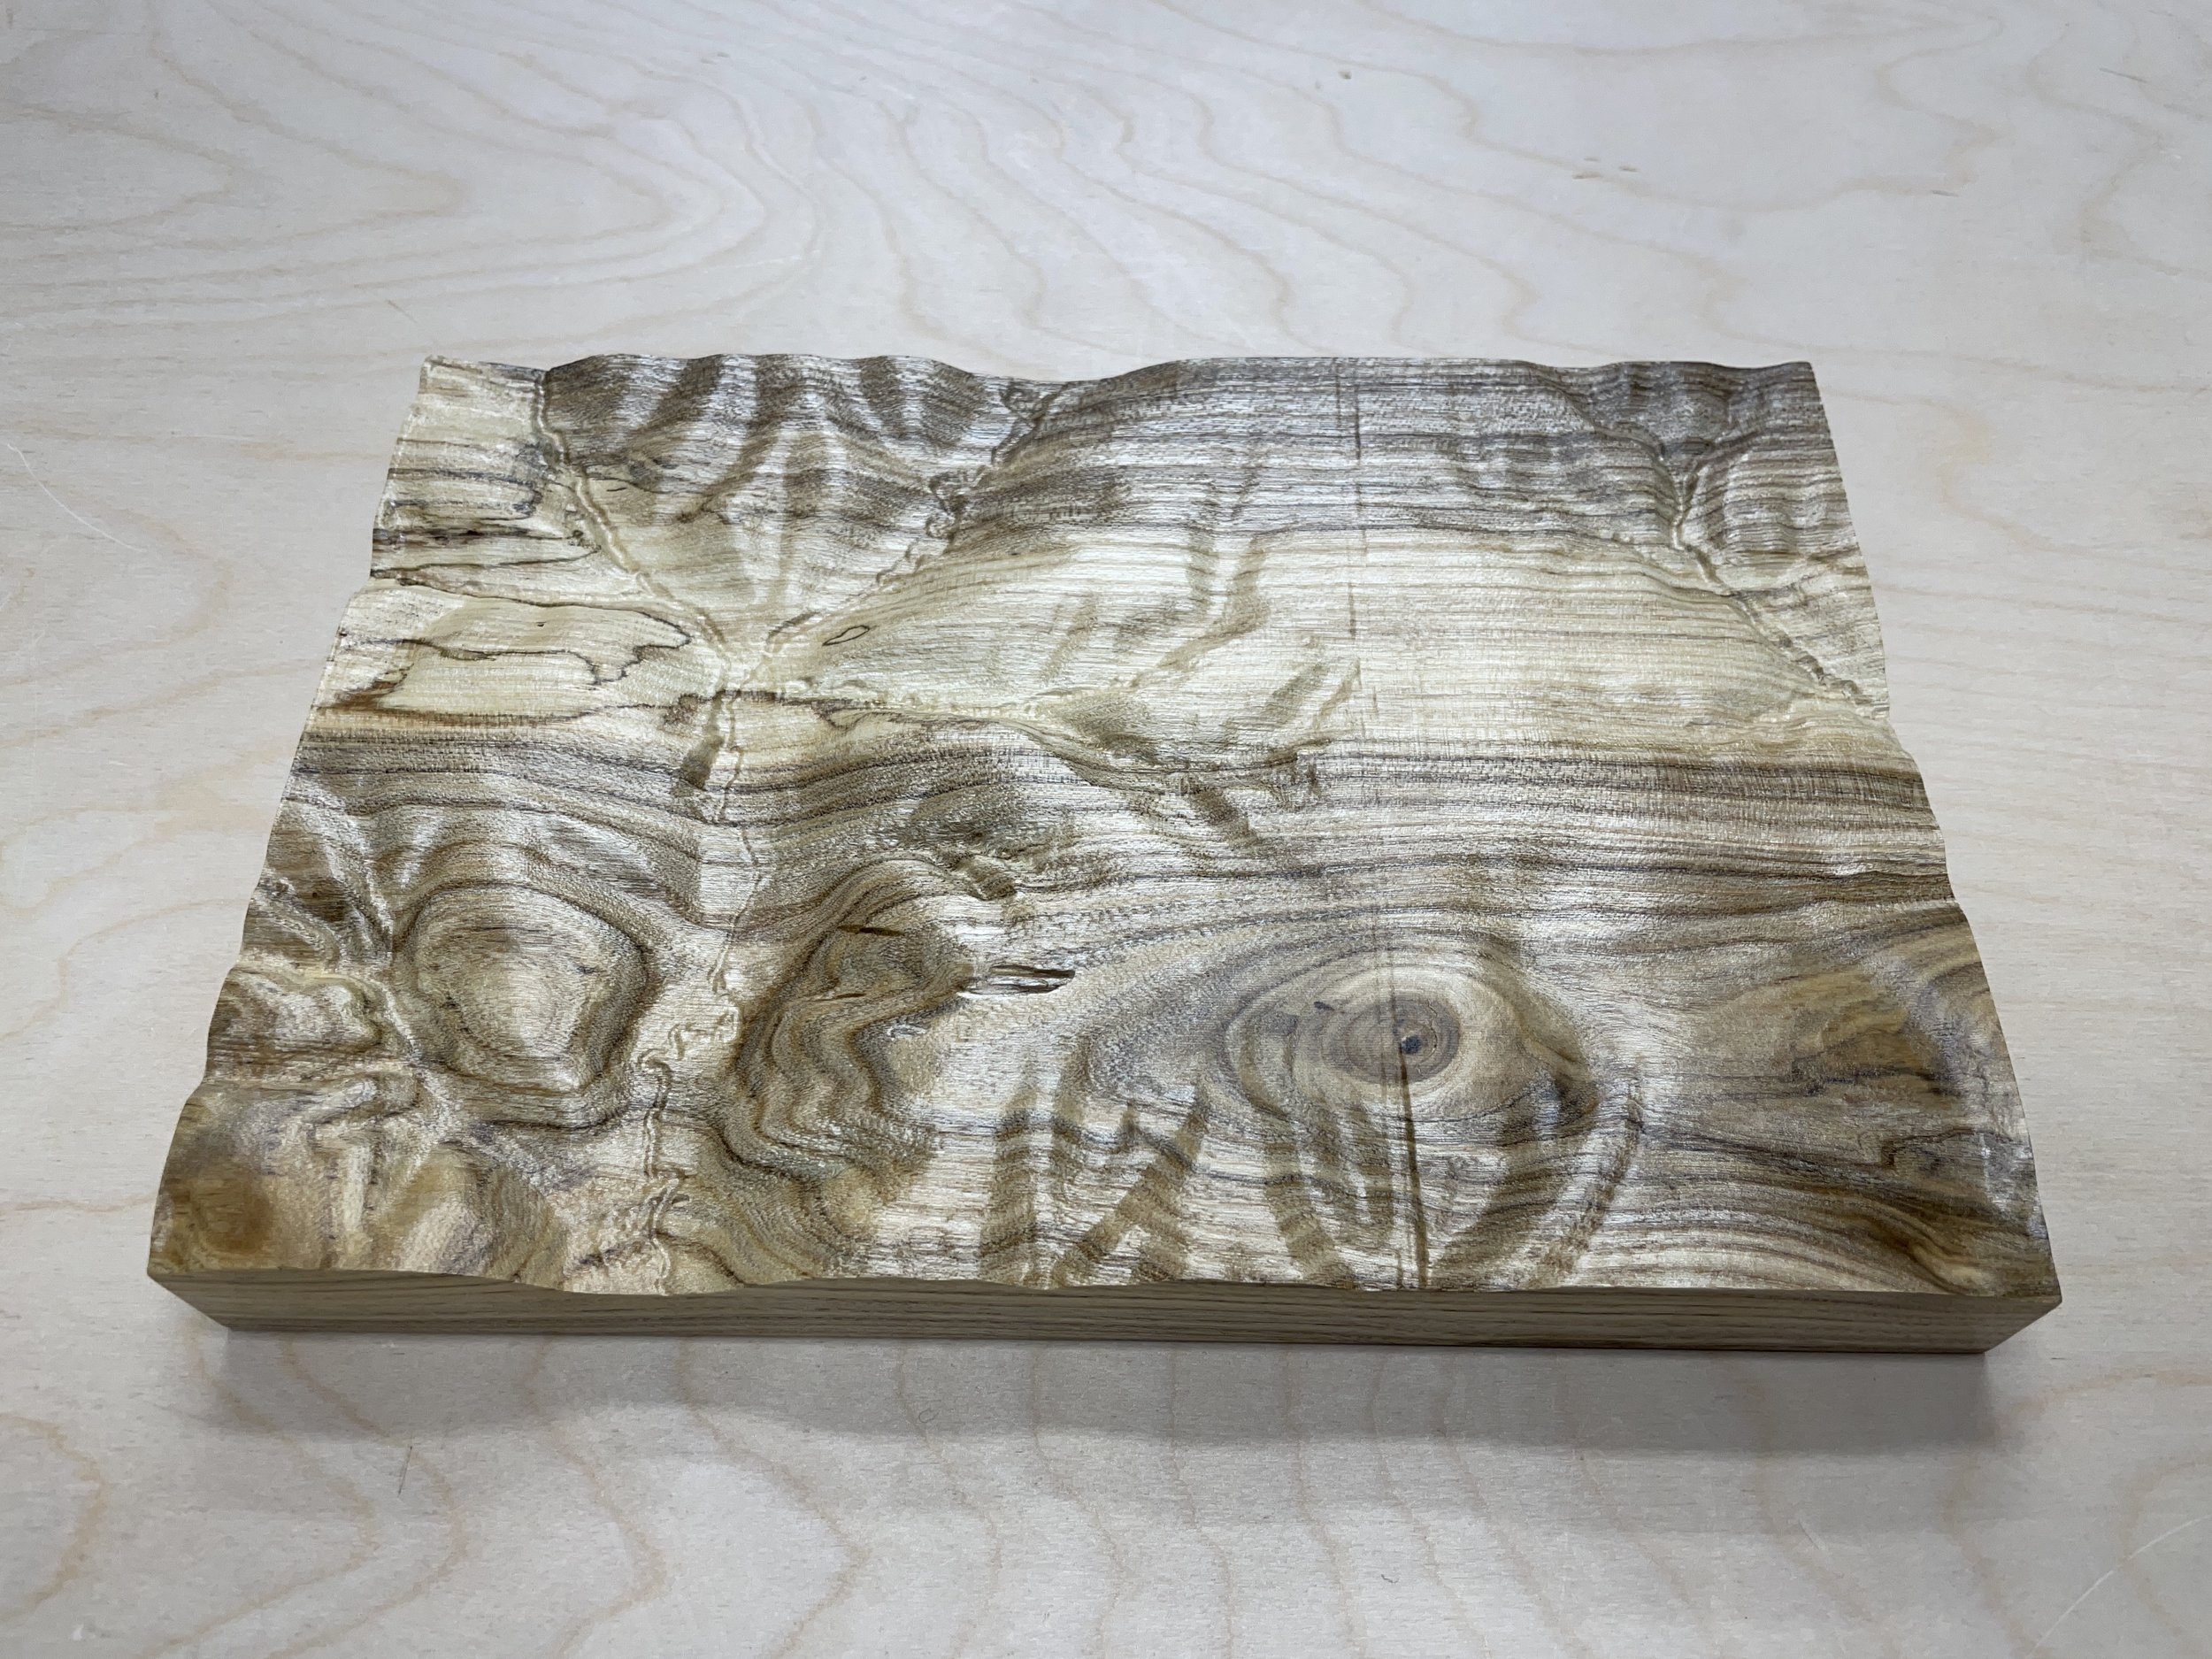
I will be carving three separate models in different wood blanks that I will describe later.
This is a project I have wanted to do for a long time. For the example model I will be using the farm in Illinois where I grew up.
Step 1: Materials And Supplies
SOFTWARE
Easel Pro Software by Inventables - https://www.inventables.com/technologies/easel?ref=MakingAtHome
The tools I used on the project were as follows:
TOOLS
X-Carve 1000mm CNC Machine by Inventables - https://www.inventables.com/technologies/x-carve?ref=MakingAtHome
Router Bit - 1/4" Downcut Bit - https://www.inventables.com/technologies/carbide-tip-downcut-2-flute-1-4-in-cutting-x-1-4-in-shank?ref=MakingAtHome
Finishing Bit - Amana Tool HSS1302 5.4 degree tapered ball nose bit with 1/16 tip diameter from Tools Today - https://www.toolstoday.com/v-15007-hss1302.html
Various clamps
SurfPrep Electric Ray Random orbit sander - SurfPrep Link
Shop vac
Saw Stop Table Saw - https://amzn.to/3a8znCE
Tape Measures (my favorite two):
Fastcap PMS-16 Auto Lock ProCarpenter Tape Measure - https://amzn.to/333fTMN
or FastCap PSSR16 16 ft Standard Reverse Measuring Tape - https://amzn.to/35eQe6k
Glue Bottle Roller for applying glue to veneer layers - https://amzn.to/3w59m3a
Sanding abrasive wheels for rotary tool (150 Grit) - https://amzn.to/3ZDFA32
MATERIALS
Baltic Birch plywood (used for the base layer of the skateboard wood carving)
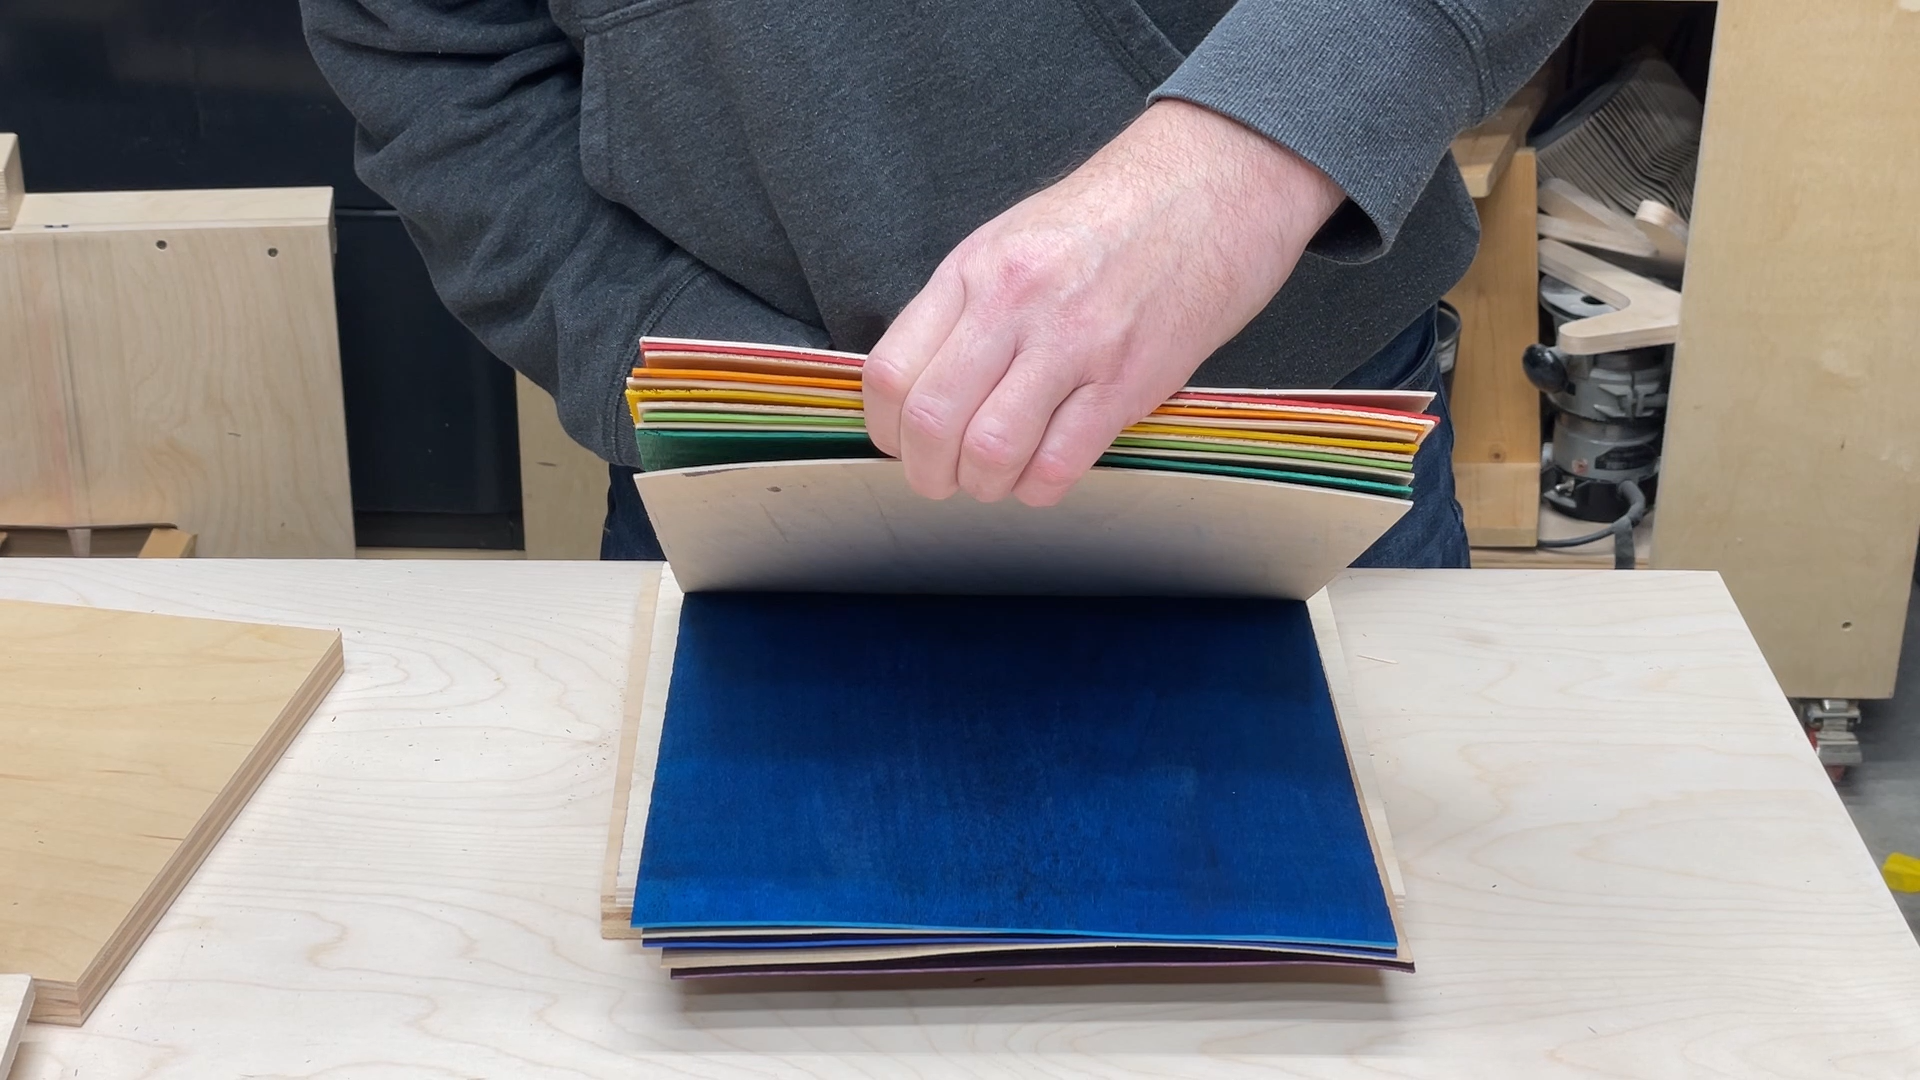
Dyed Skateboard Veneer - Cousineau Wood Products
Various sand paper
Spray Lacquer
Titebond Wood Glue - https://amzn.to/3NJiaDh
NOTE: As an Amazon Associate I earn from qualifying purchases.
Other affiliate links may be used on this page, but do not affect pricing of the items.
NOTE: If you plan on using any tool for a project please make sure you are familiar with the tool and all of the dangers associated with it. If you are not familiar with a tool then you should ask someone who is to show you the proper way to use it. A lot of communities have classes at local colleges on the proper use of tools and machinery. There are also local woodworking clubs that offer classes at very reasonable rates for beginners. I highly recommend using these resources for your safety and for the most efficient use of the tool.
SAFETY FIRST
Always wear eye and hearing protection. Always work safe with the proper safety equipment and guards on your tools.
Step 2: Create 3D STL File For Your Area
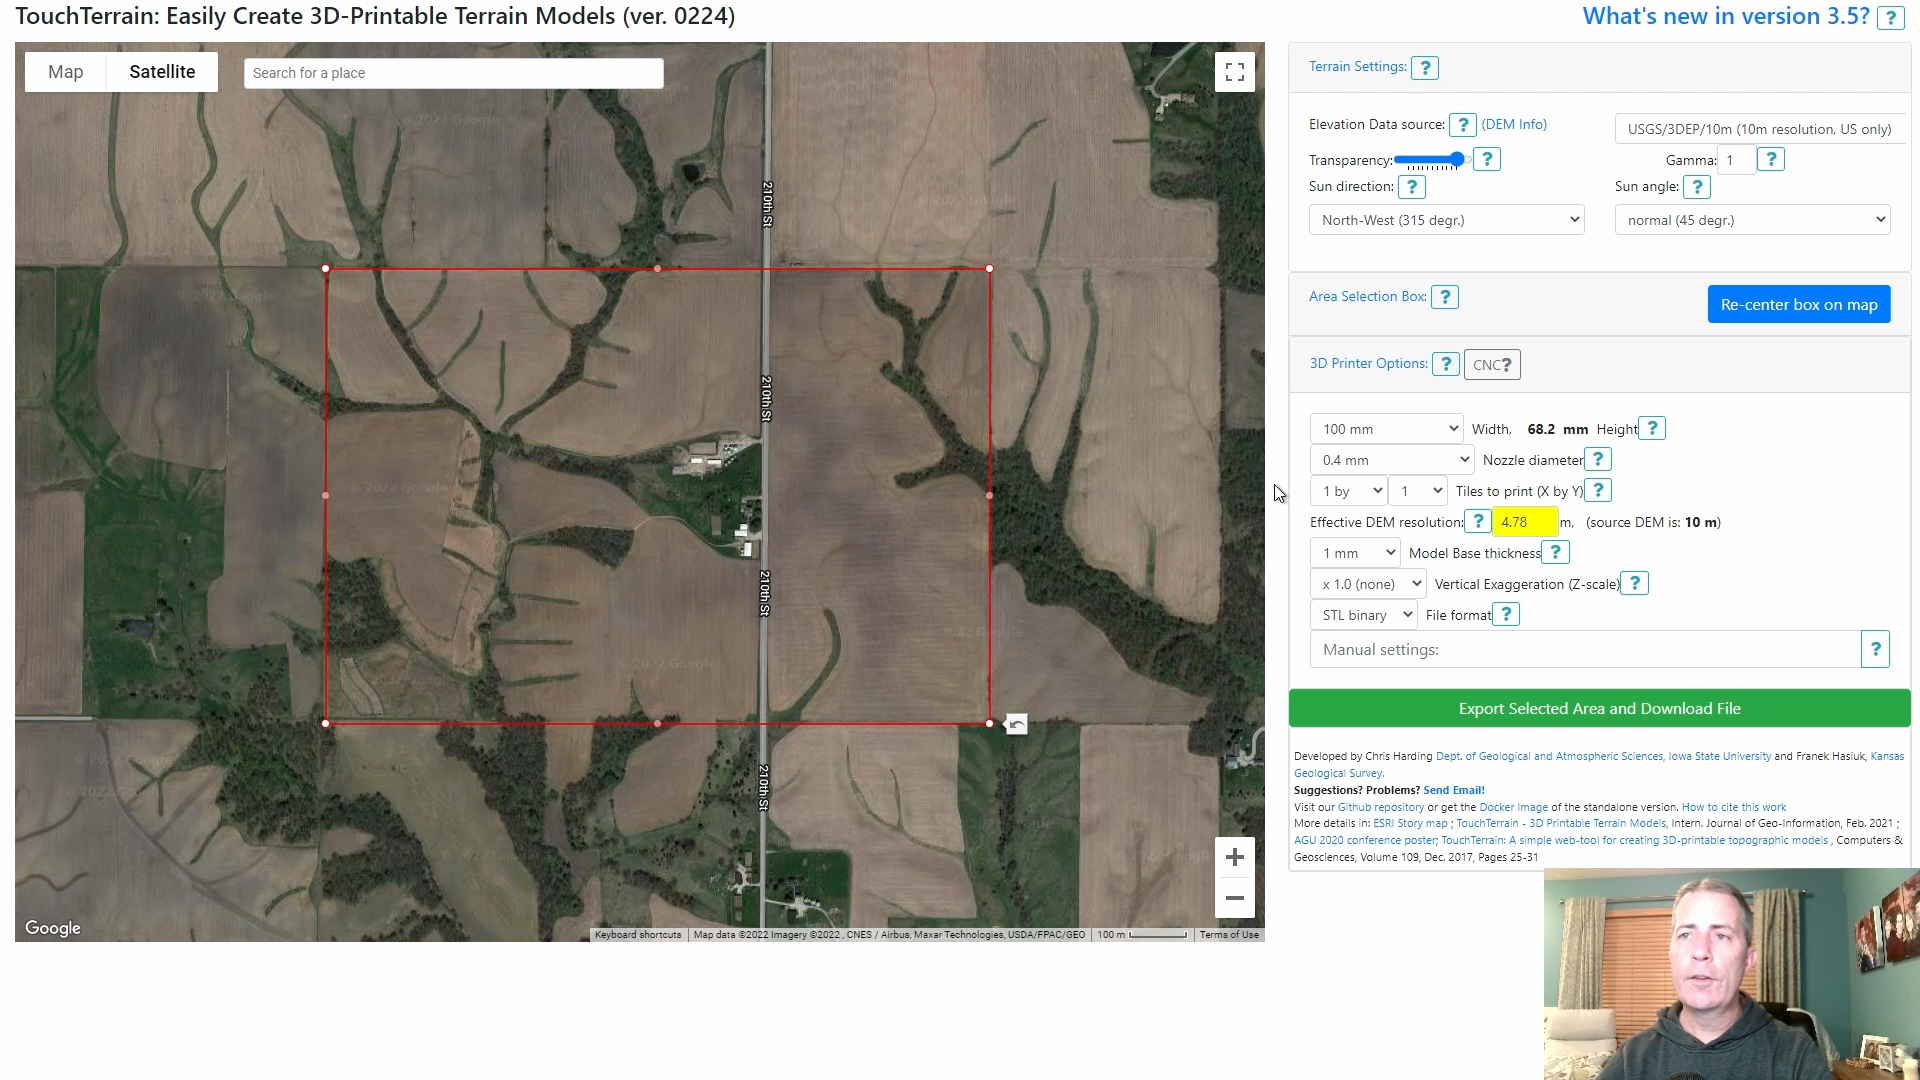
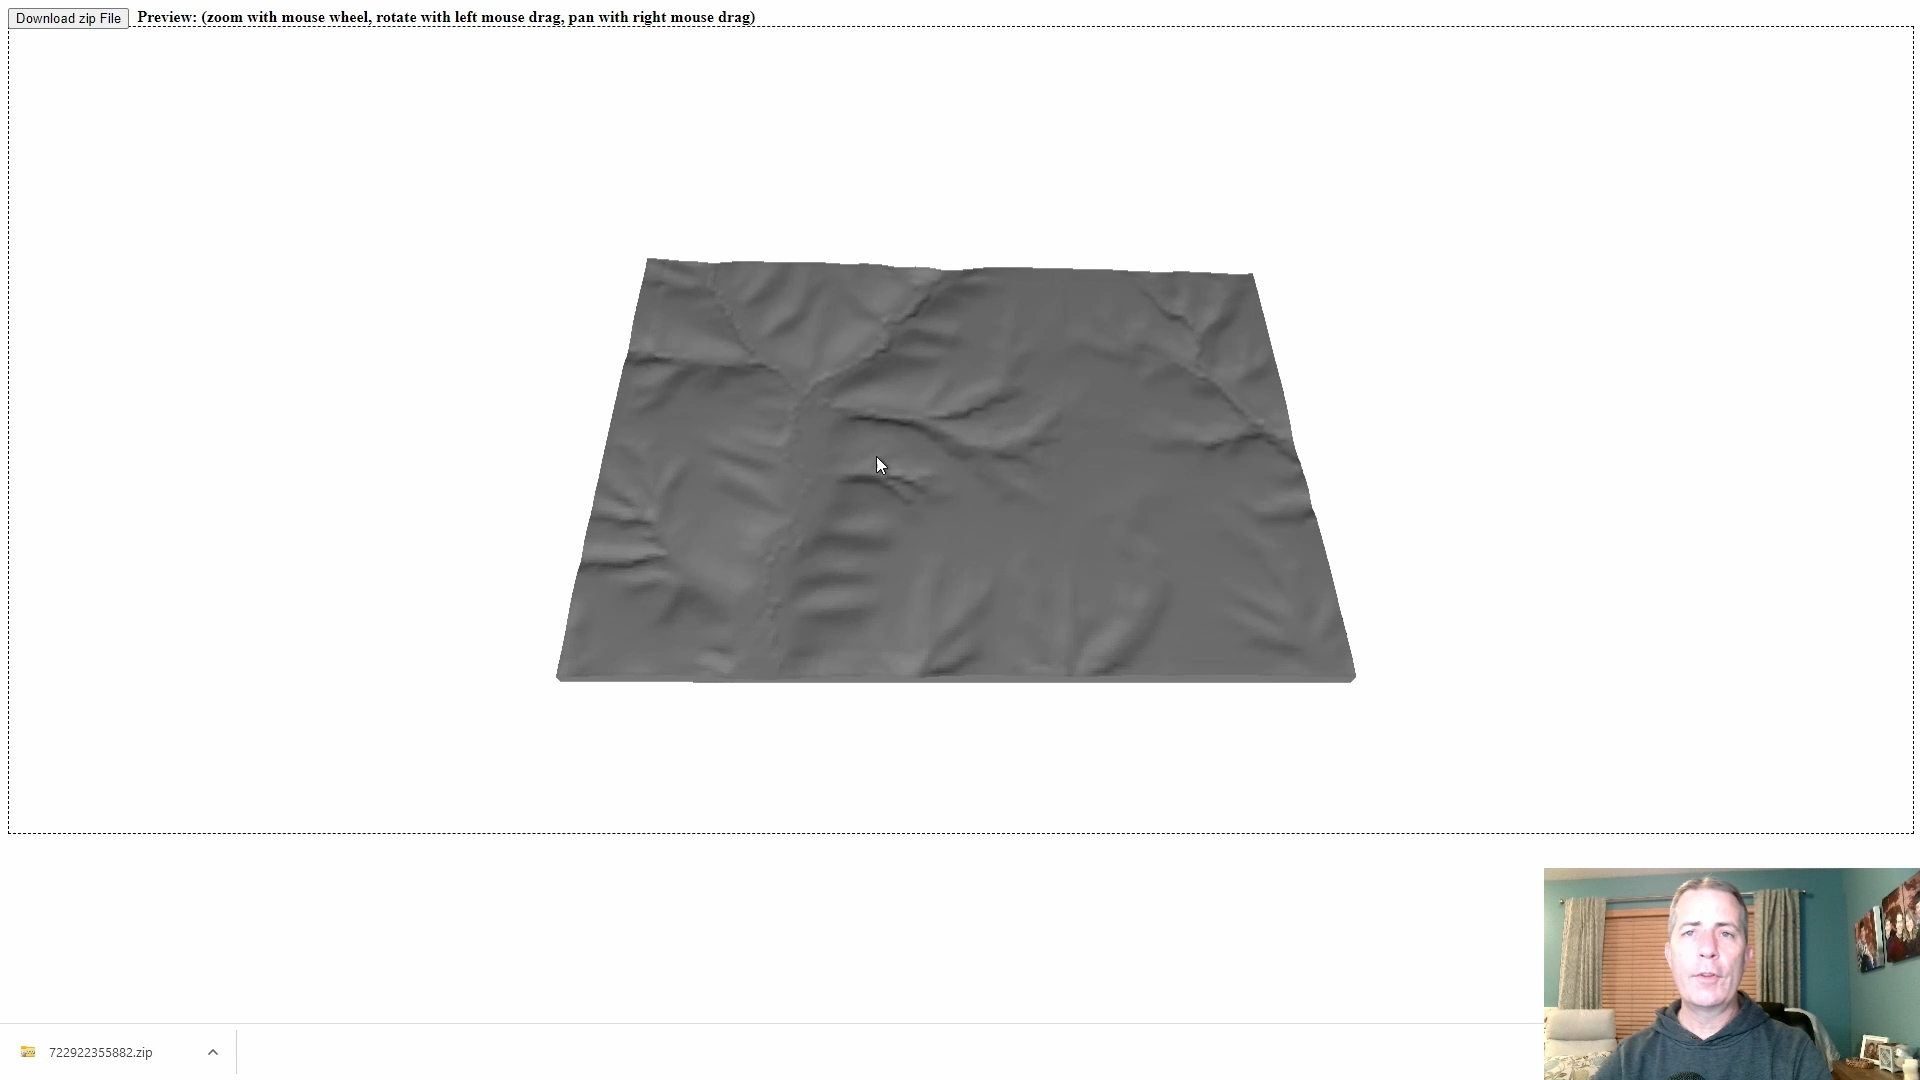
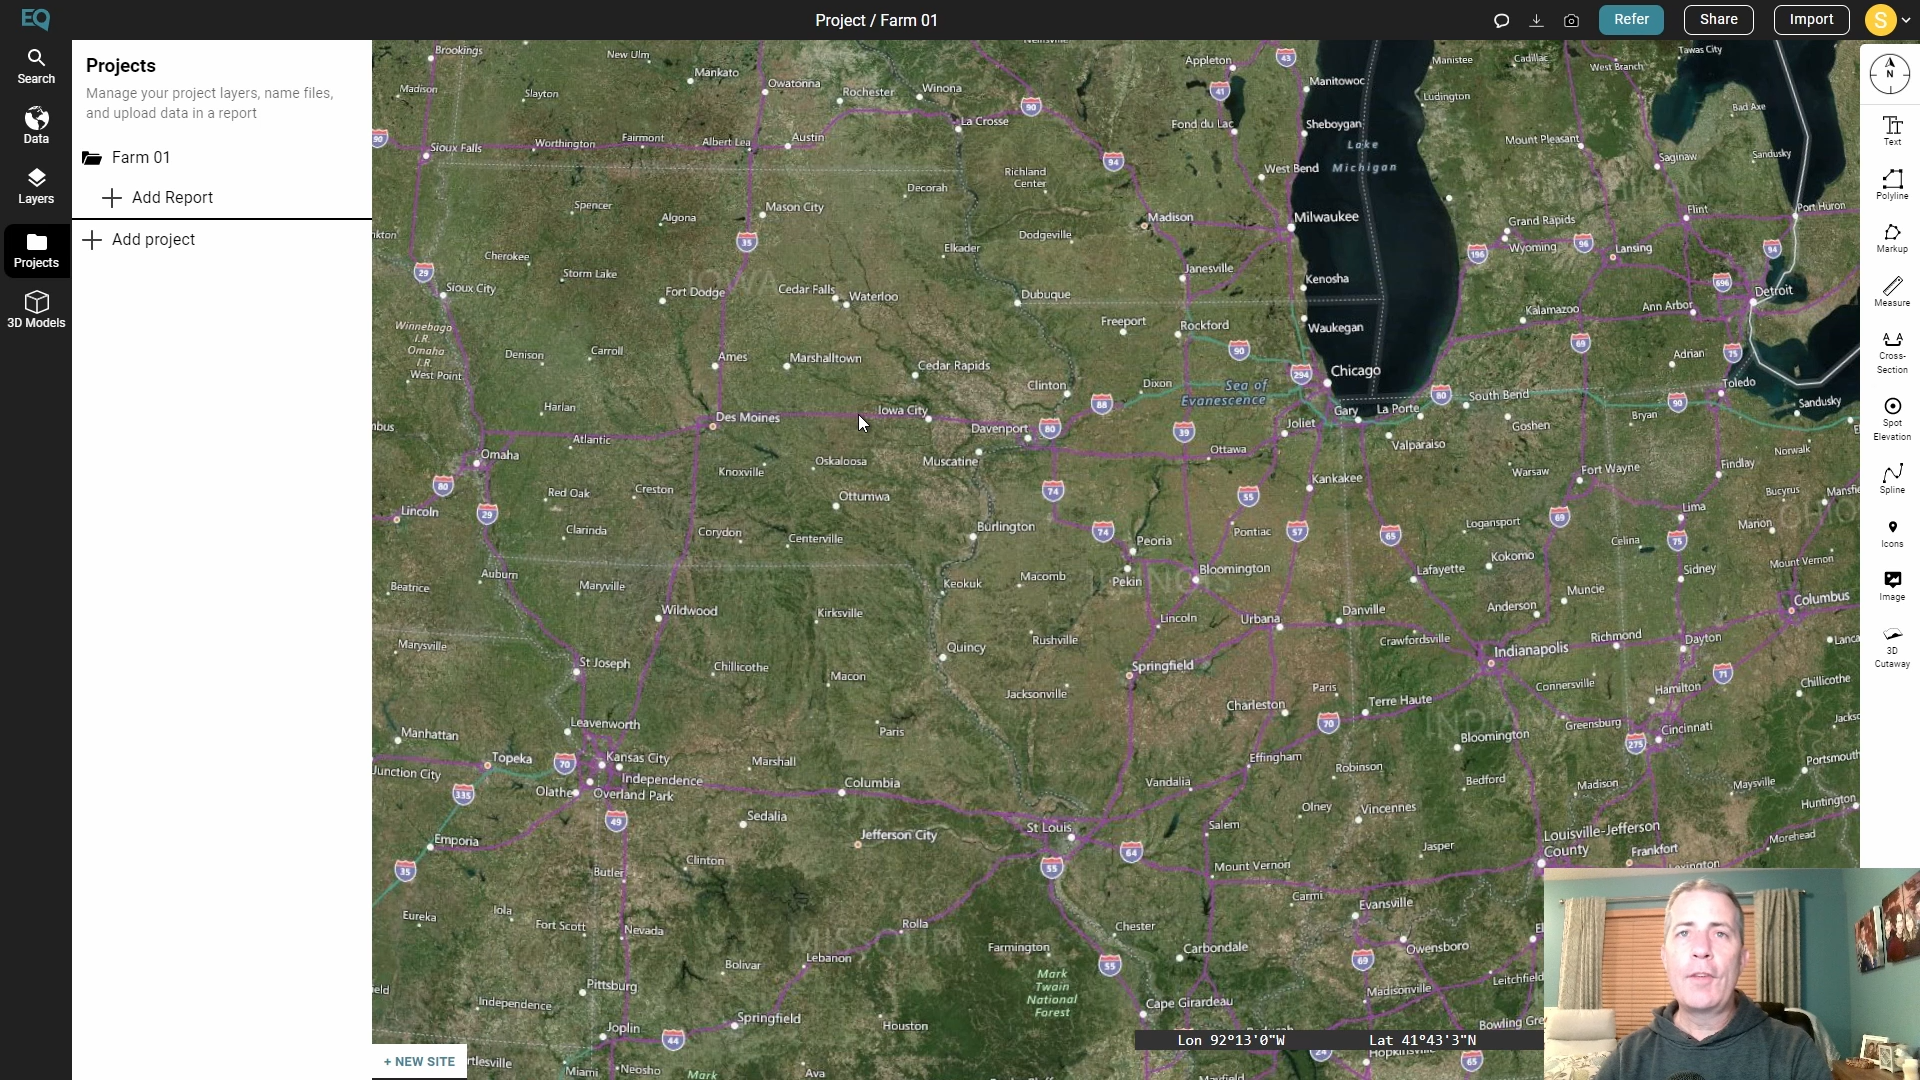
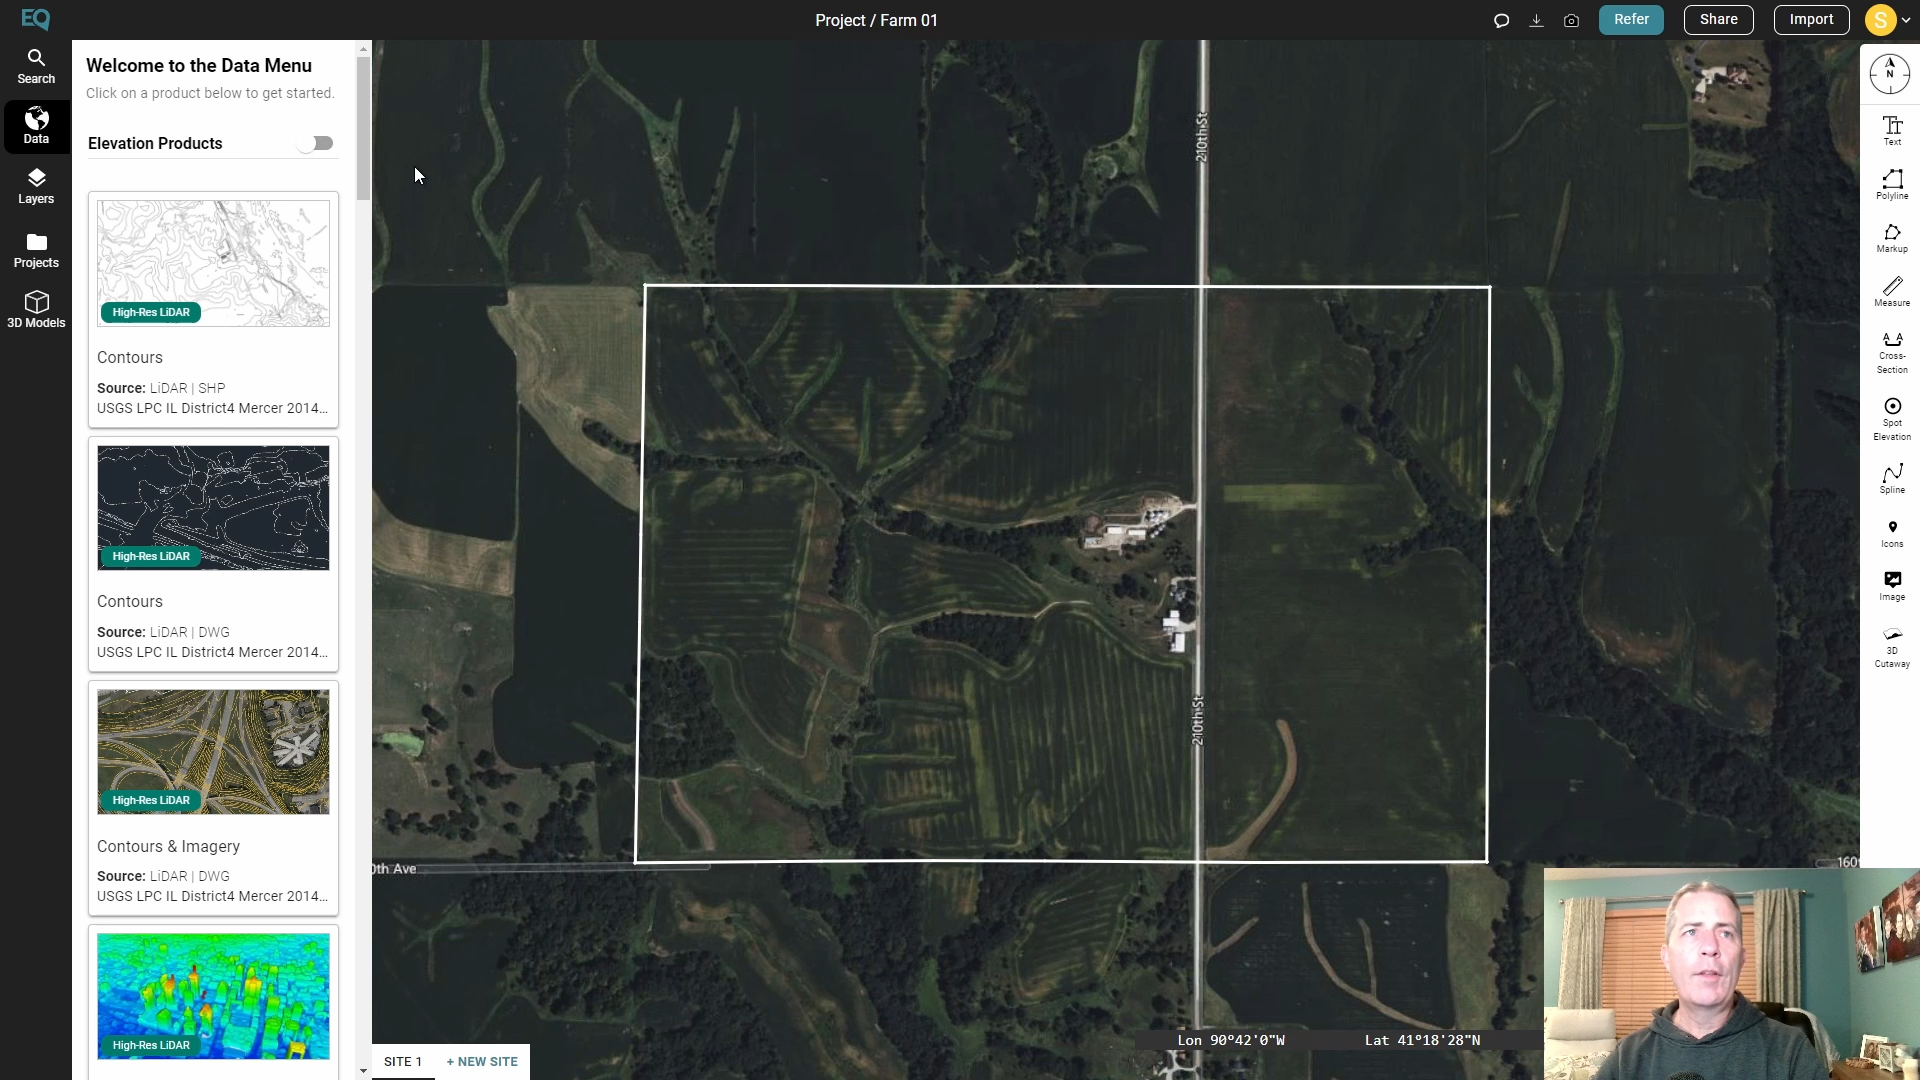
I have two great options for downloading 3D topographic data.
Touch Terrain Website
https://touchterrain.geol.iastate.edu/main
Do the following steps to download the data for the area you want.
Zoom into the area on the map that you are interested in.
Click on the blue "Re-center box on map" button on the right side of the screen.
Grab the corner grips on the rectangle and move those to the limits of the area you want to export.
I did not modify the other settings in the boxes on the right side of the screen. You do not need to modify the vertical exaggeration as that will be modified in the Easel Pro software when you import the model.
The File Format should be set to STL binary format for our purposes.
Click on the green box labeled "Export Area and Download File."
On the next screen click on the "Download zip file" button. After downloading the zip file you will need to extract the files from the zip file.
After downloading you can also click on the "Preview STL" button to get a rough three dimensional view of the model.
Equator Studios Website
This is a fairly new site that has great high resolution model information using Lidar (laser) mapping.
Do the following steps to download the data for the area you want.
Set up an account to start so you can access the data and save your projects.
Zoom into the area on the map that you are interested in.
Create a project in the projects tab on the left side.
In the lower left corner of the aerial map view click on the "+ new site" button. That will open an area boundary rectangle that you can zoom in and out and make a site selection. You can also click the "Edit Site Bounds" on the bottom of this area selection and it will let you click on key boundary definition points for your site.
At the top of the left side of the screen you should click on the button for Elevation Products. That will import shaded color areas that show what elevation products are available for your area.
Click on your side to see what mapping information is available there.
Scroll down through the data options on the left side of the screen to the most recent Printable Mesh option. It will have STL as one of the sources.
Under Customizations you can select Custom and modify the resolution setting for your area. The smaller the number used for the resolution will create closer data points which means larger sized files. You may need to adjust this and export again if your file size is too large.
Click on the "Generate" button at the bottom of the left side of the screen. It will take a few minutes for the interface to create a printable mesh file.
Click on the down arrow in the Printable Mesh box and you will be able to download the file with the Download button. This will download an STL file you can import directly into Easel Pro software.
Step 3: Import Your 3D Topo File Into Easel PRO Software
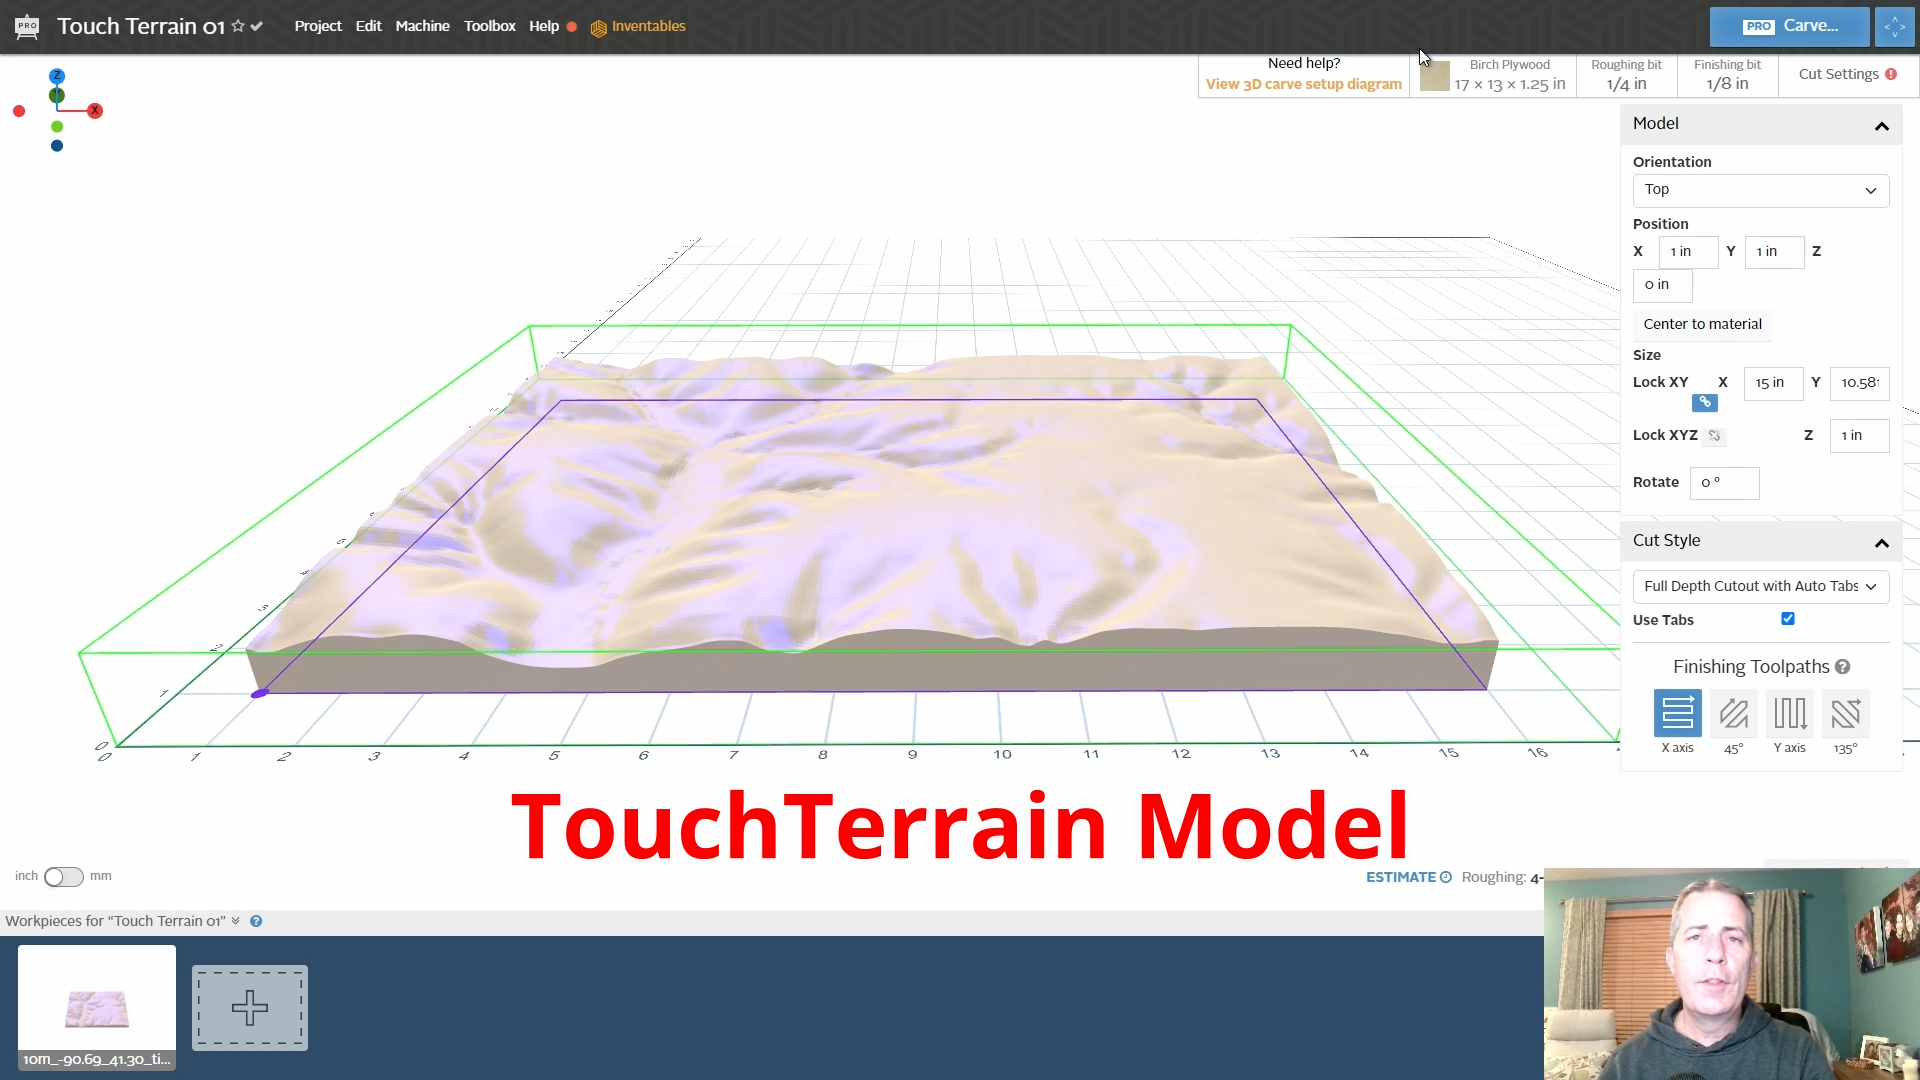
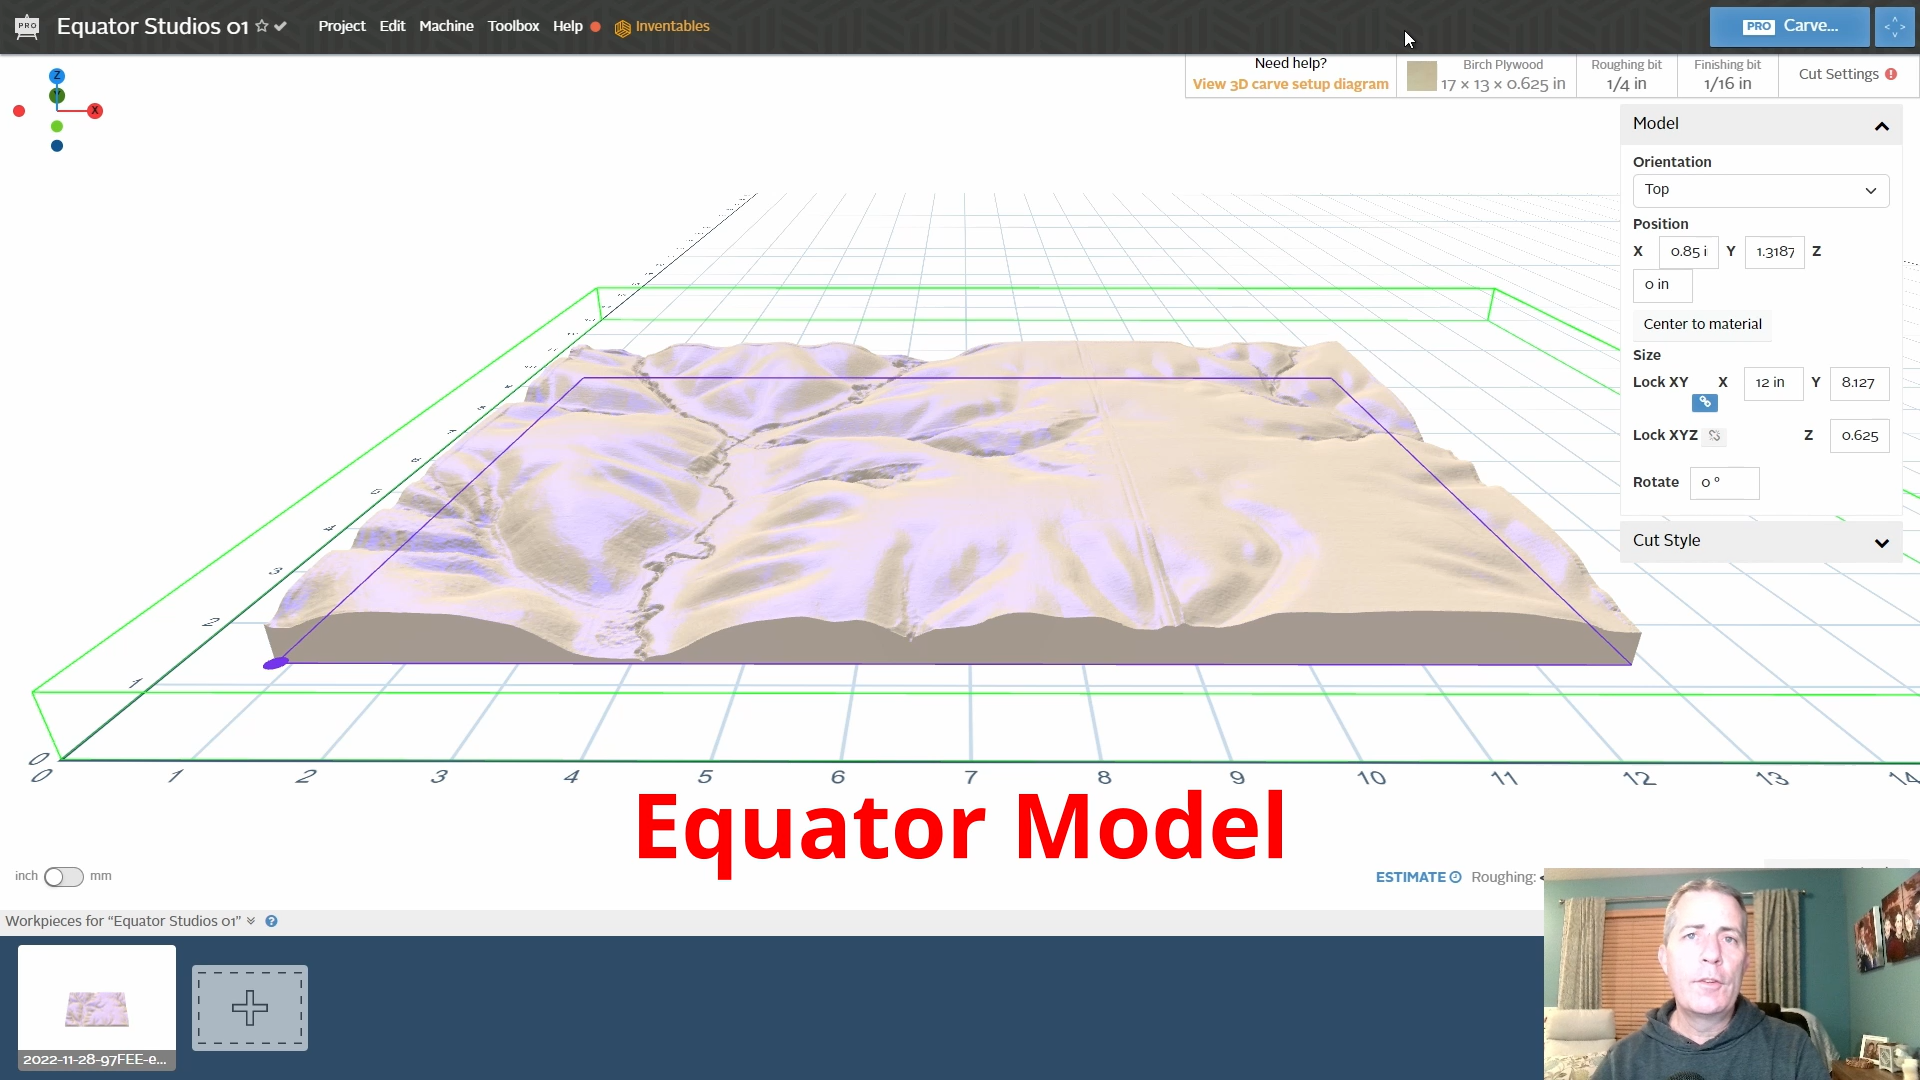
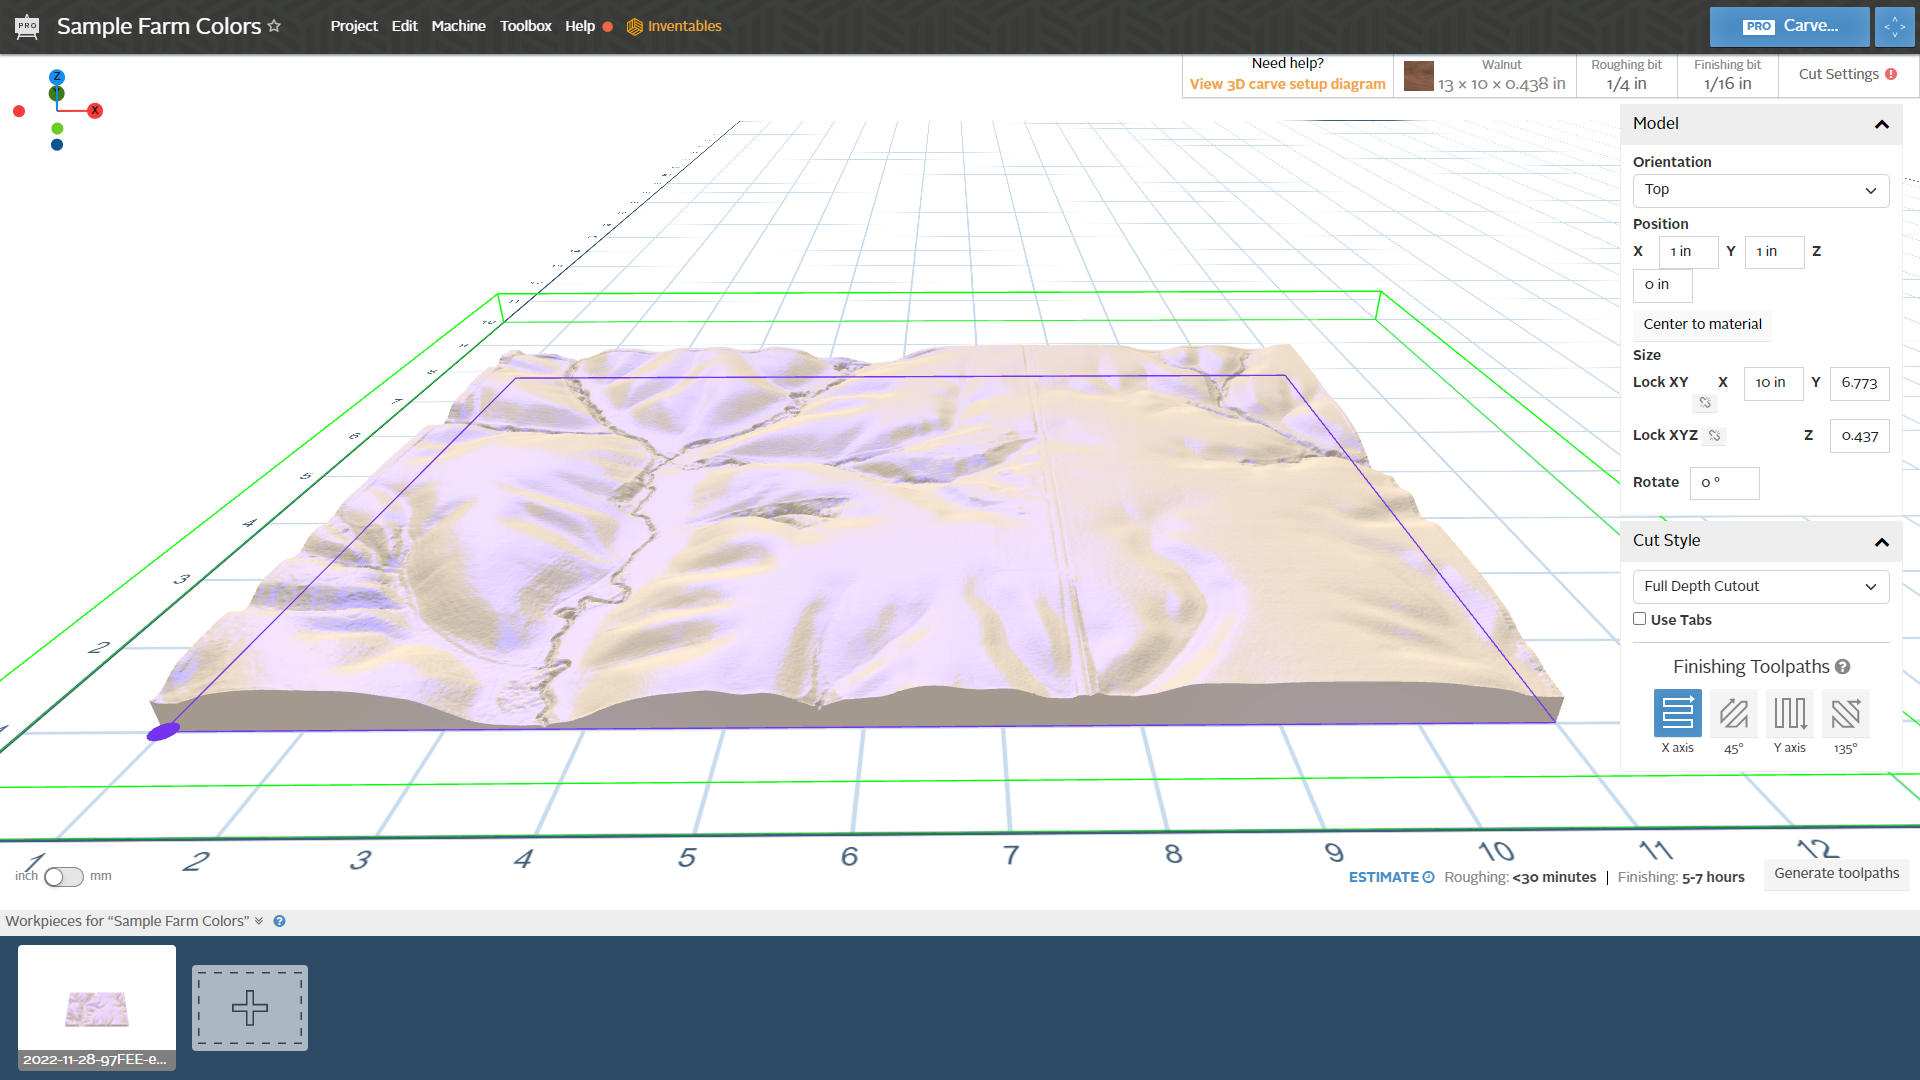
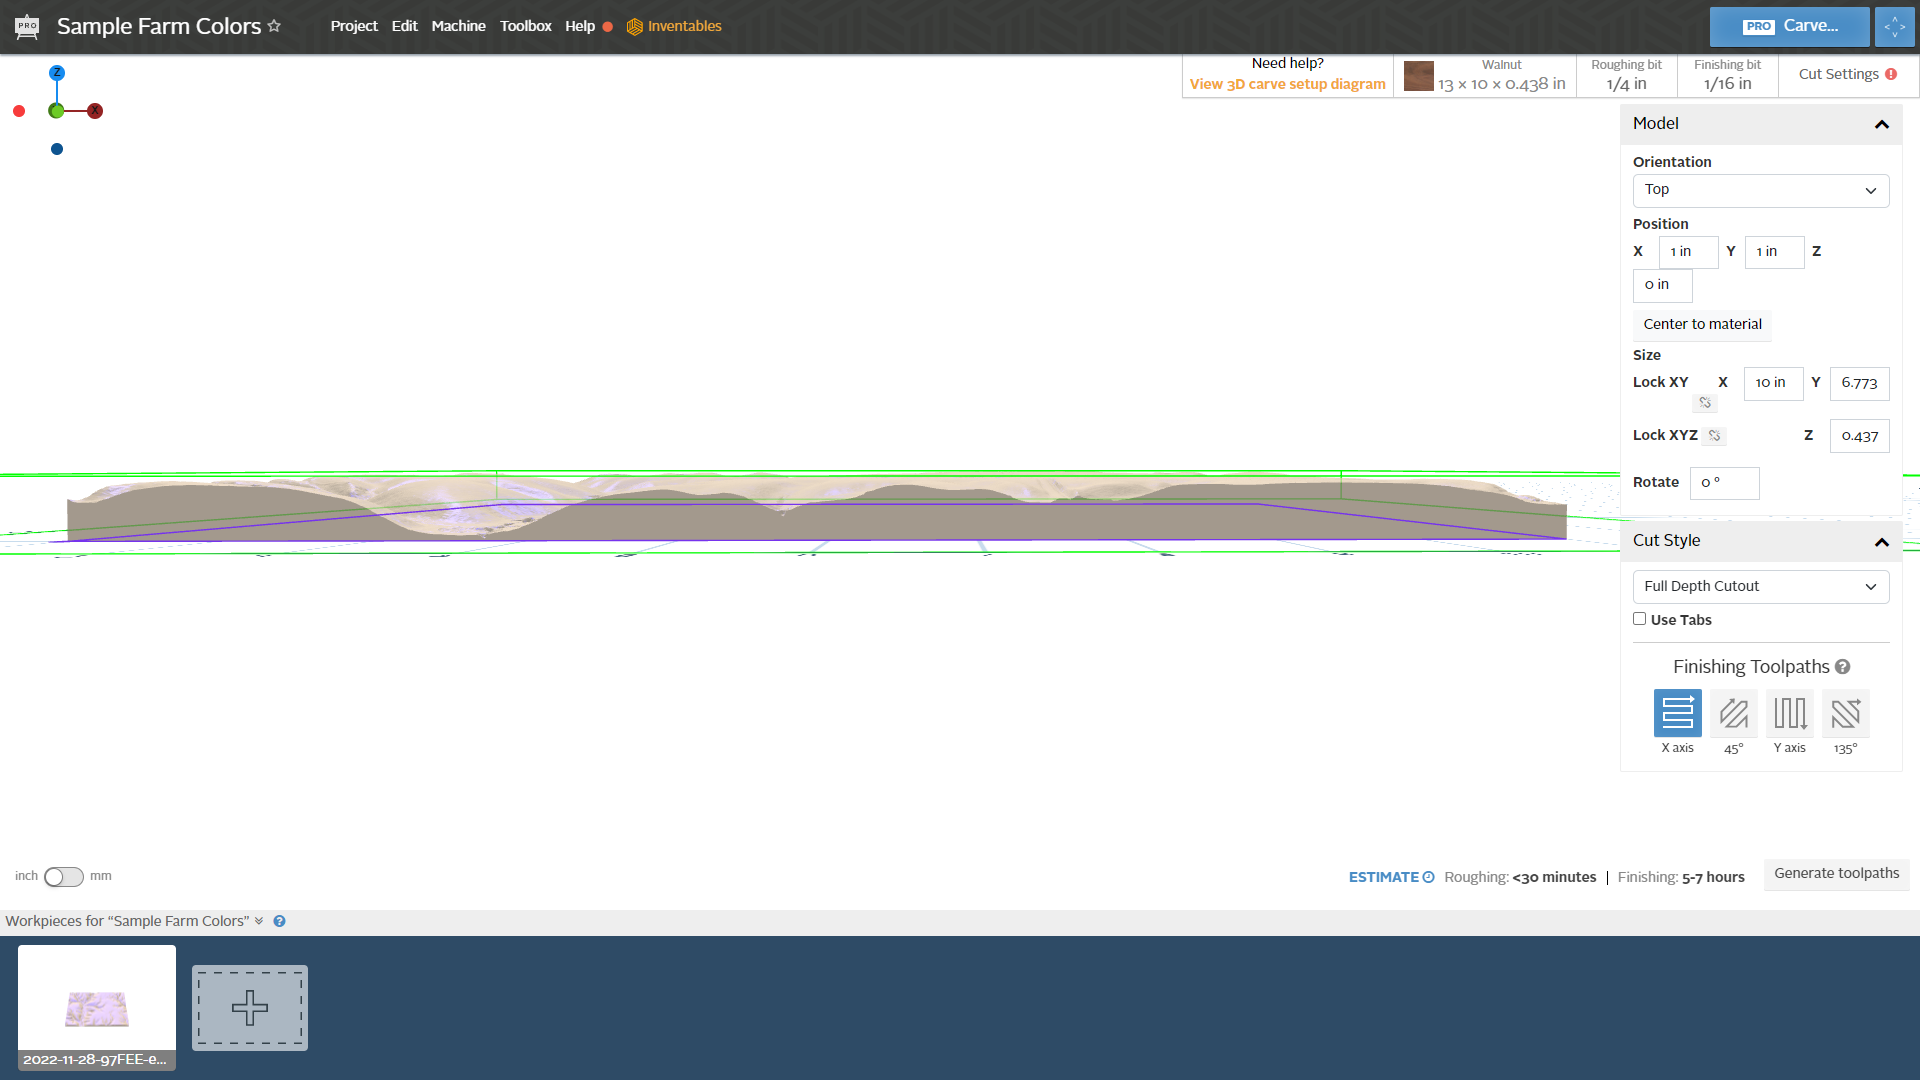
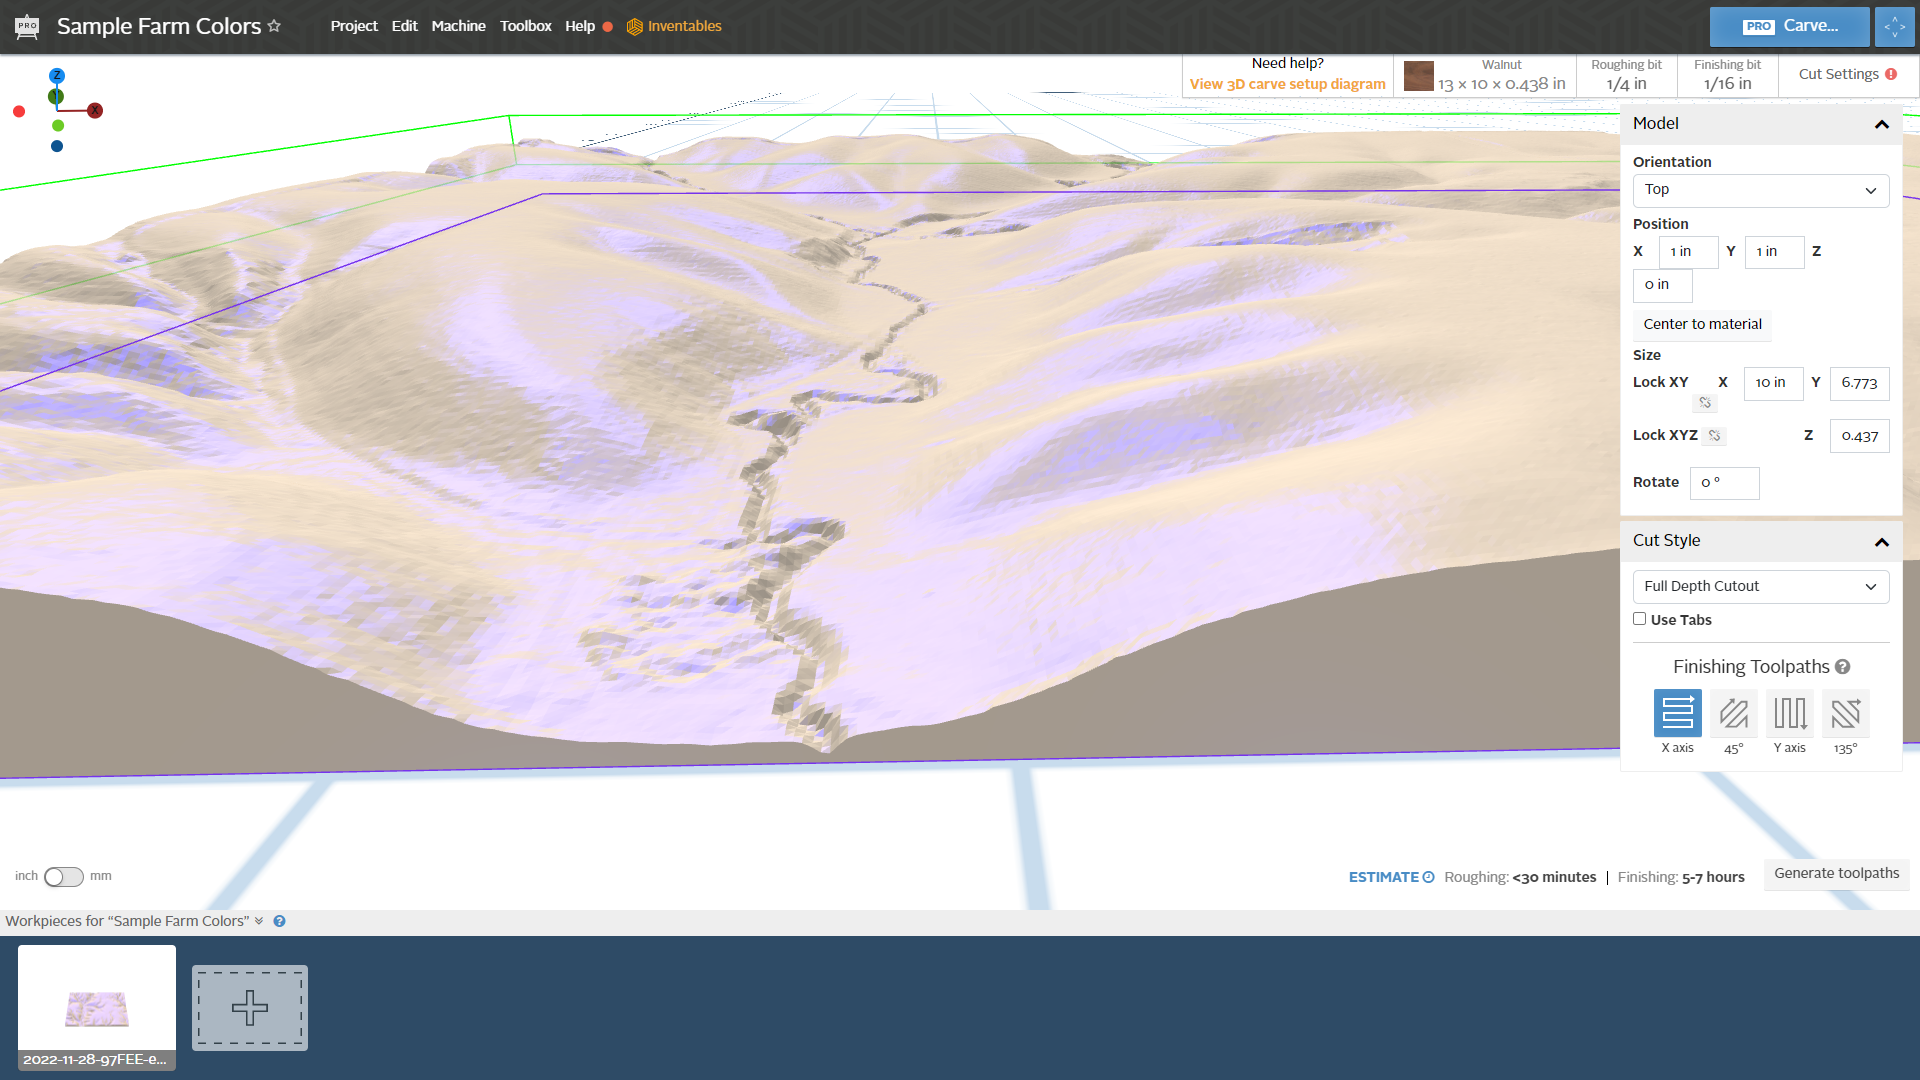
Importing the 3D model into Easel Pro software is now super easy. Just click on the Import "Add 3D STL File" button at the bottom of the left side of the screen buttons. You should see it roughly in the middle of the left side of the screen. When the dialog box opens you just find the STL file on your hard drive that you want to import and select it. There is a file limitation of 100 MB so anything over that and you will need to simplify the mesh using the following link:
https://myminifactory.github.io/Fast-Quadric-Mesh-Simplification/
Once imported you will need to scale the model to match the footprint of the material you are carving and also scale the Z-axis to match the height of the carving you want to create.
The "Z" size of your piece needs to match the depth of your carve. When you import the STL file initially the model will come in with the original X, Y, and Z proportions. I recommend scaling your model in the X and Y directions to match the piece you are carving with the lock button engaged. Once you have the X and Y dimensions then you can modify the Z dimension to match how deep you want to carve into your material.
I am using the Equator Studios STL model for my carving of the farm model. The Equator Studios STL model was much more detailed for the area that I am focused on. I think this is due to the Touch Terrain model starting as a lower resolution and also that it is a relatively small geographic area I am looking at.
Step 4: Create Your Wood Blanks
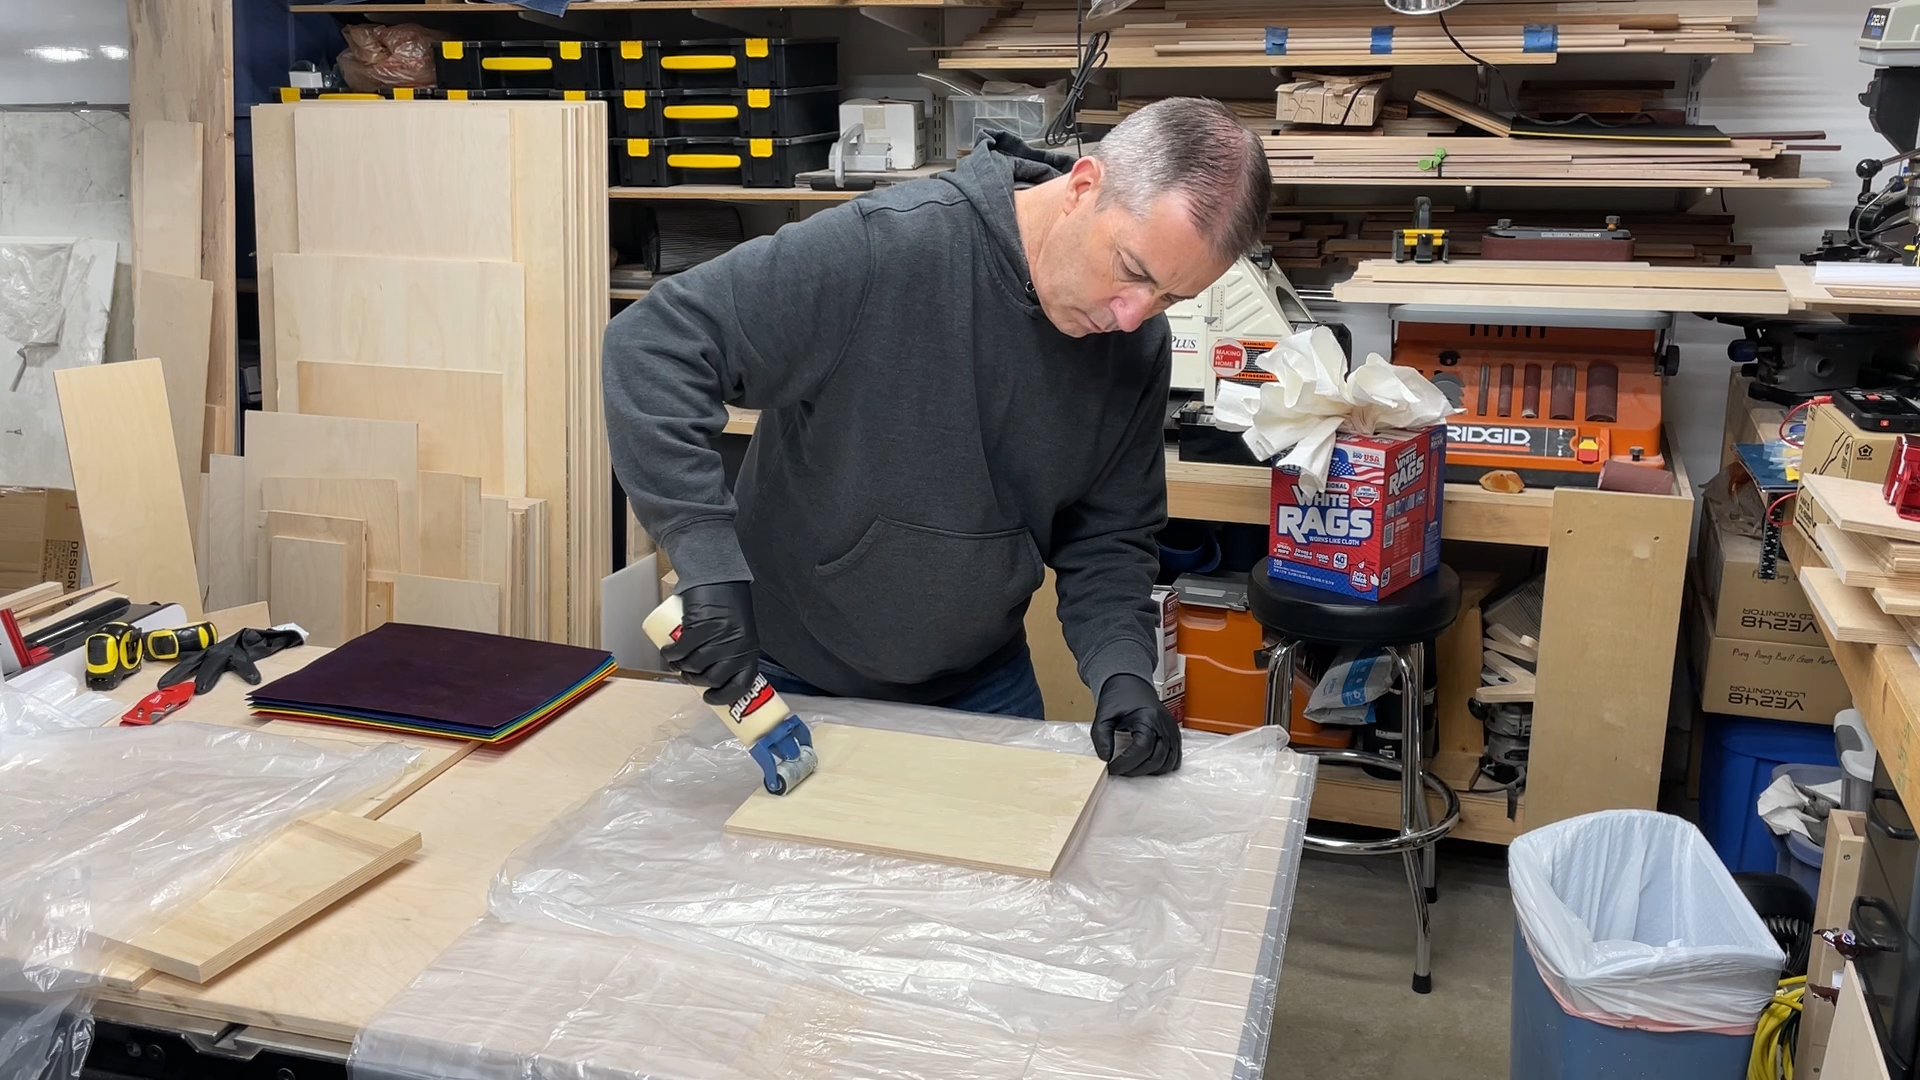
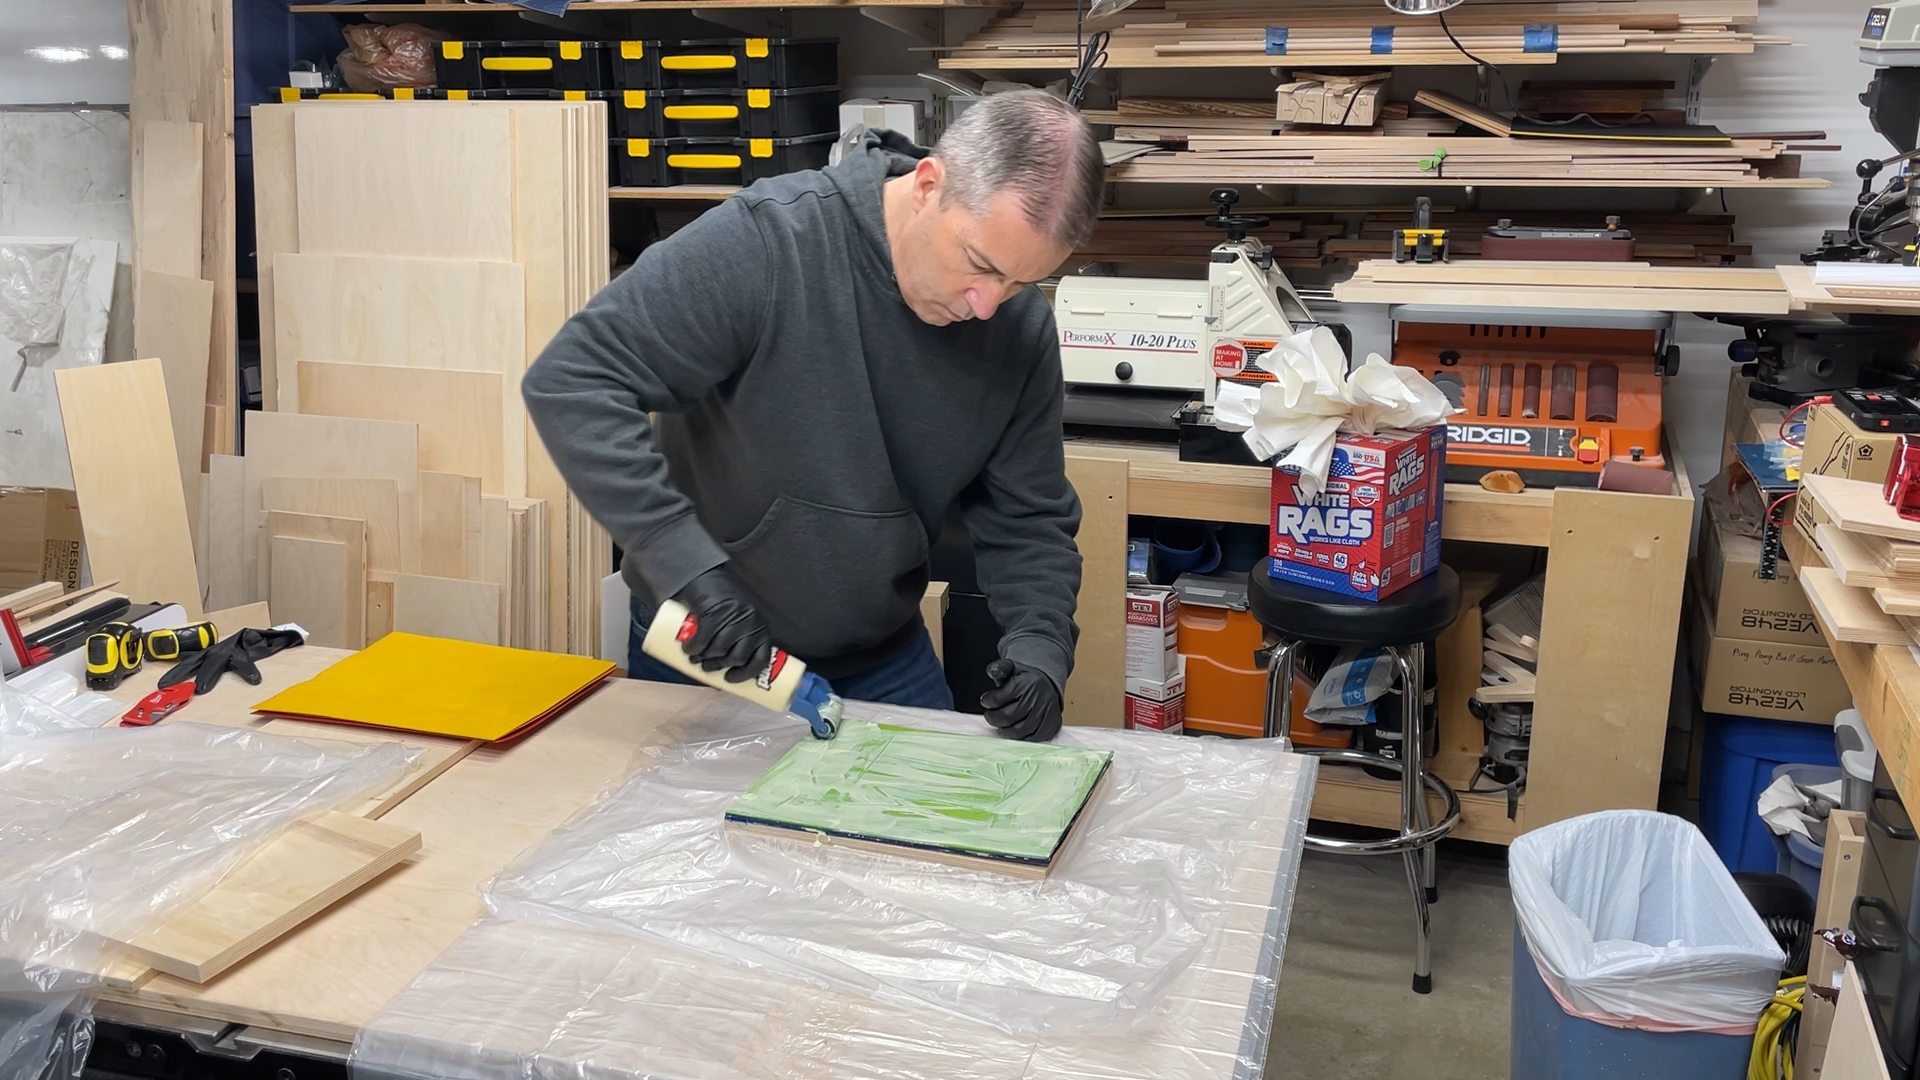
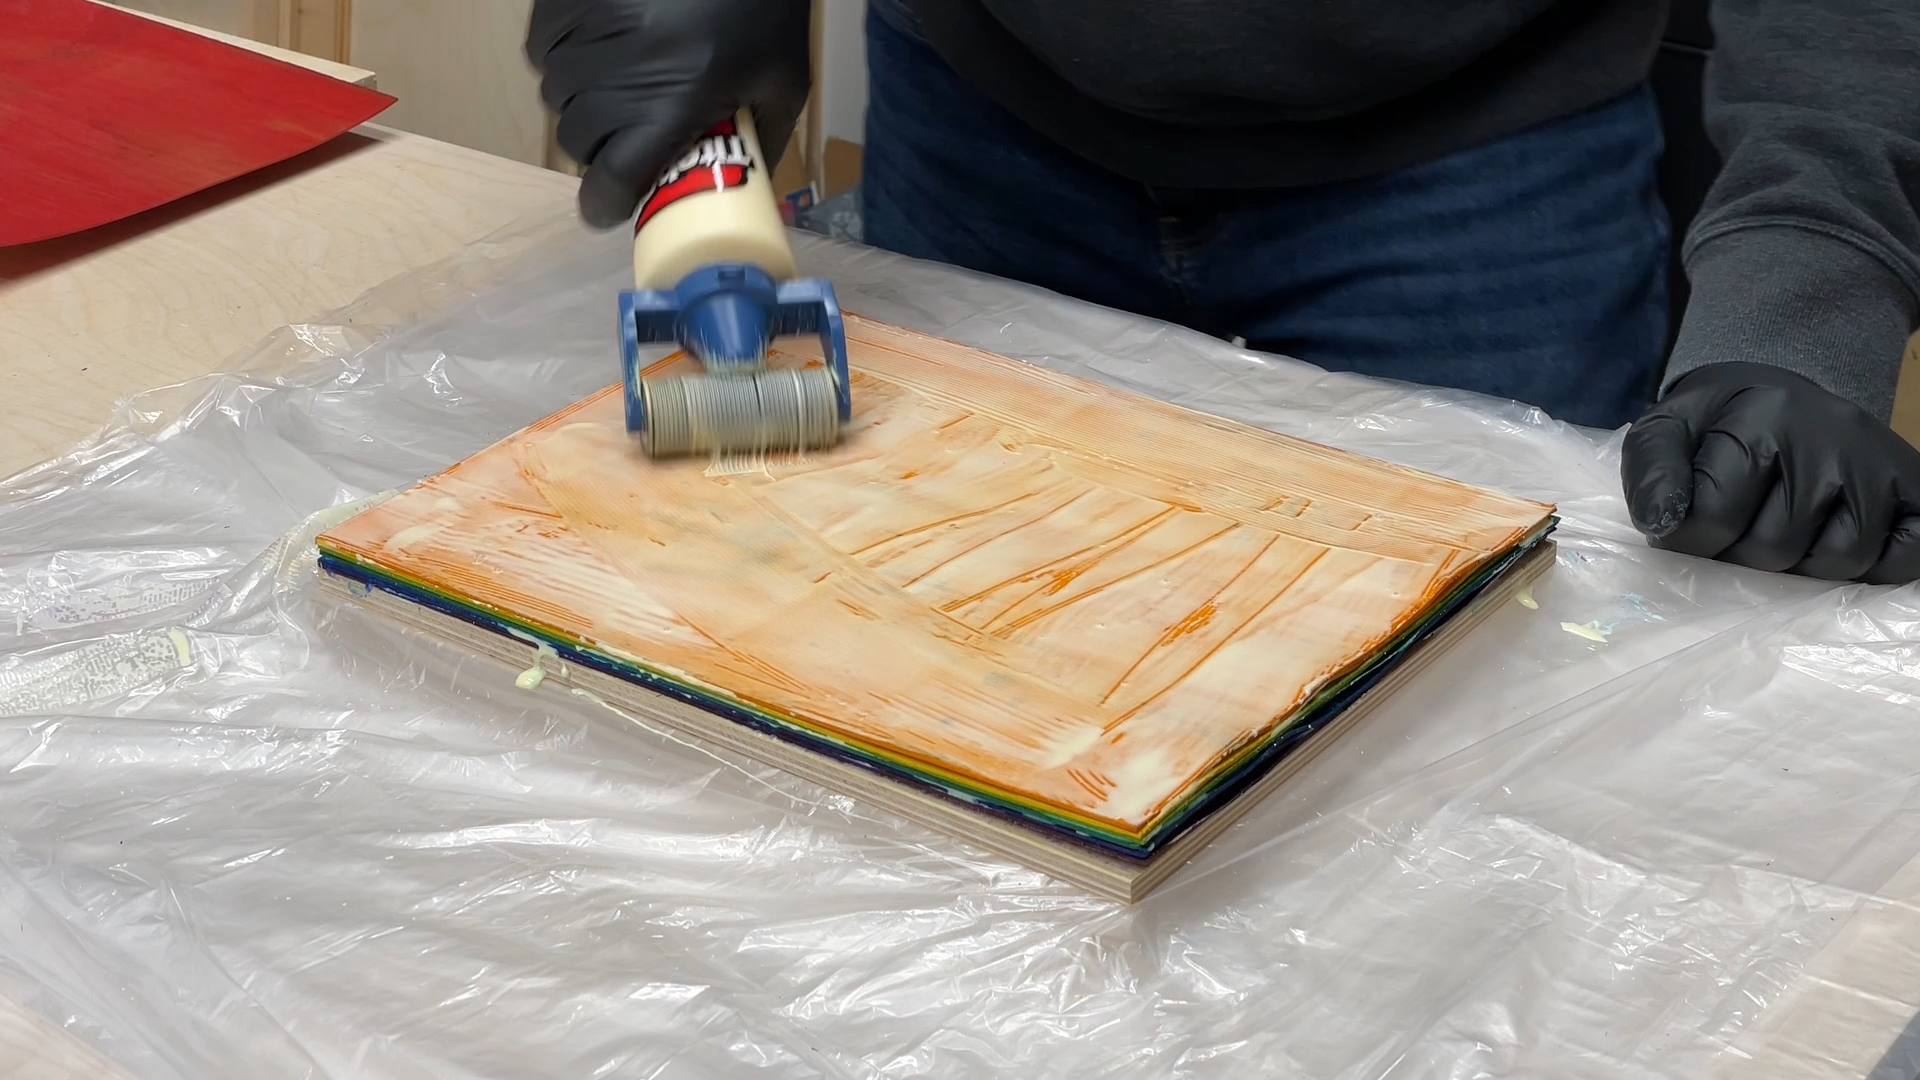
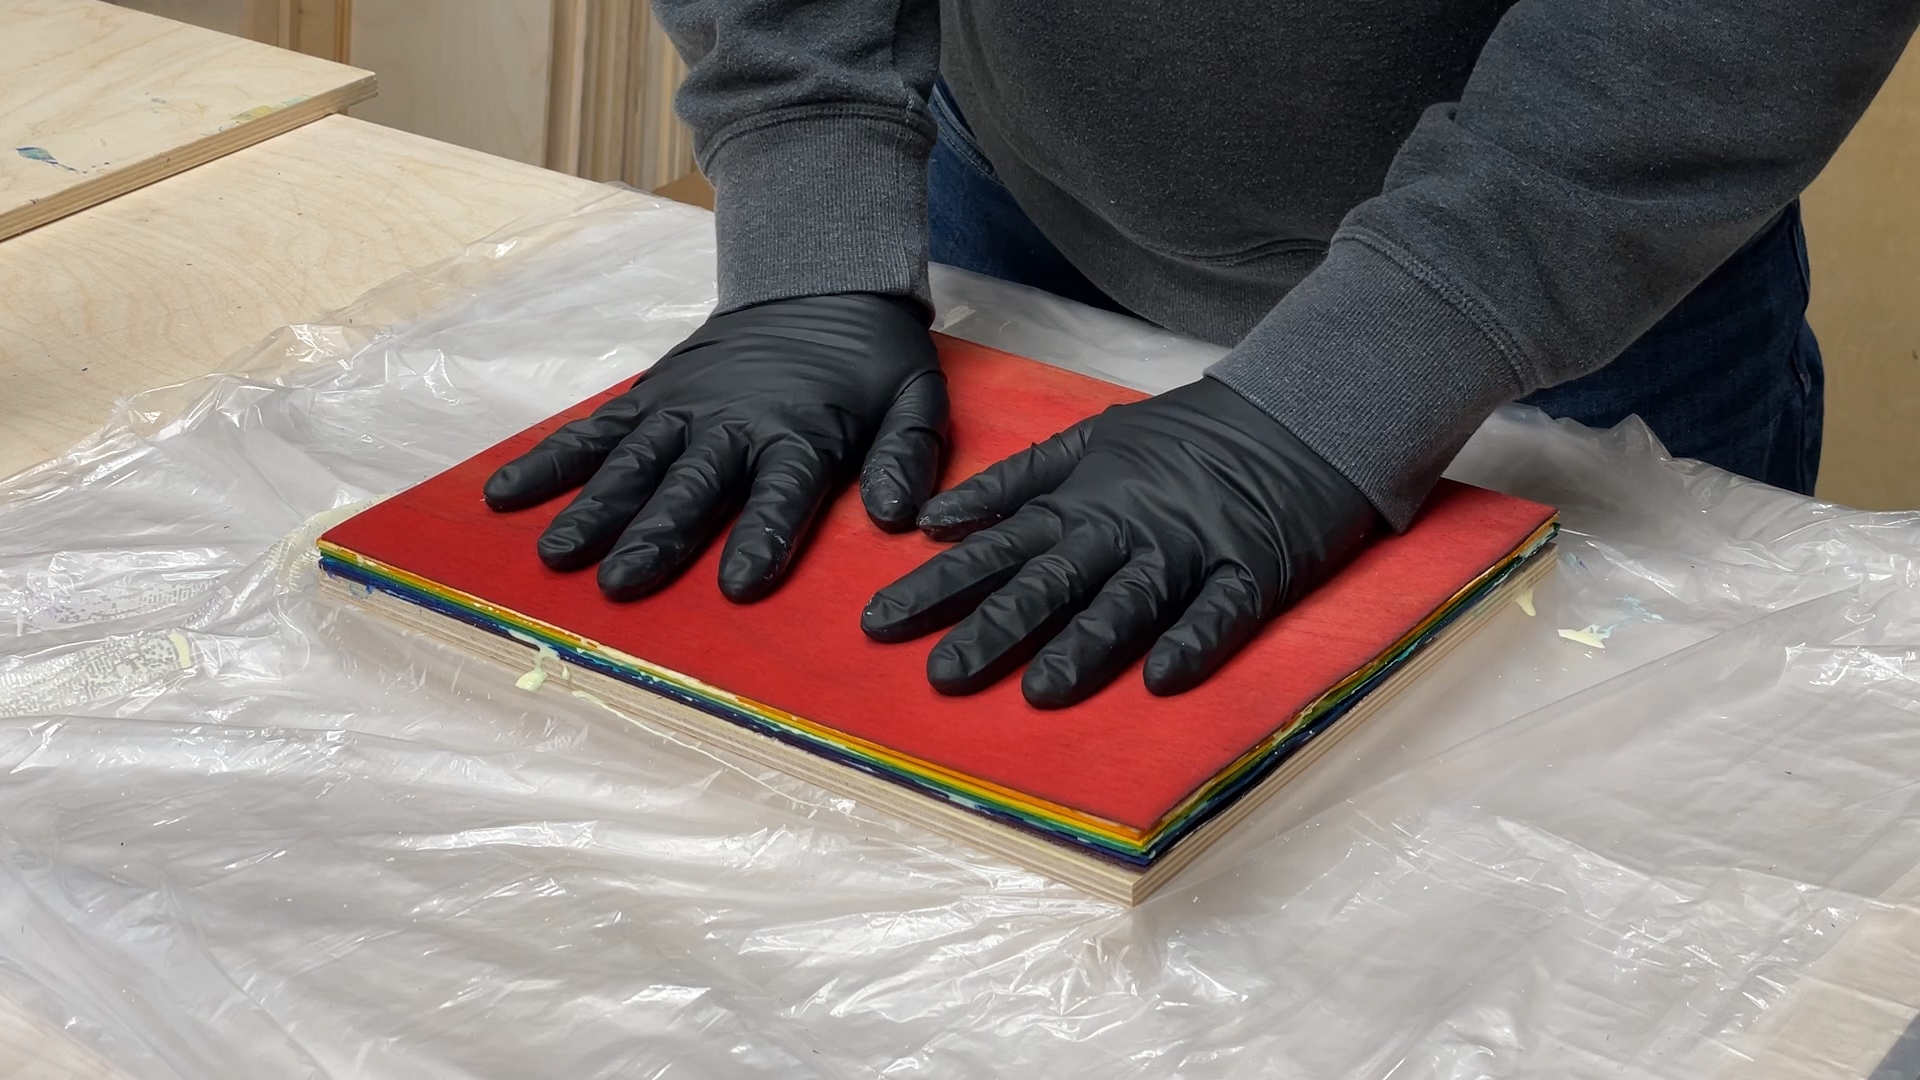
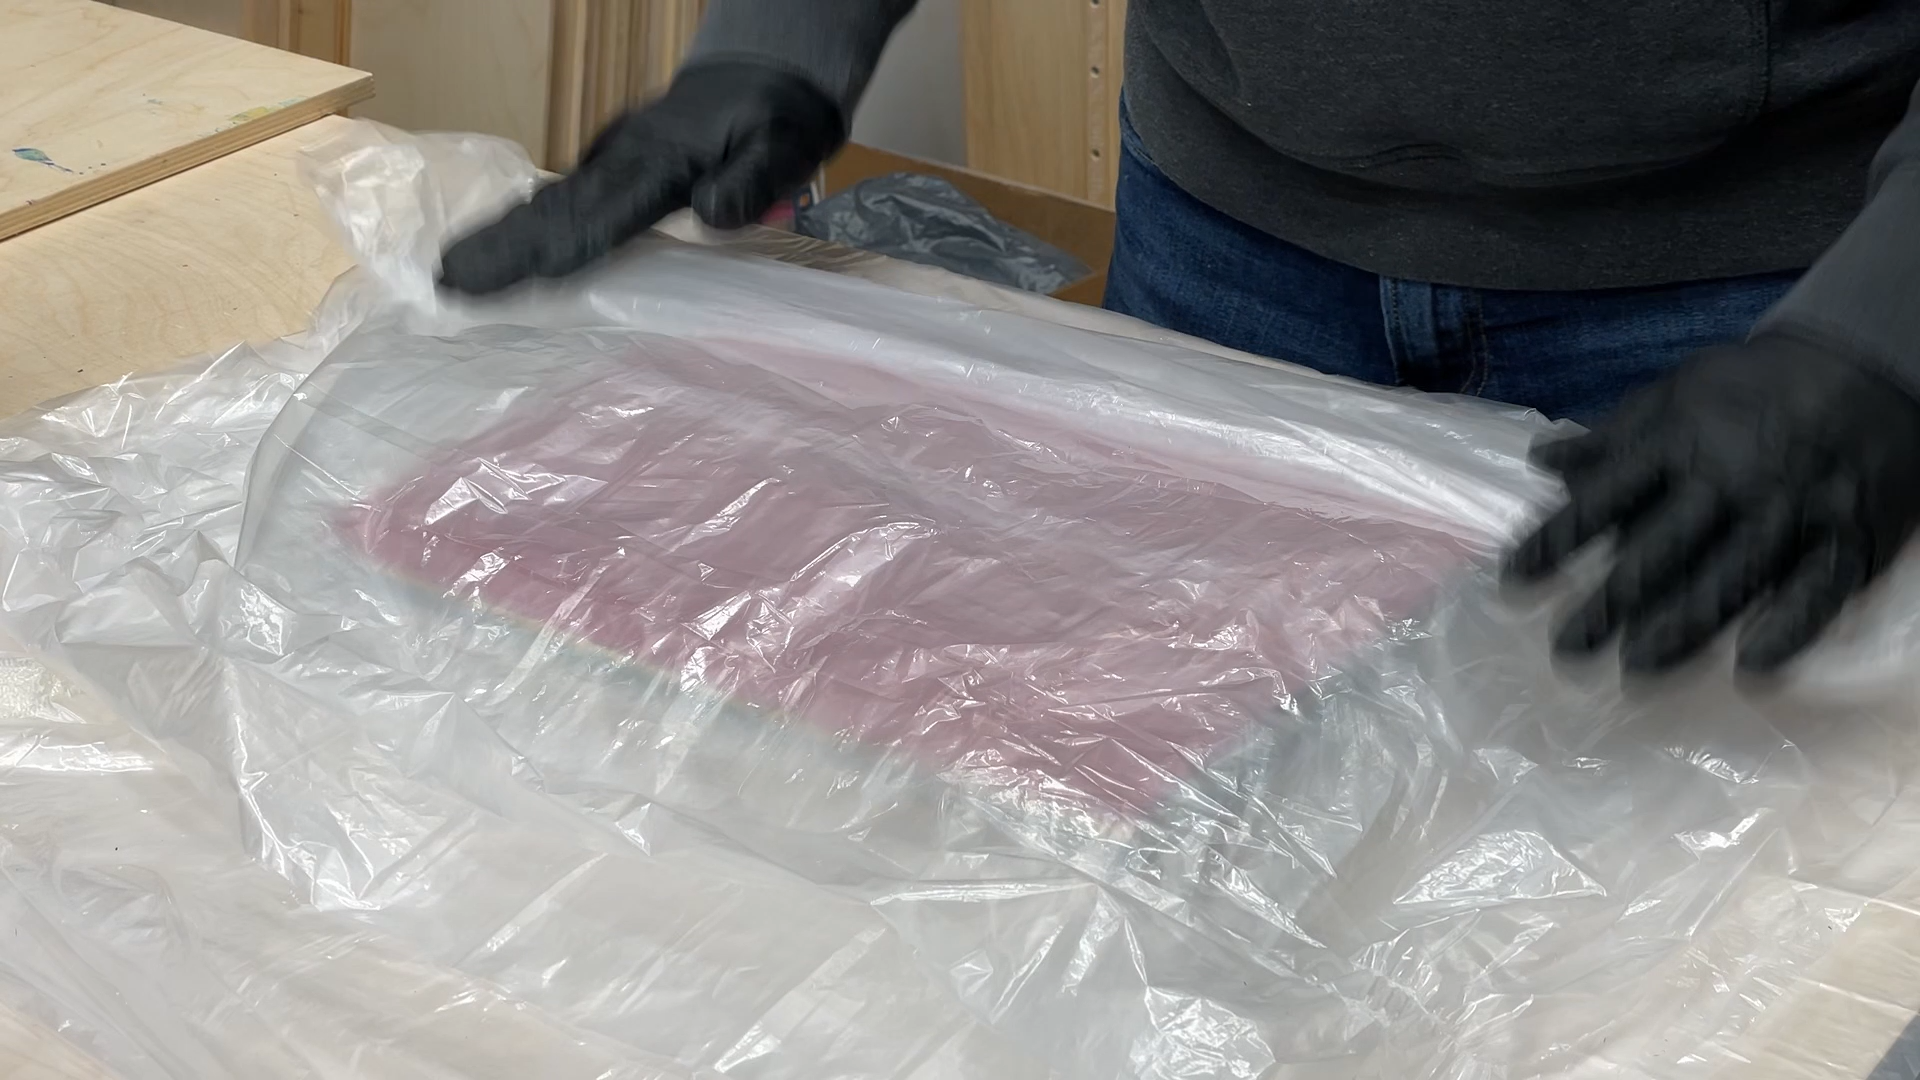
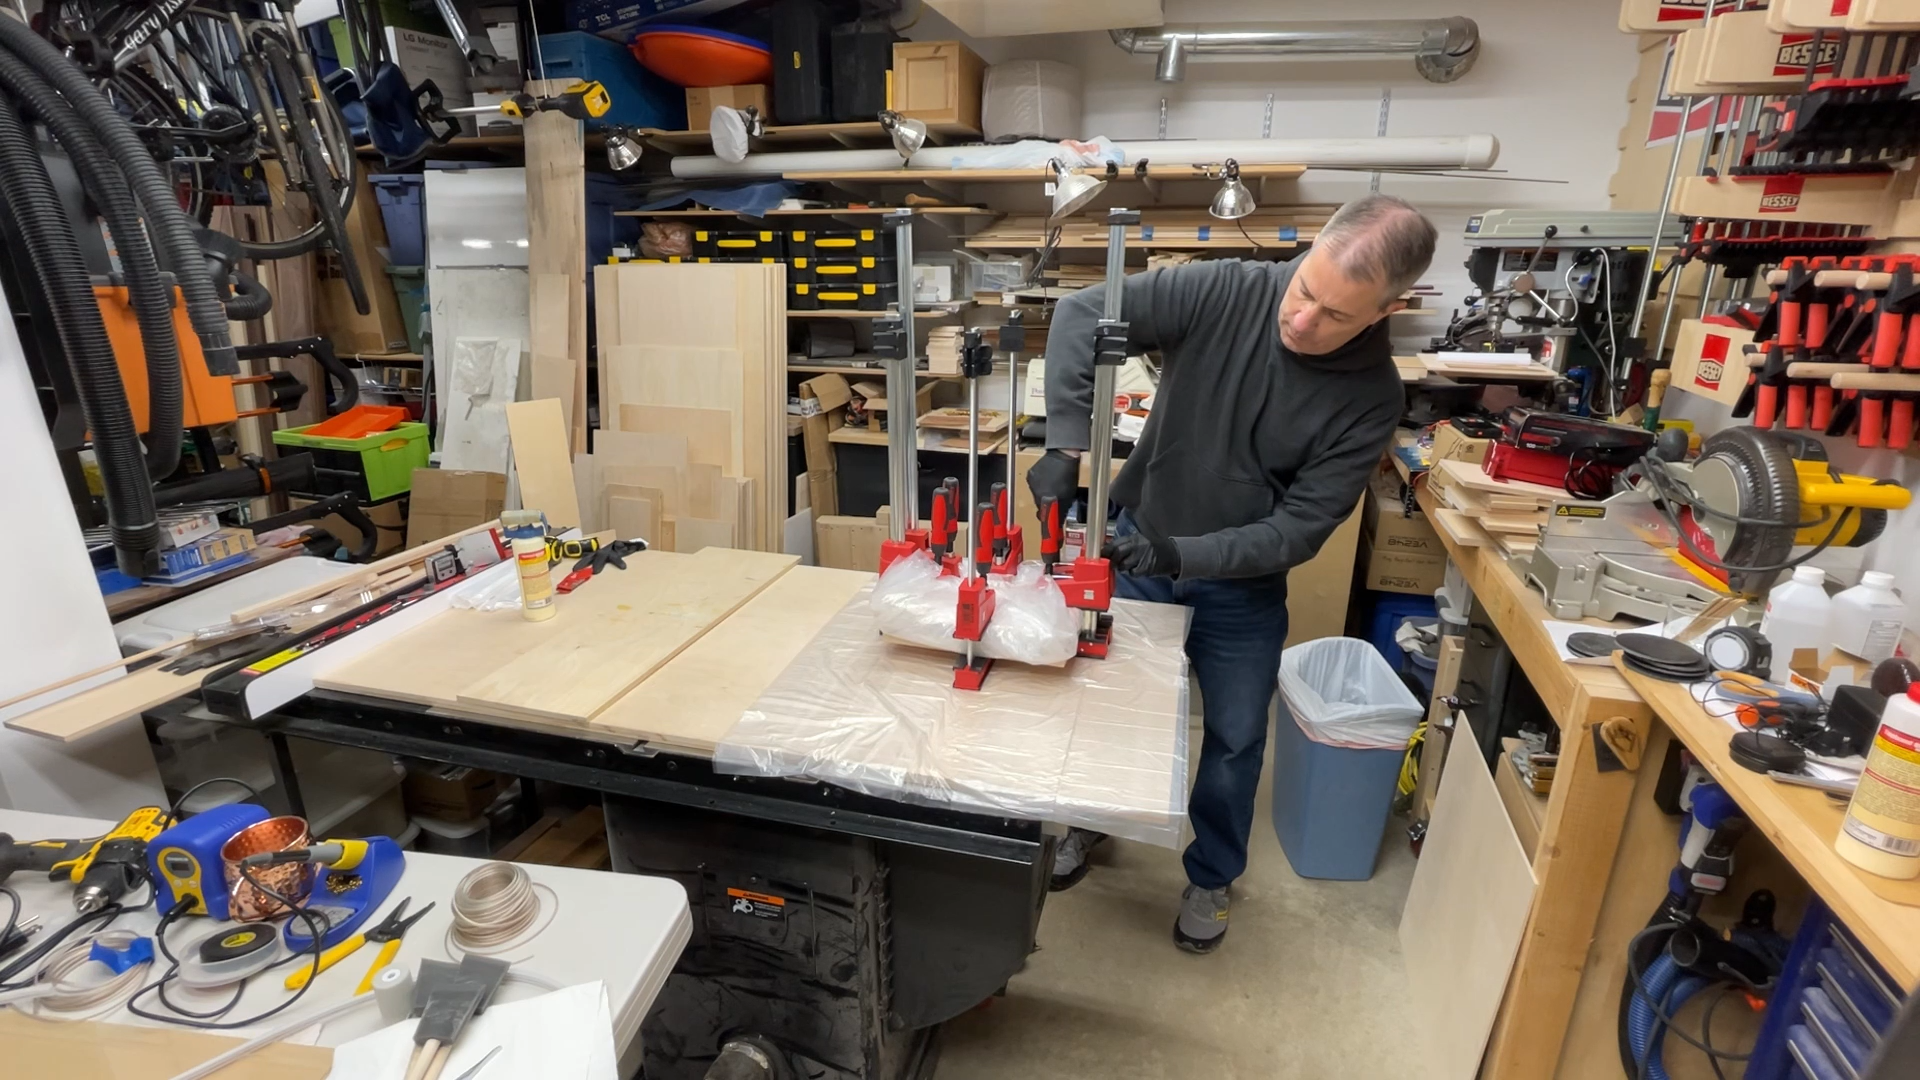
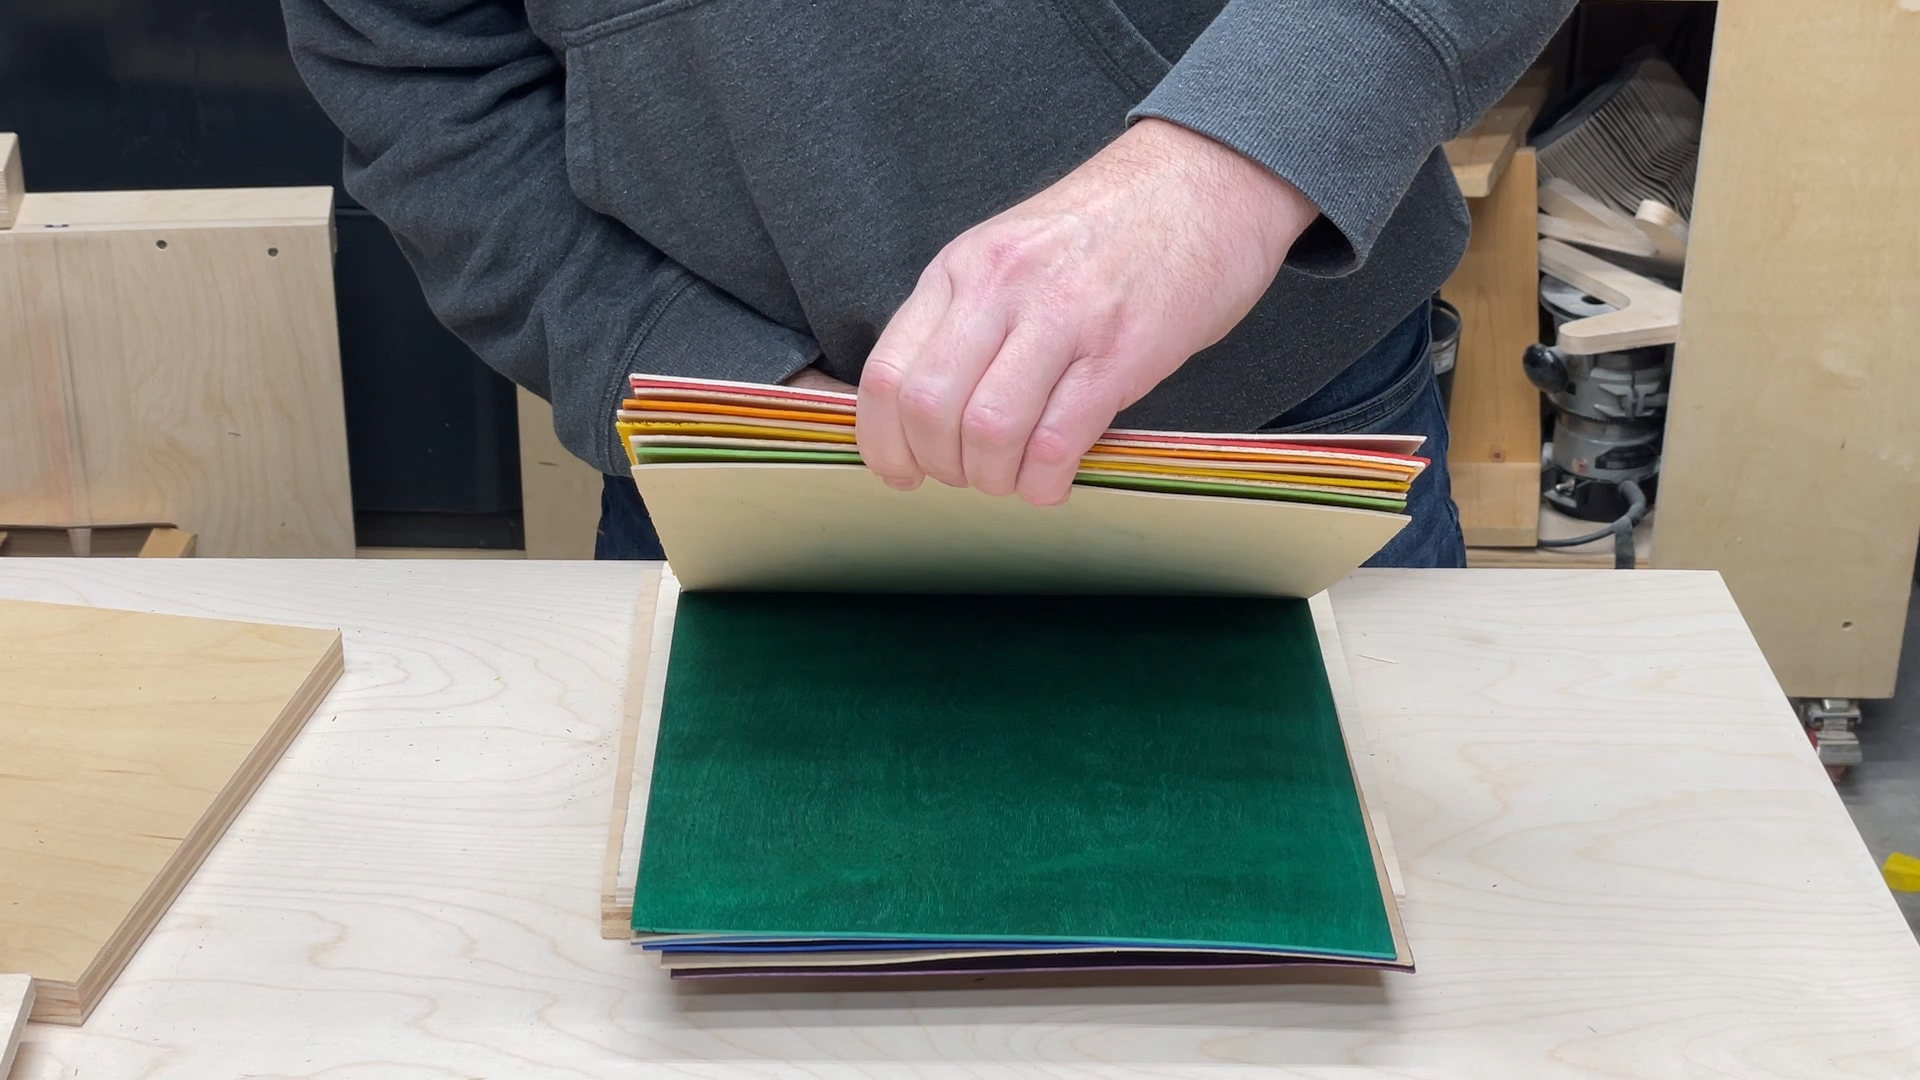
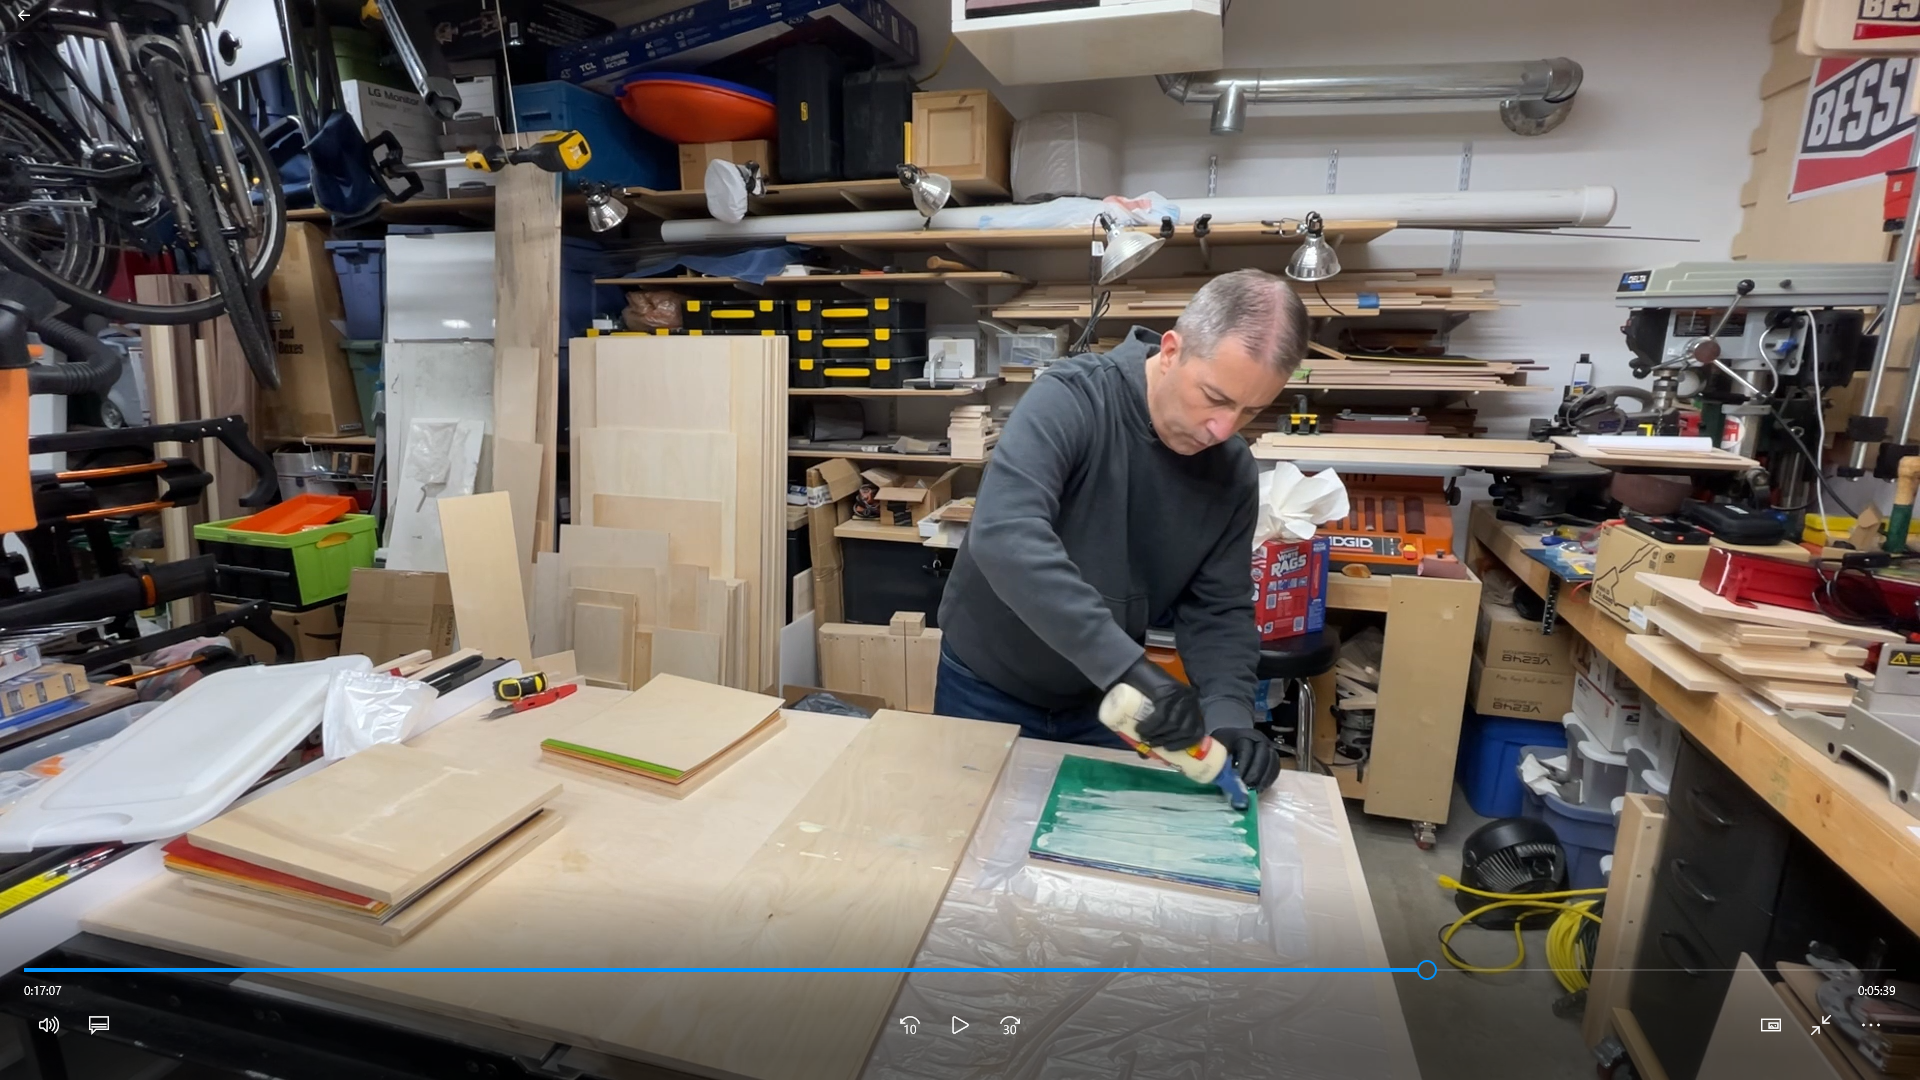

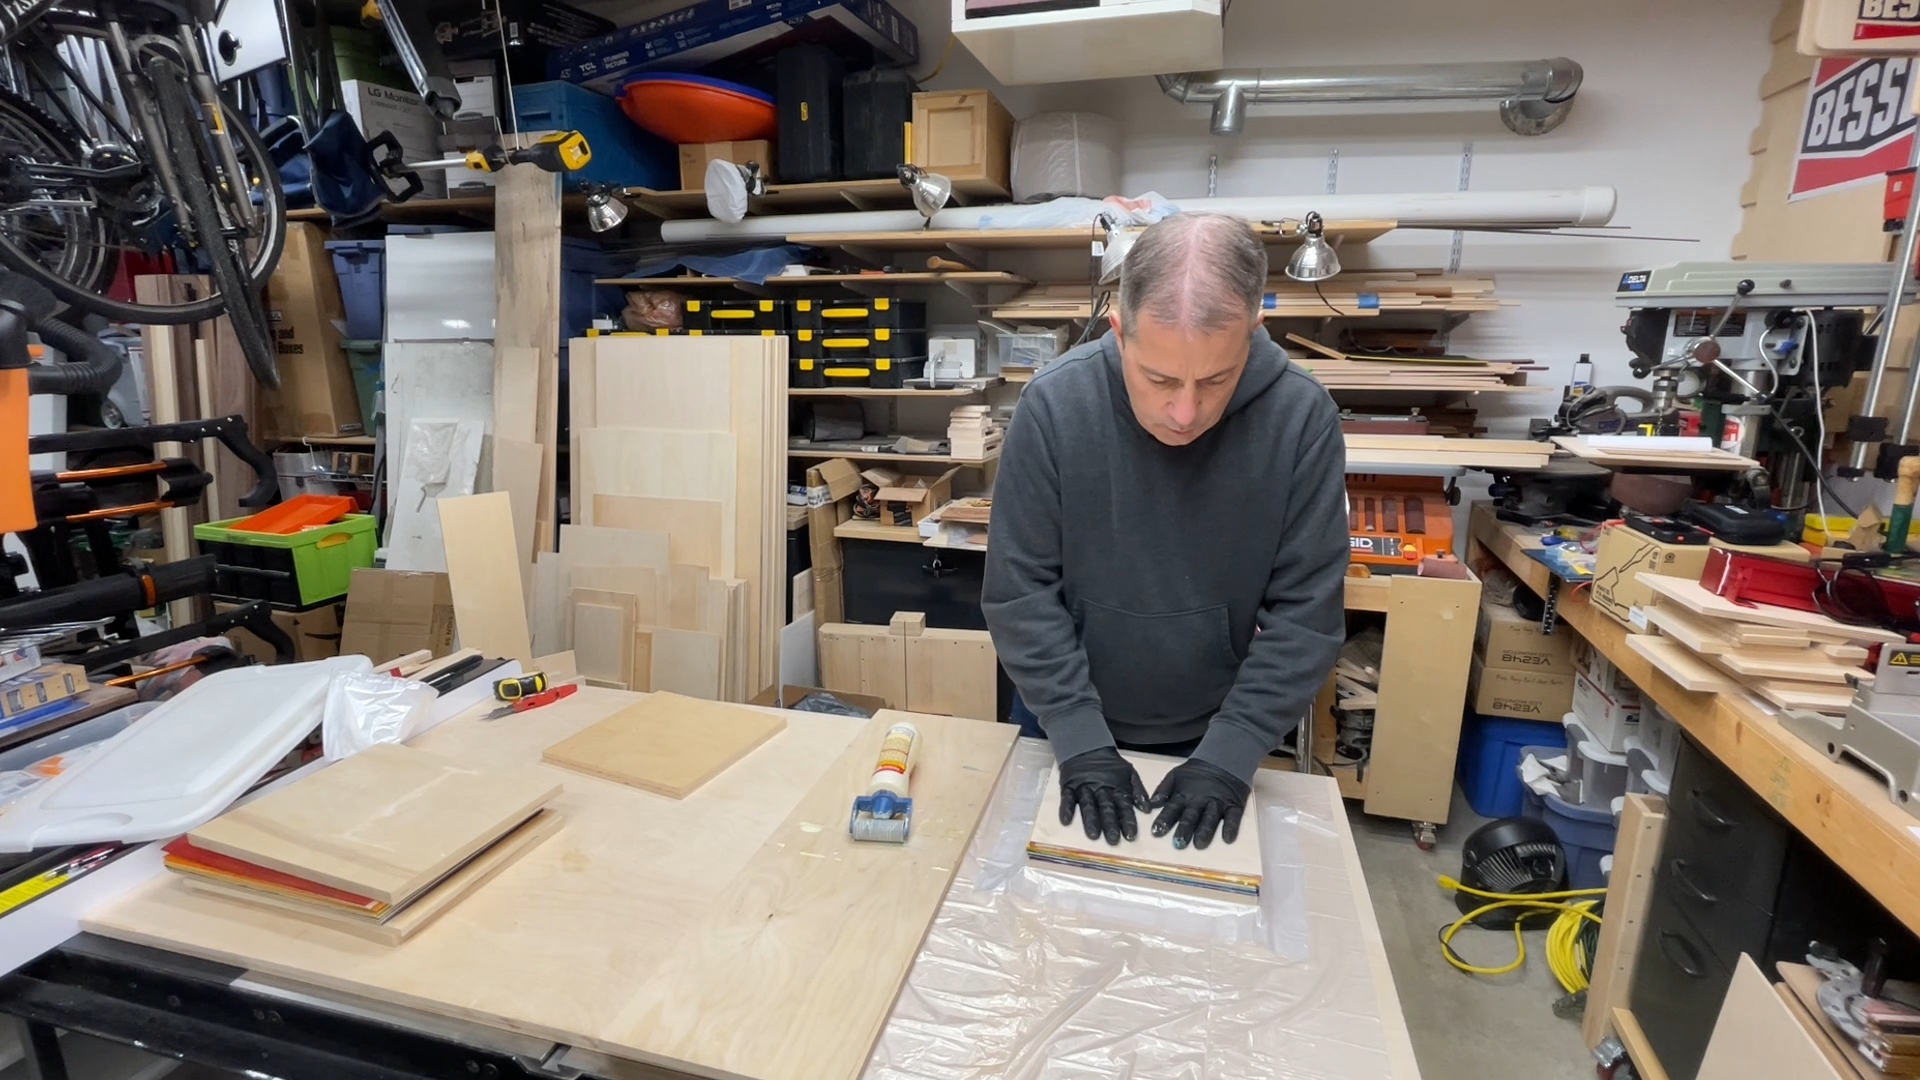
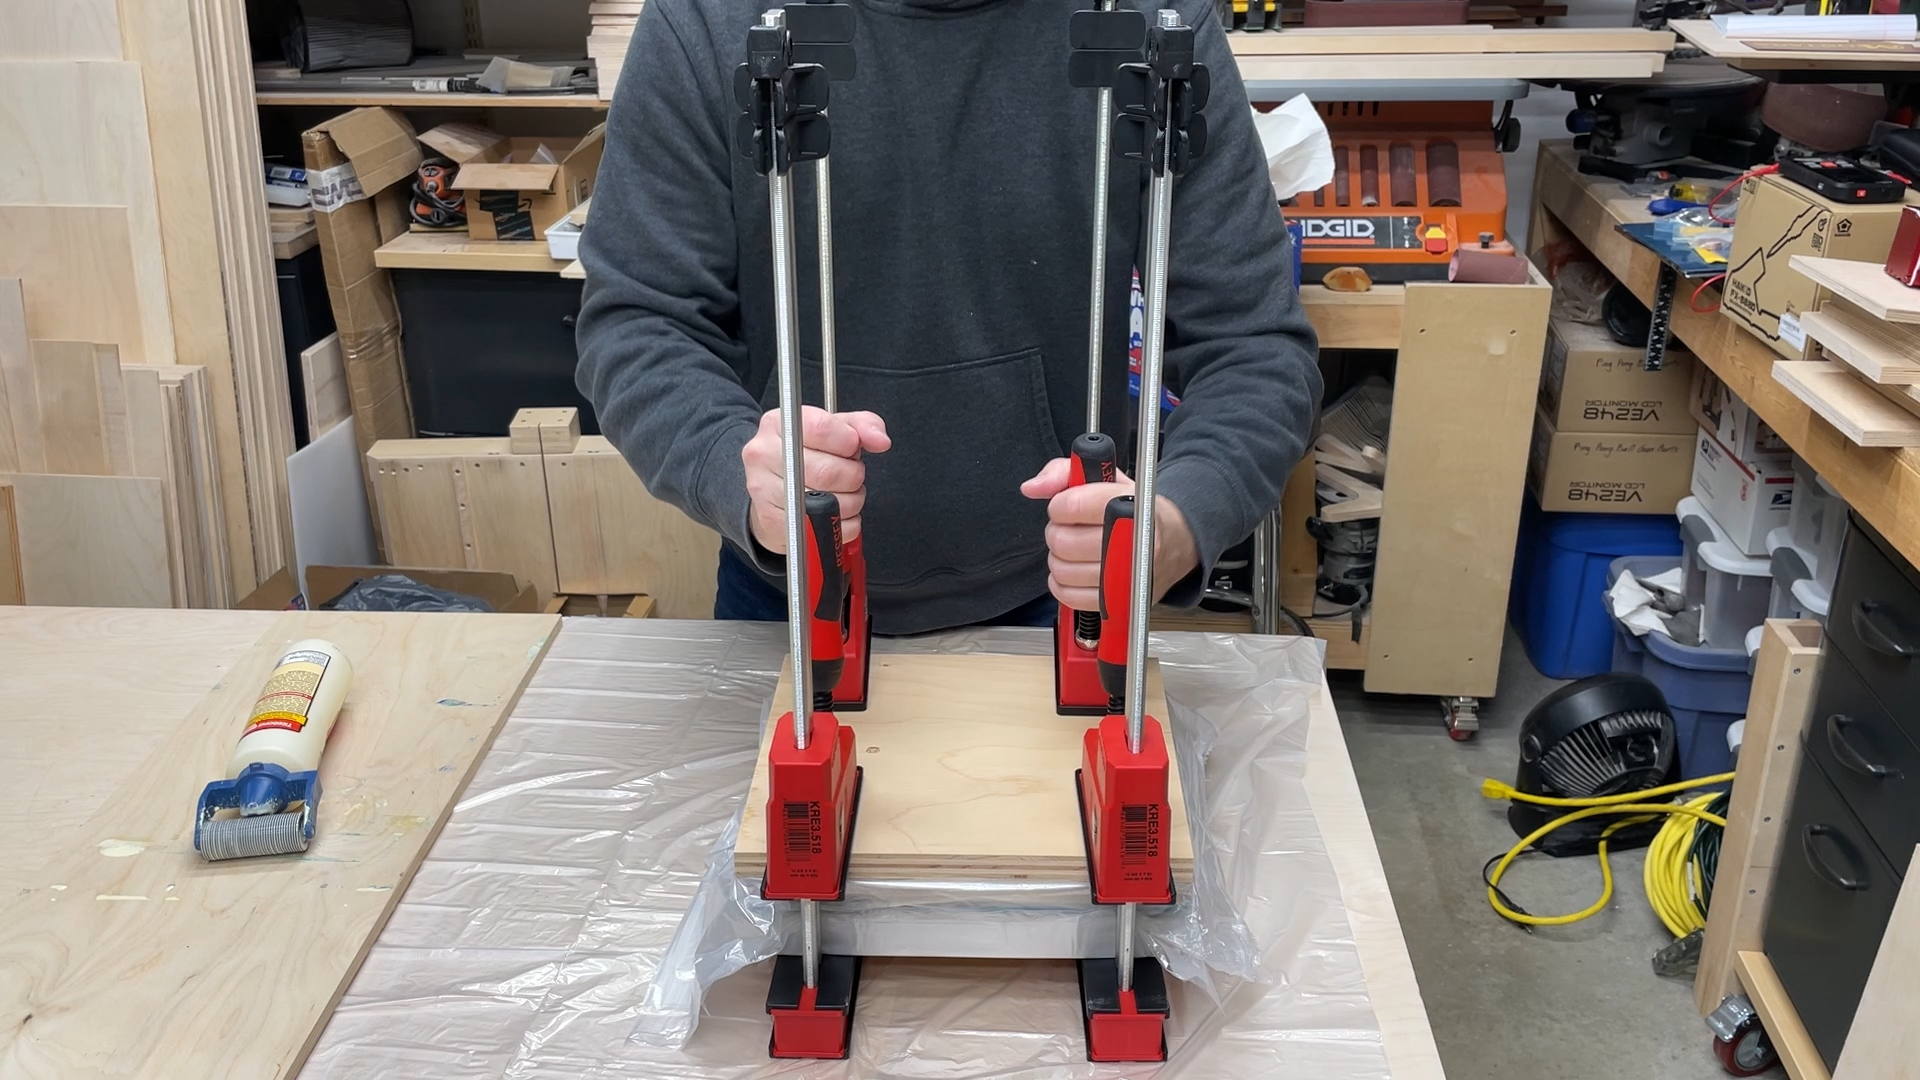
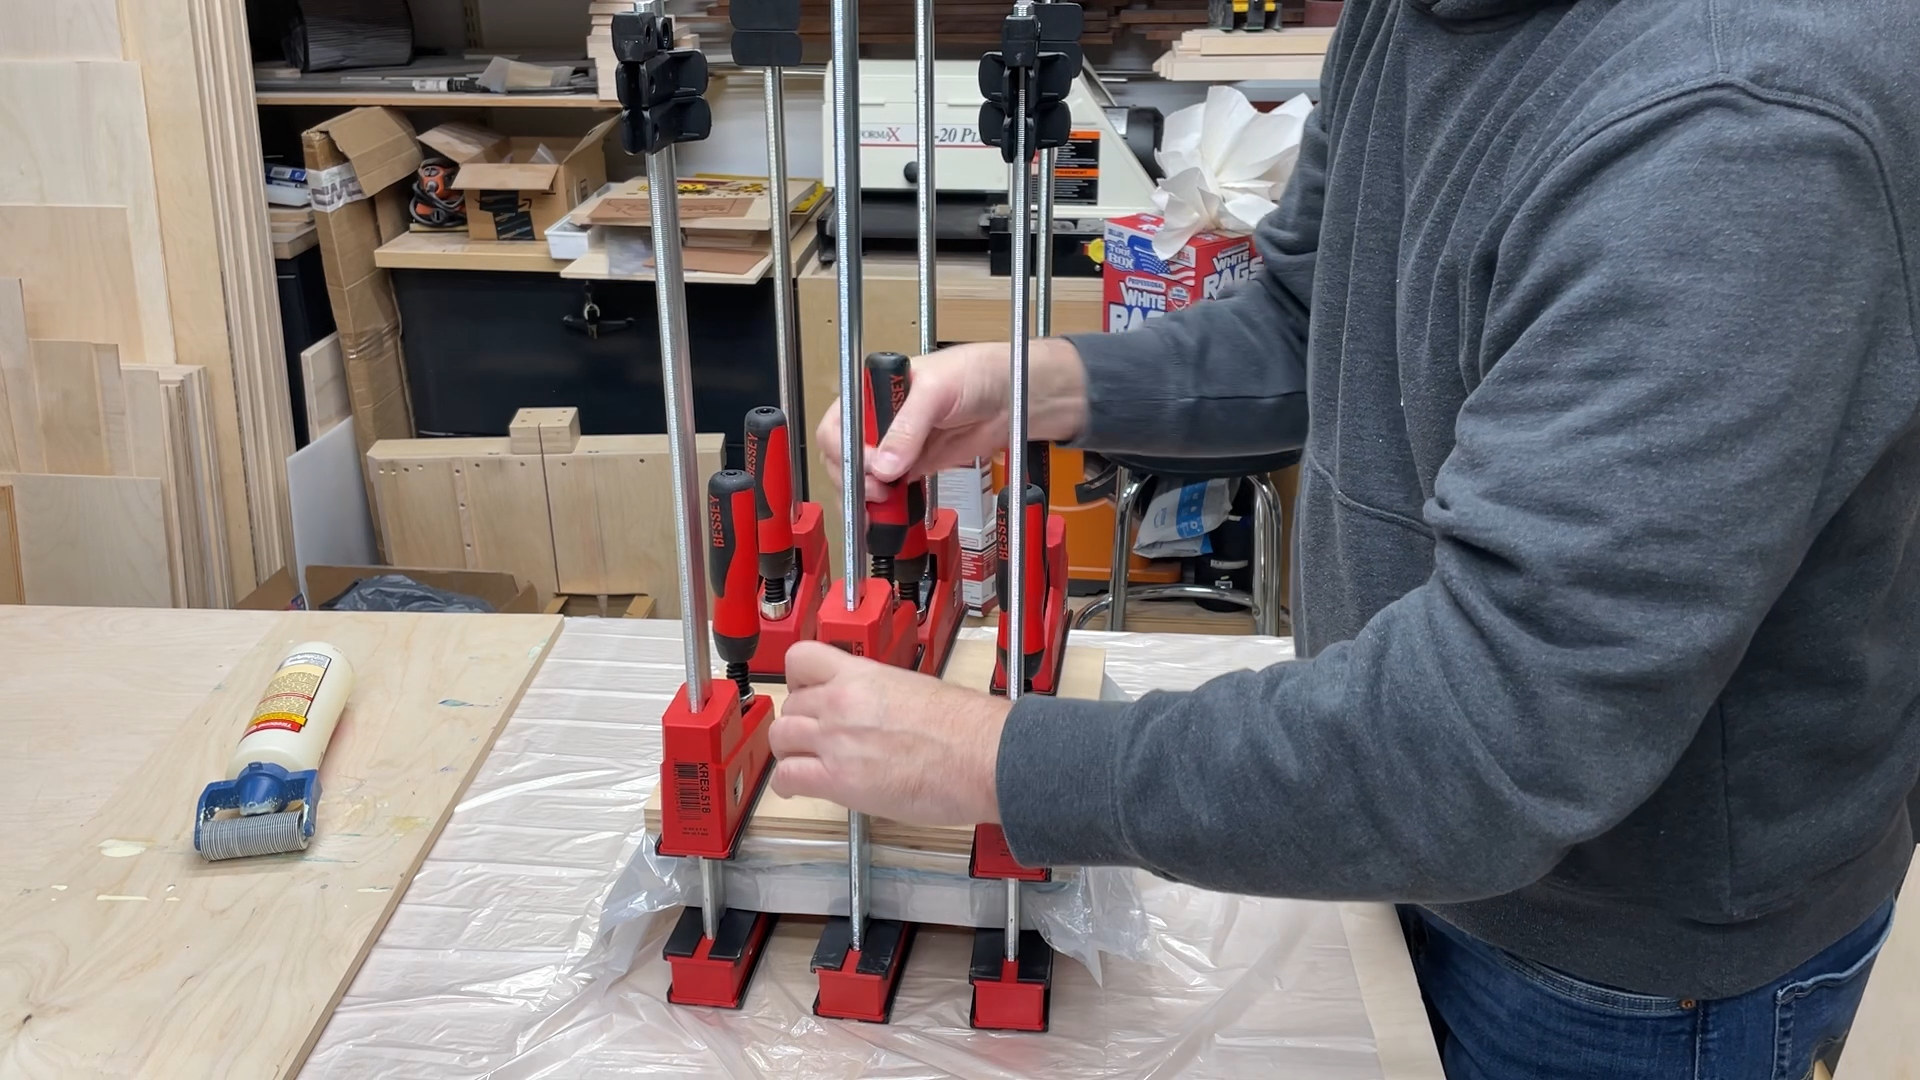
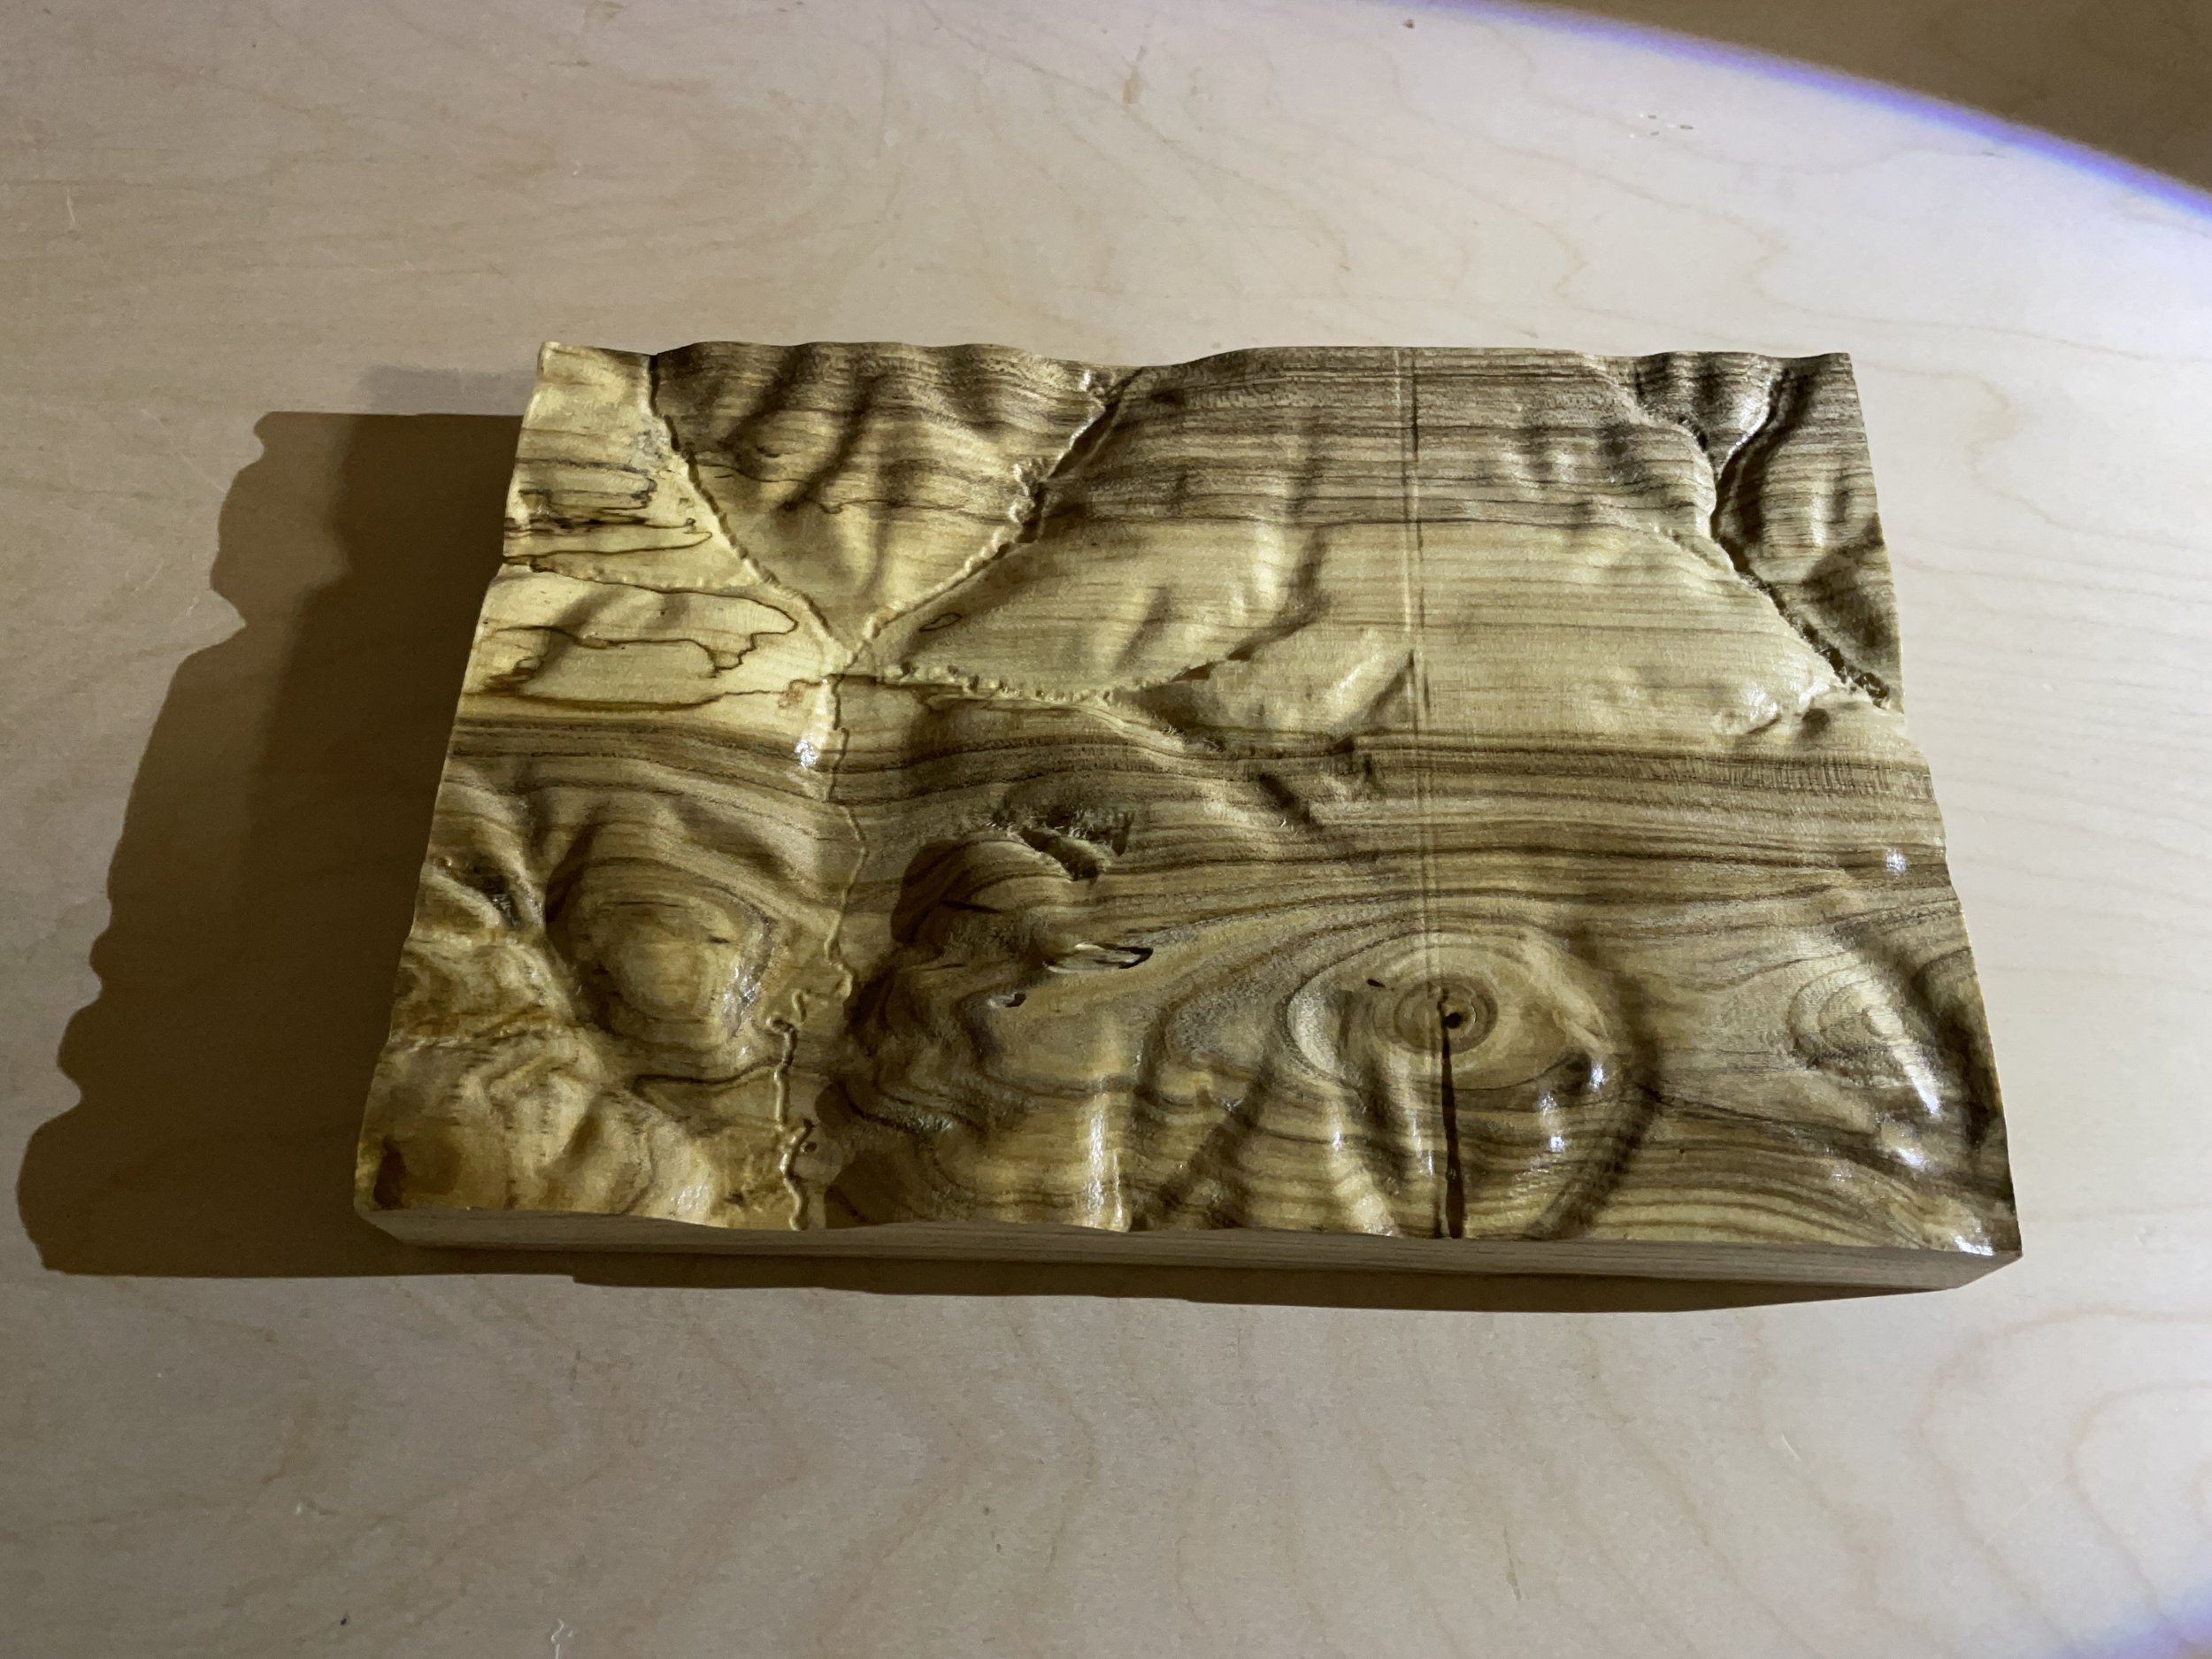
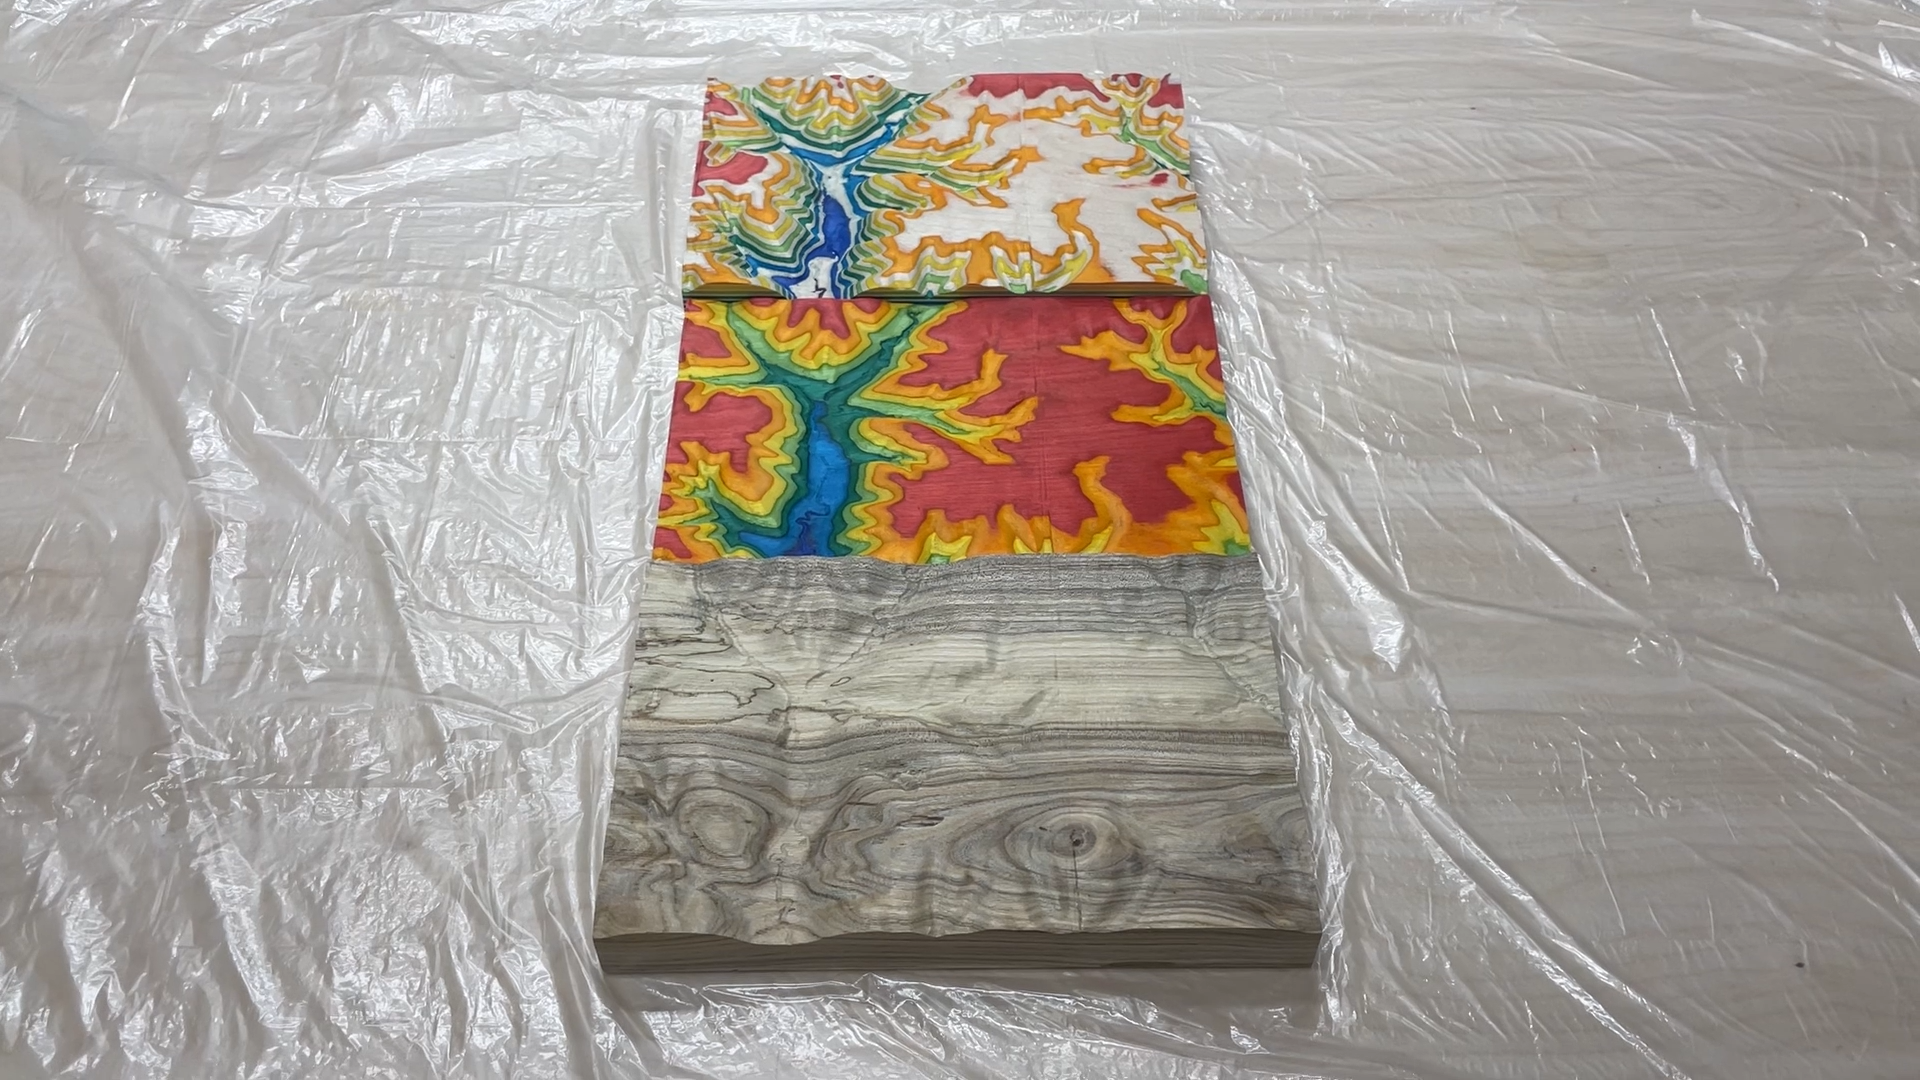
In this step you need to create your wood blank that you are carving your terrain model from. There are several ways to do this, but for my examples I created several glue-ups of dyed skateboard veneer and also used a solid piece of hackberry wood from my parents farm.
Dyed Skateboard Veneer
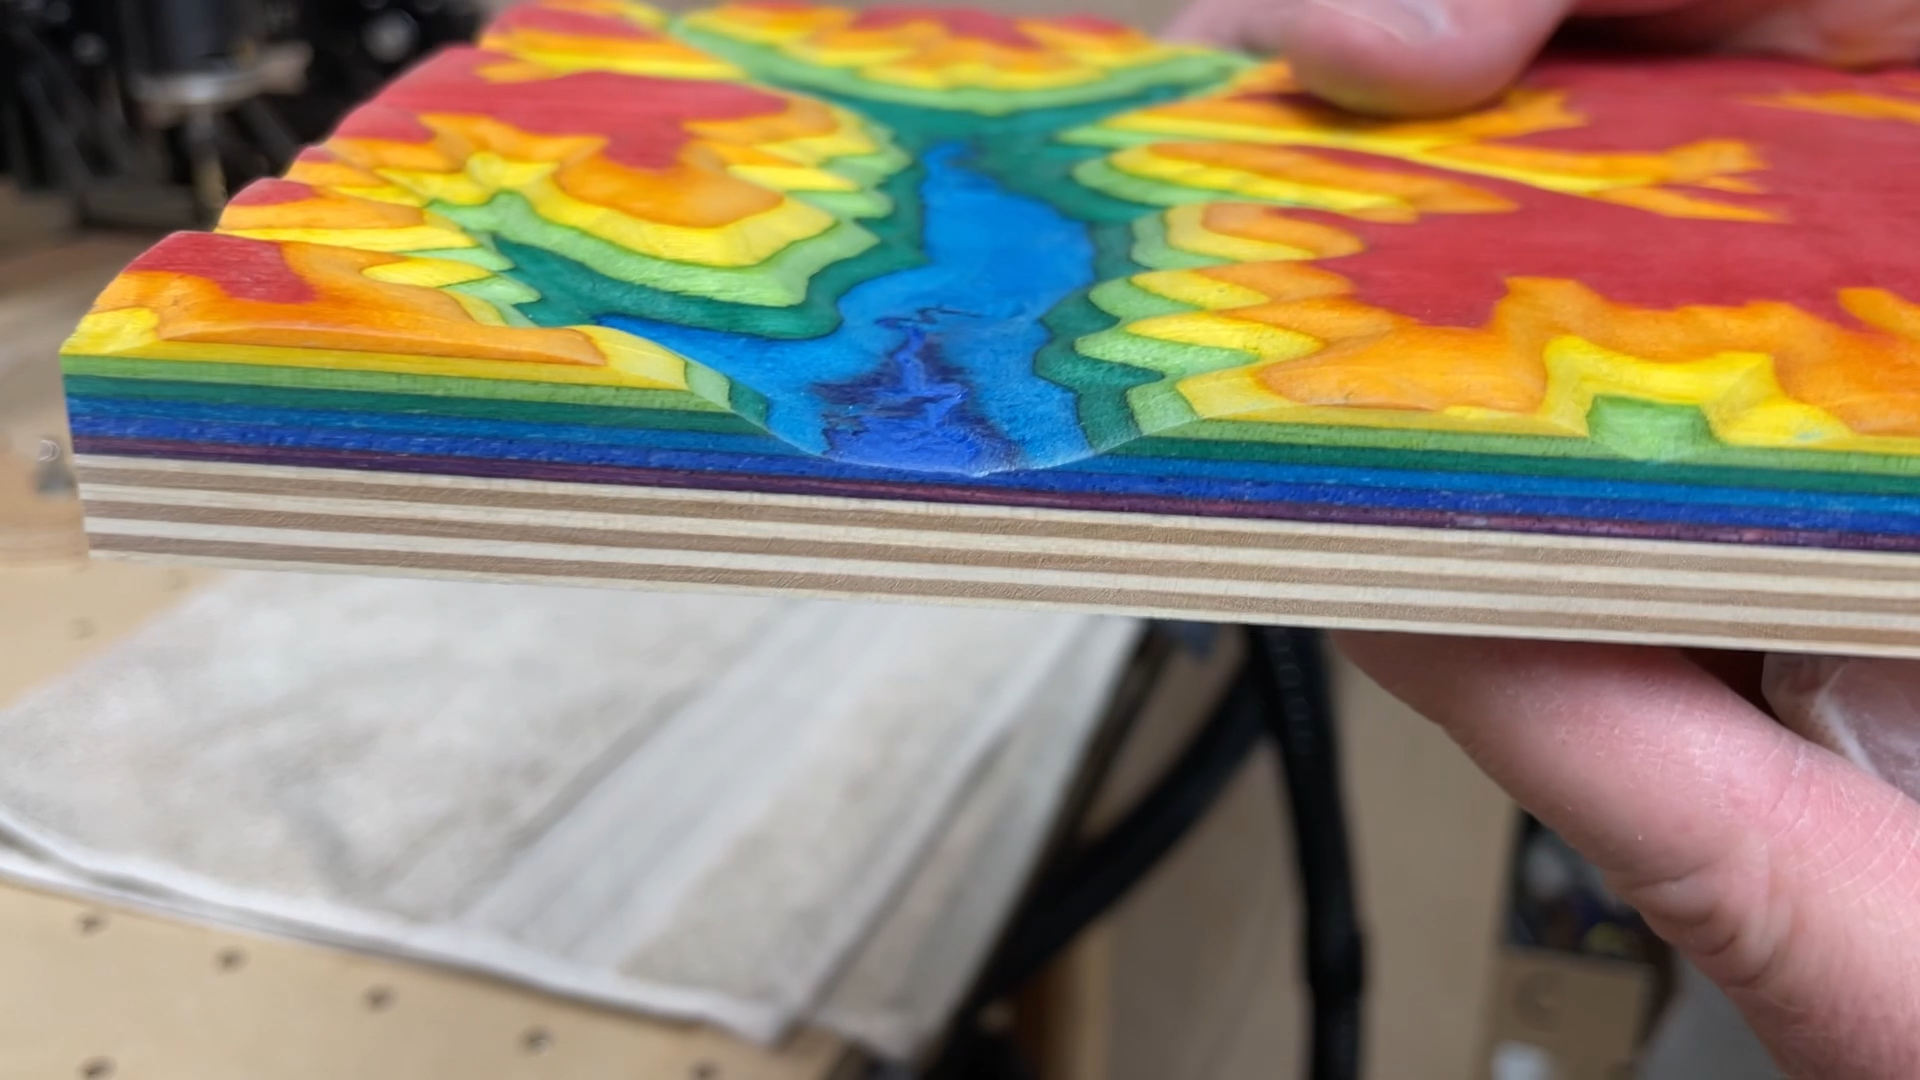
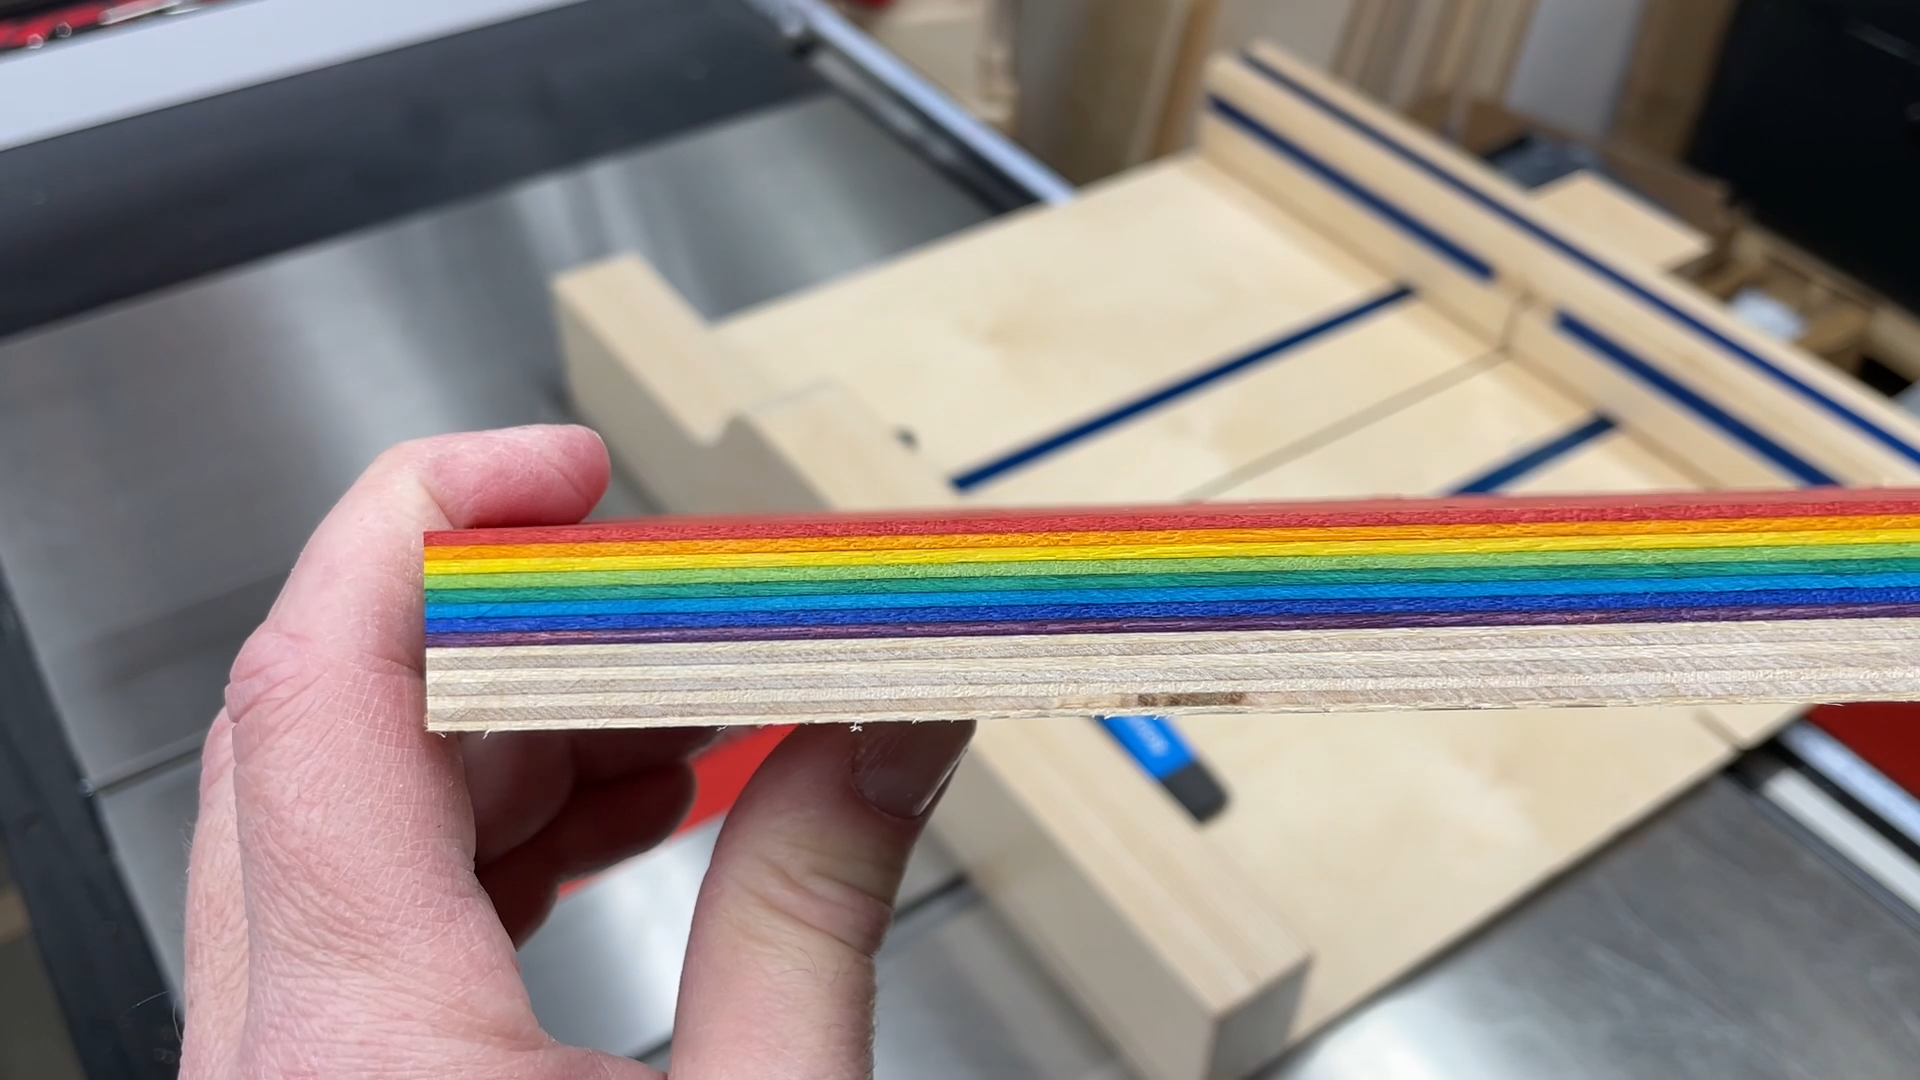
I created the colorful blocks of wood using dyed skatedboard veneer from Cousineau Wood Products. Look for their link in the Materials and Supplies section above. These are color dyed 1/16" thick pieces of maple veneer. The colors really are that bright in person.
I used pieces of baltic birch plywood as the base piece for the glue ups. This helps keep things flat.
I recommend using a glue bottle roller to help with applying glue fast. With titebond 1 you only have around 7 or 8 minutes to start clamping or you can have issues. Temperature and humidity can play a part so anything you can do to speed up the glue application is helpful. The roller I use is from Rockler and fits right on the end of the Titebond bottle. It's very convenient and it cleans up fast. The link to this bottle is in the Materials and Supplies section above.
Apply the glue liberally and go fast. I added a thick layer of glue to one side of the veneer sheet and then moved to the next one. parallel clamps are good for this as the parallel clamping forces help minimize the lateral forces that can make the layers slide on each other once the glue is added.
If you have the option, I would recommend alternating the grain direction in the veneers so that you minimize the warping that can occur from all of the grain running in the same direction.
Solid Piece of Wood
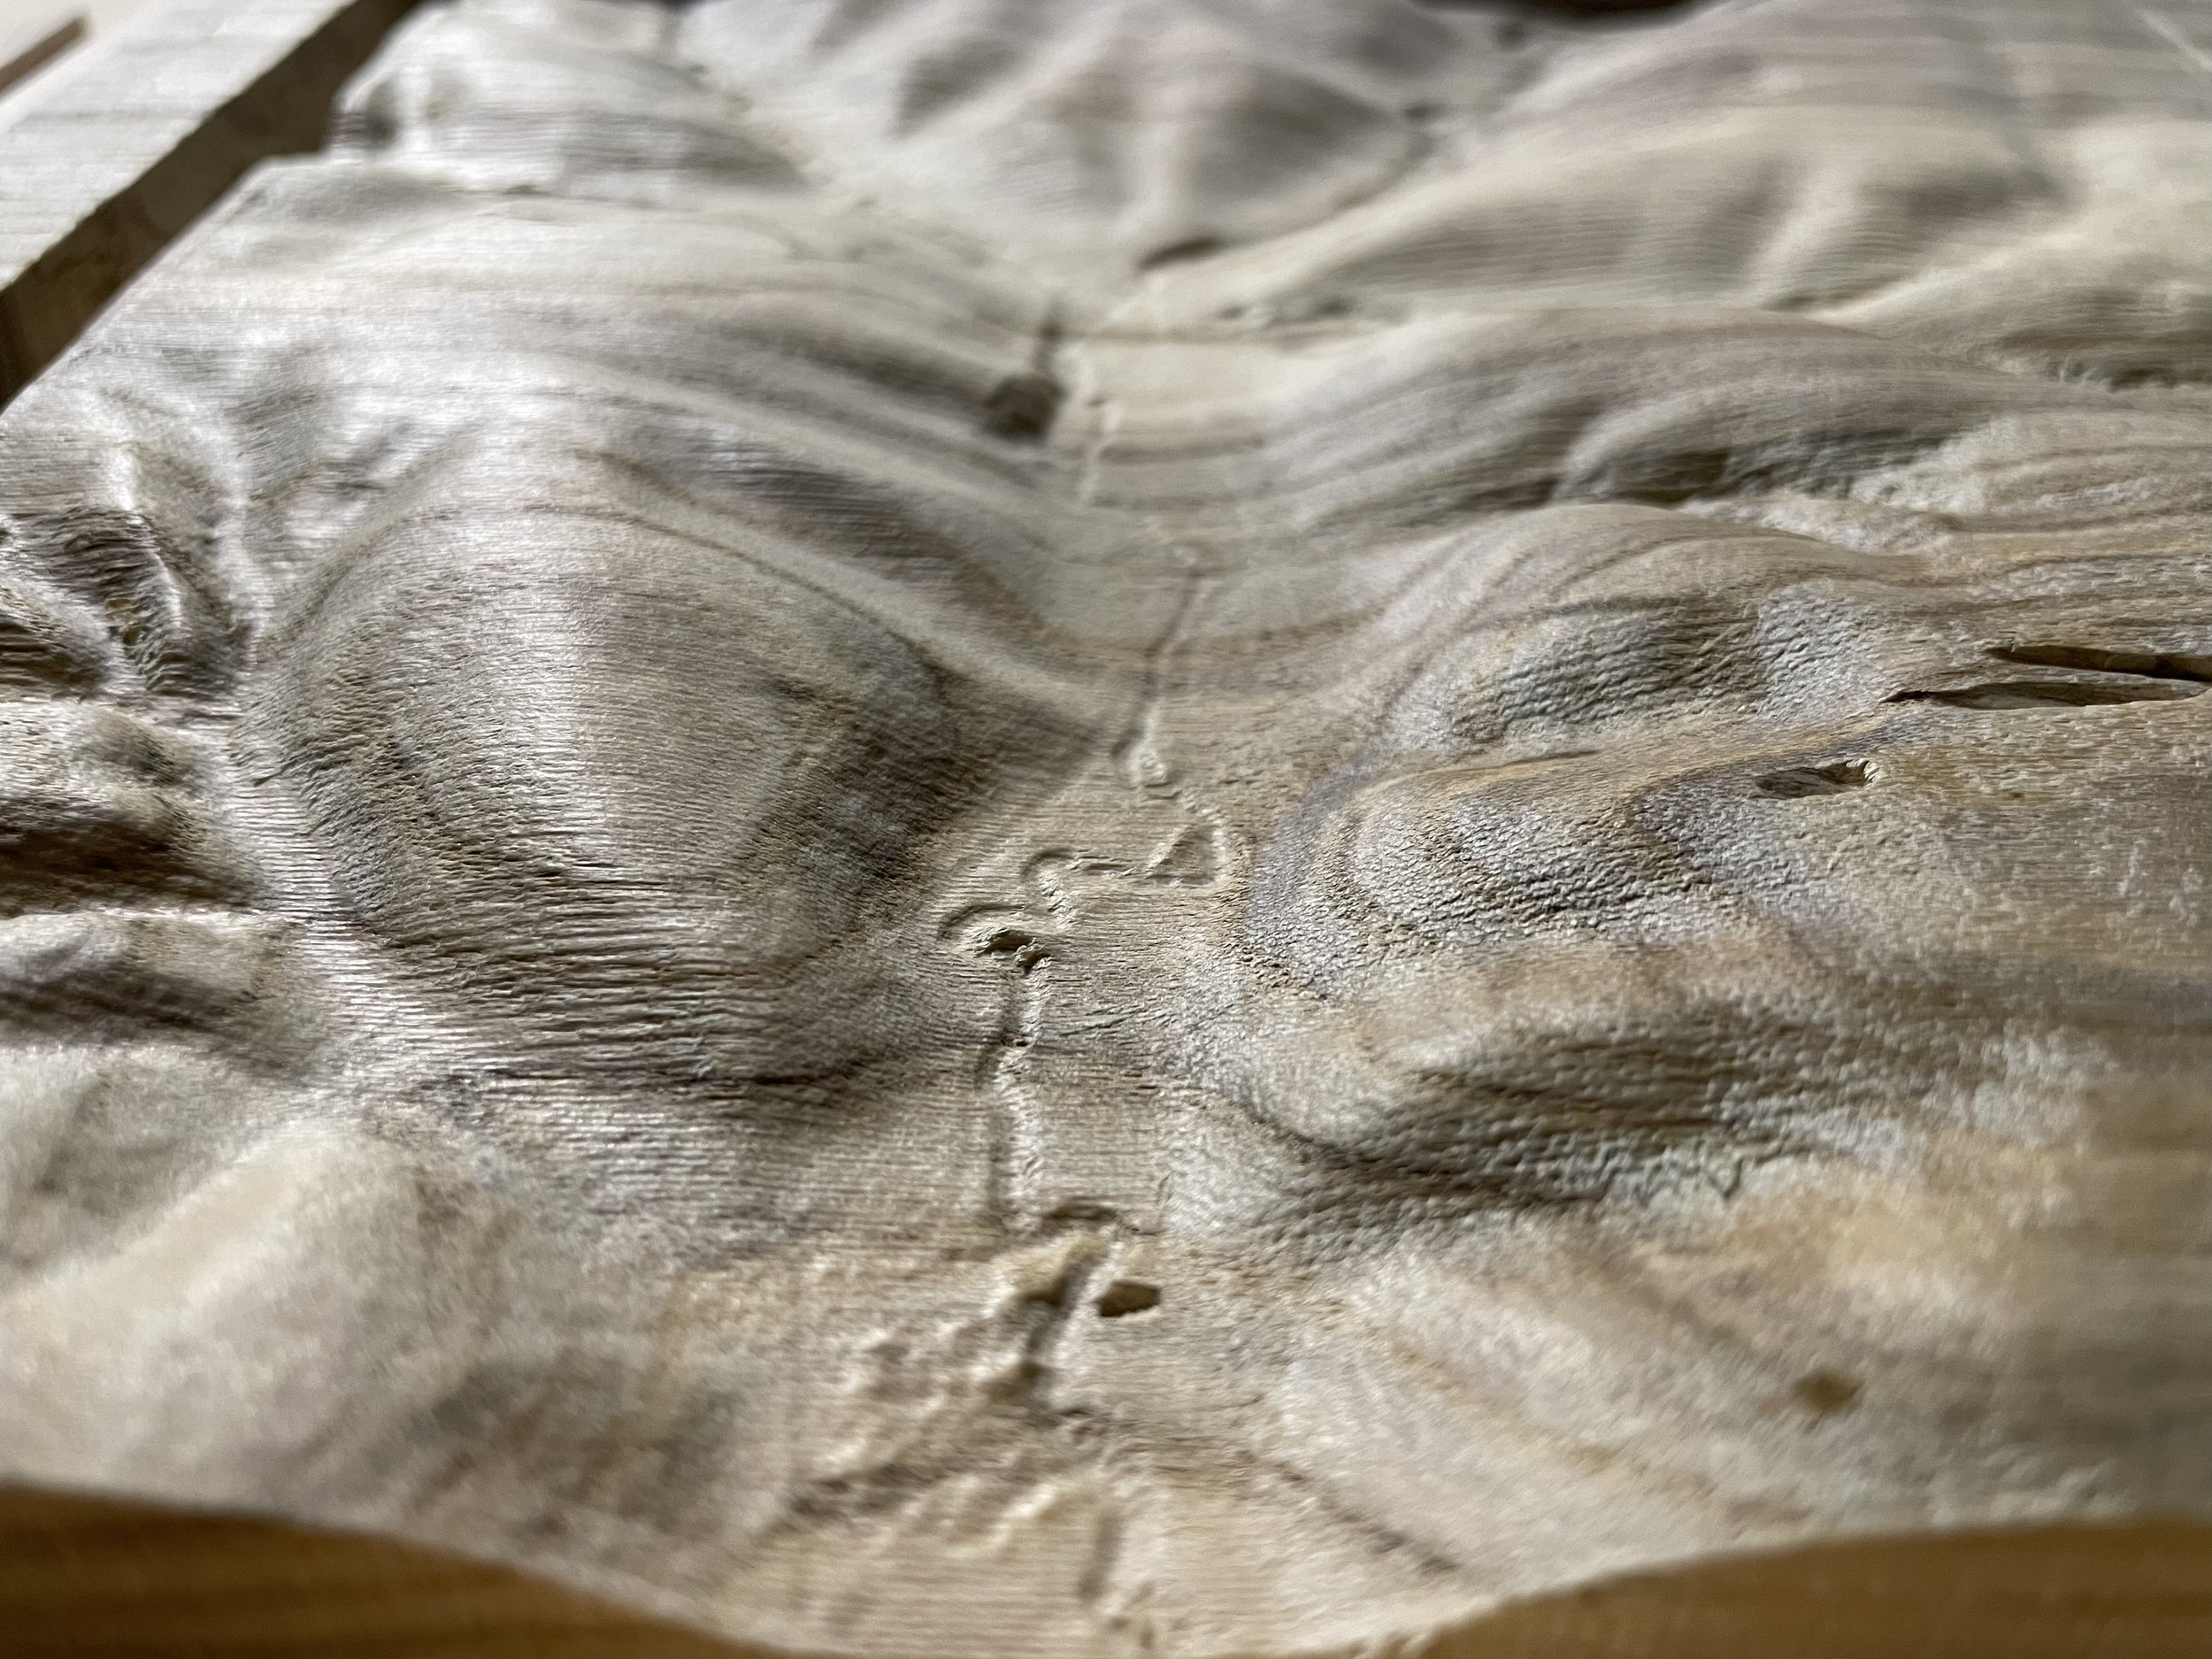
For the solid piece of wood that I will be carving I am using a piece of hackberry woof from my parents farm which is the farm I am carving so it will have some special meaning.
For any of these carves you want to make sure you good flat stock. For the hackberry I flattened one side, flipped it over, and flattened the other side.
Step 5: Cut 3D Carvings On The CNC
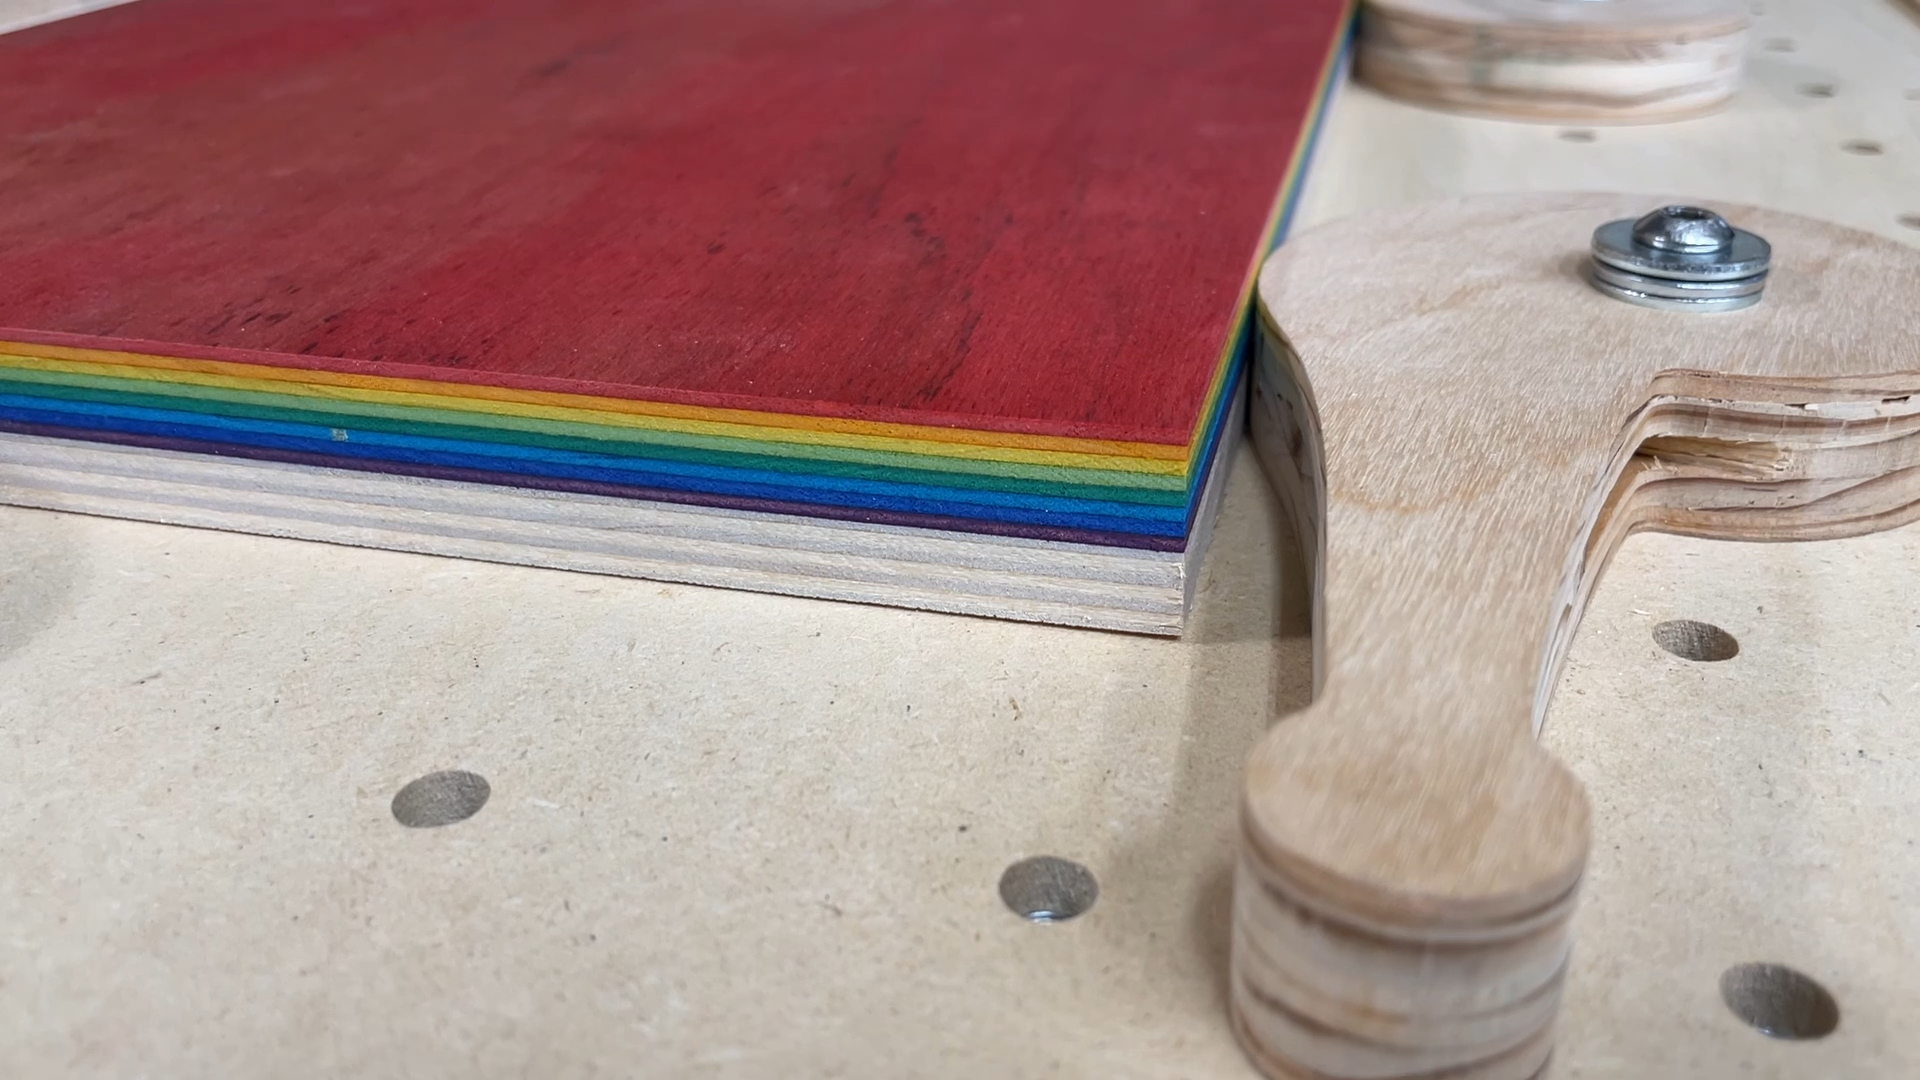
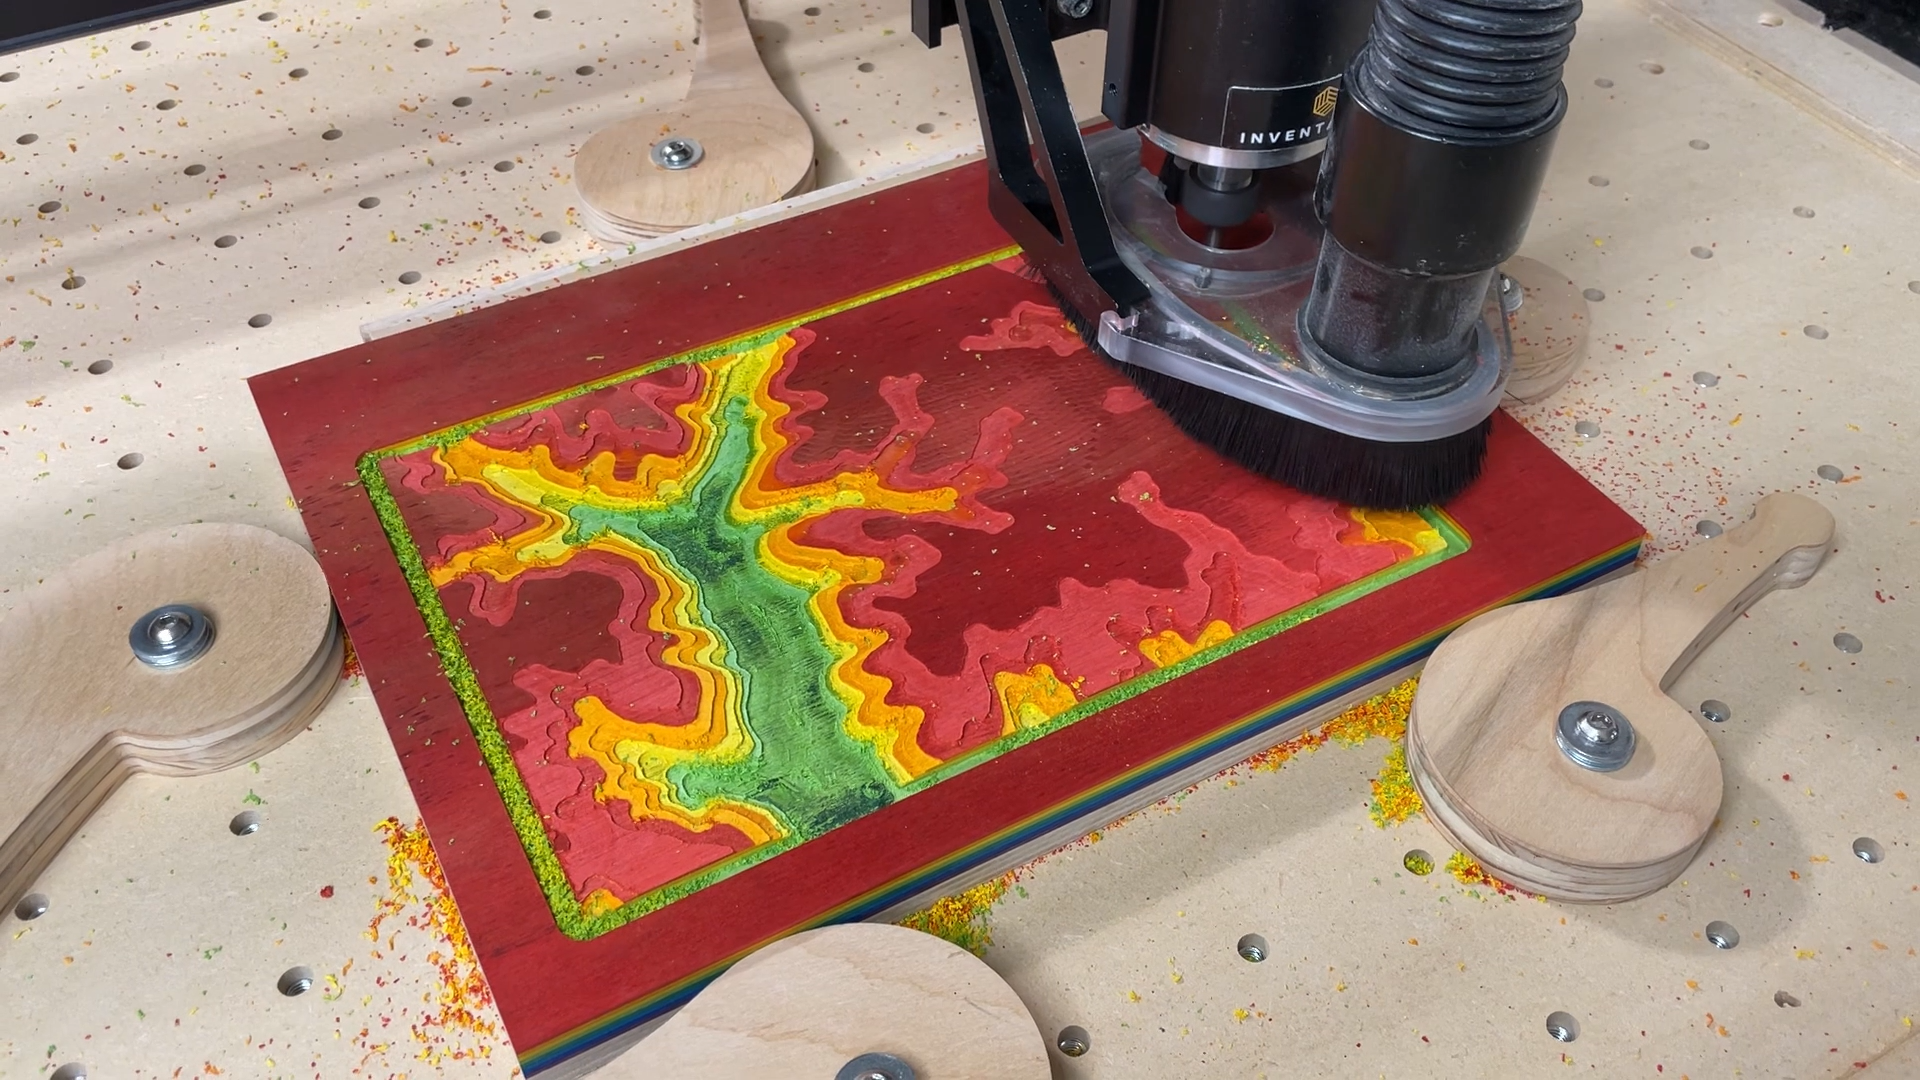
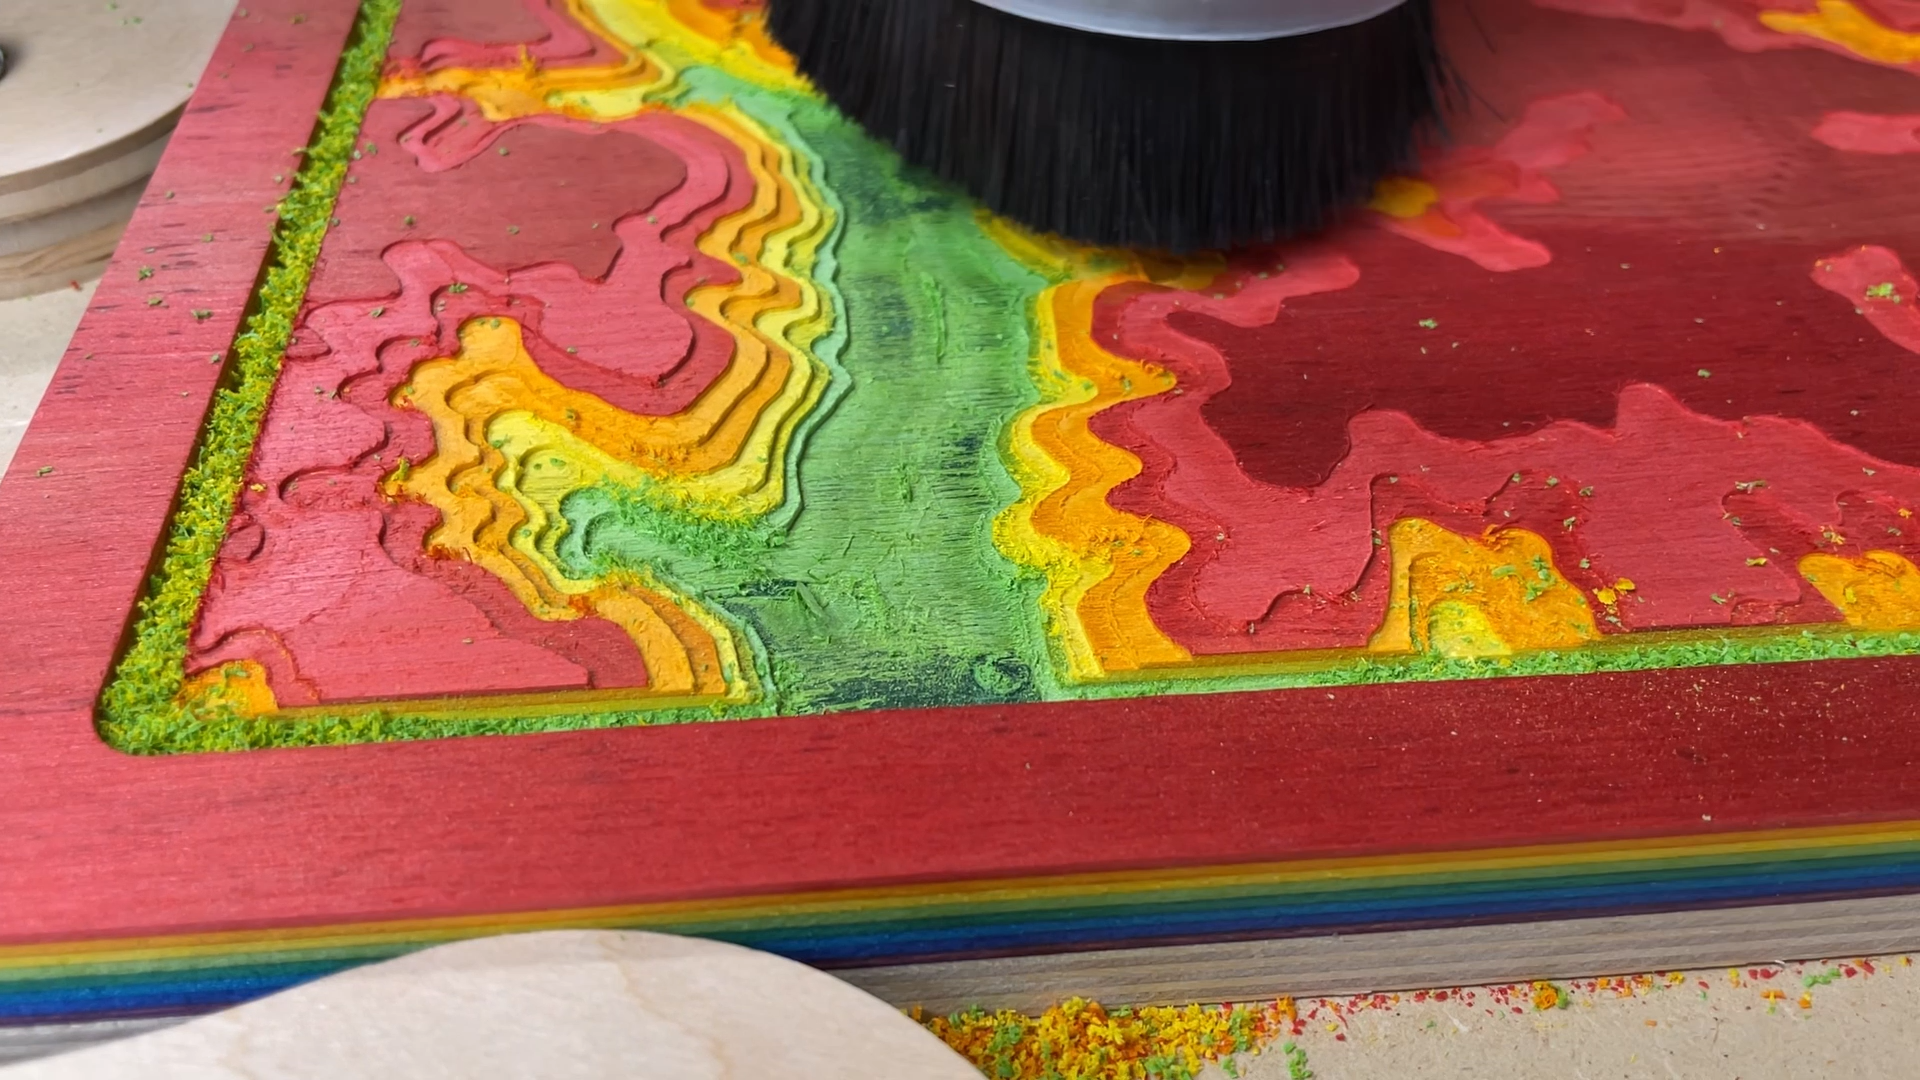
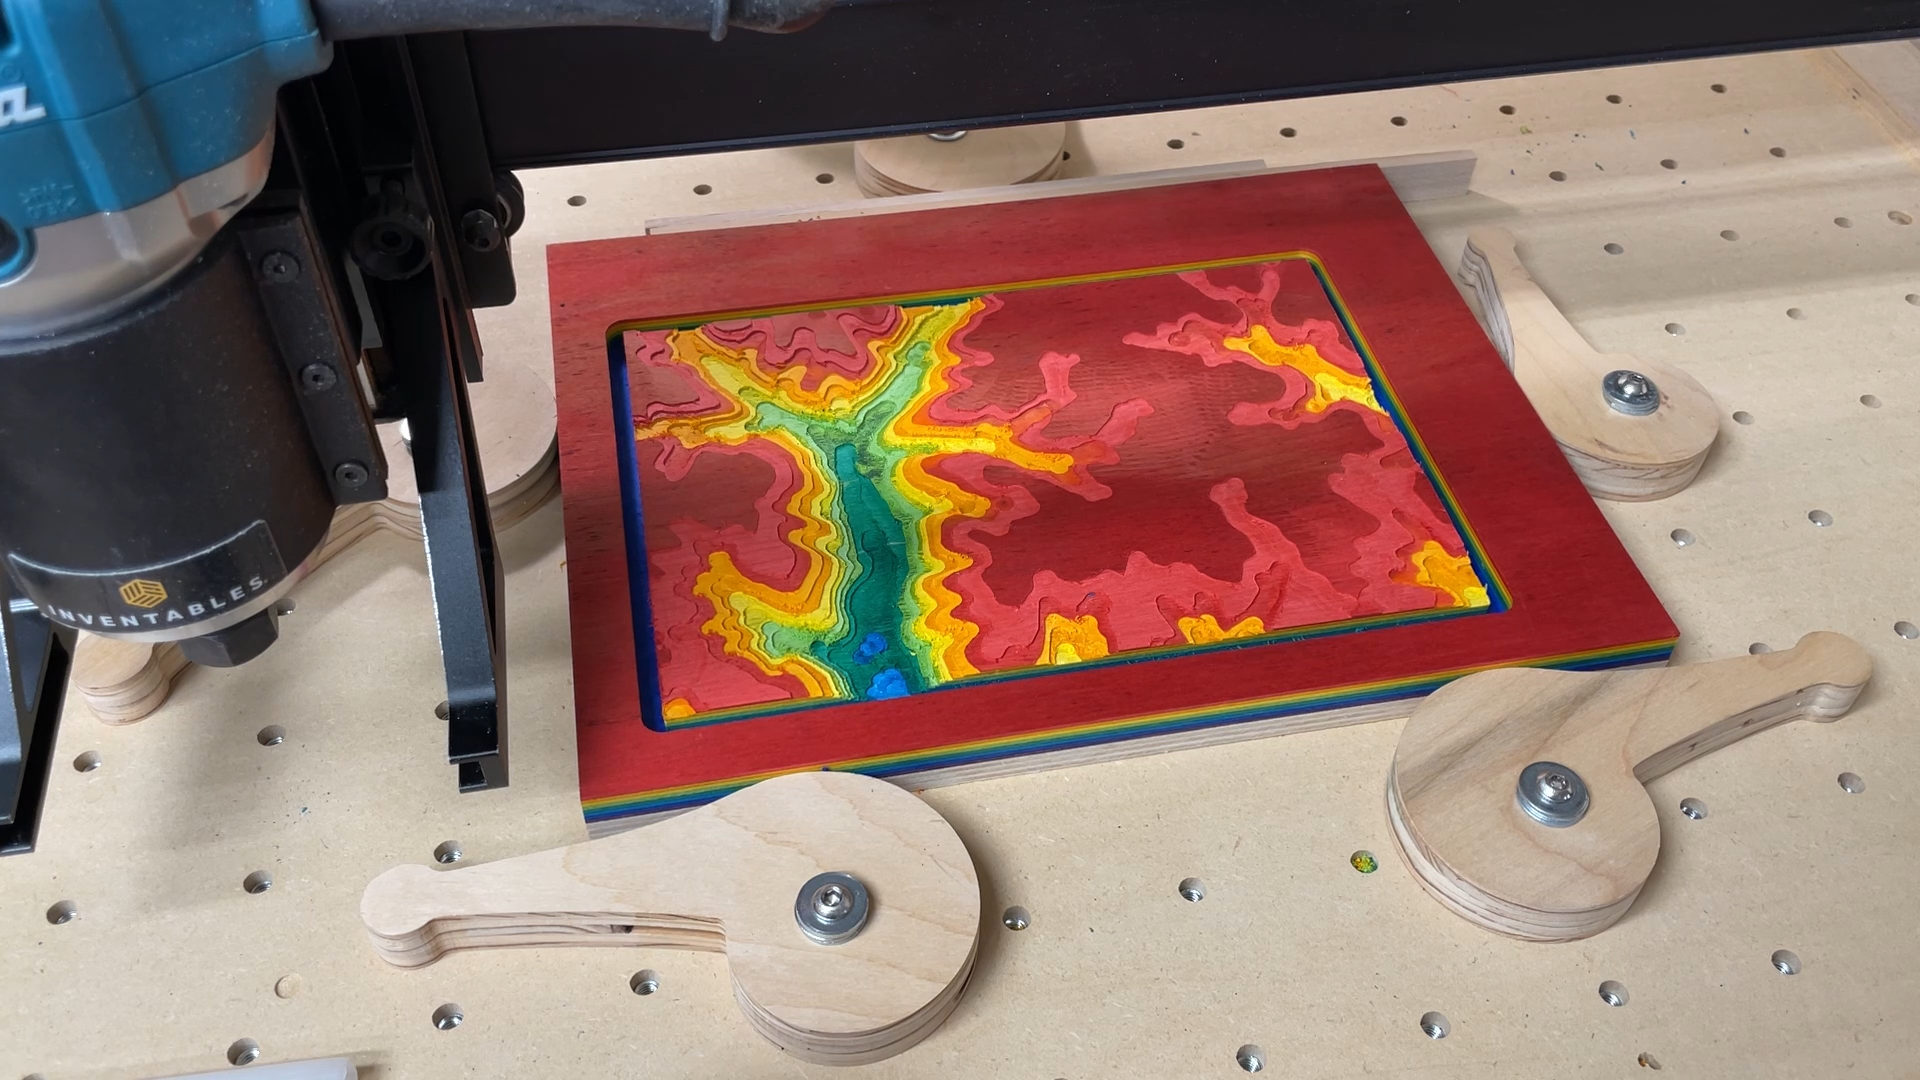
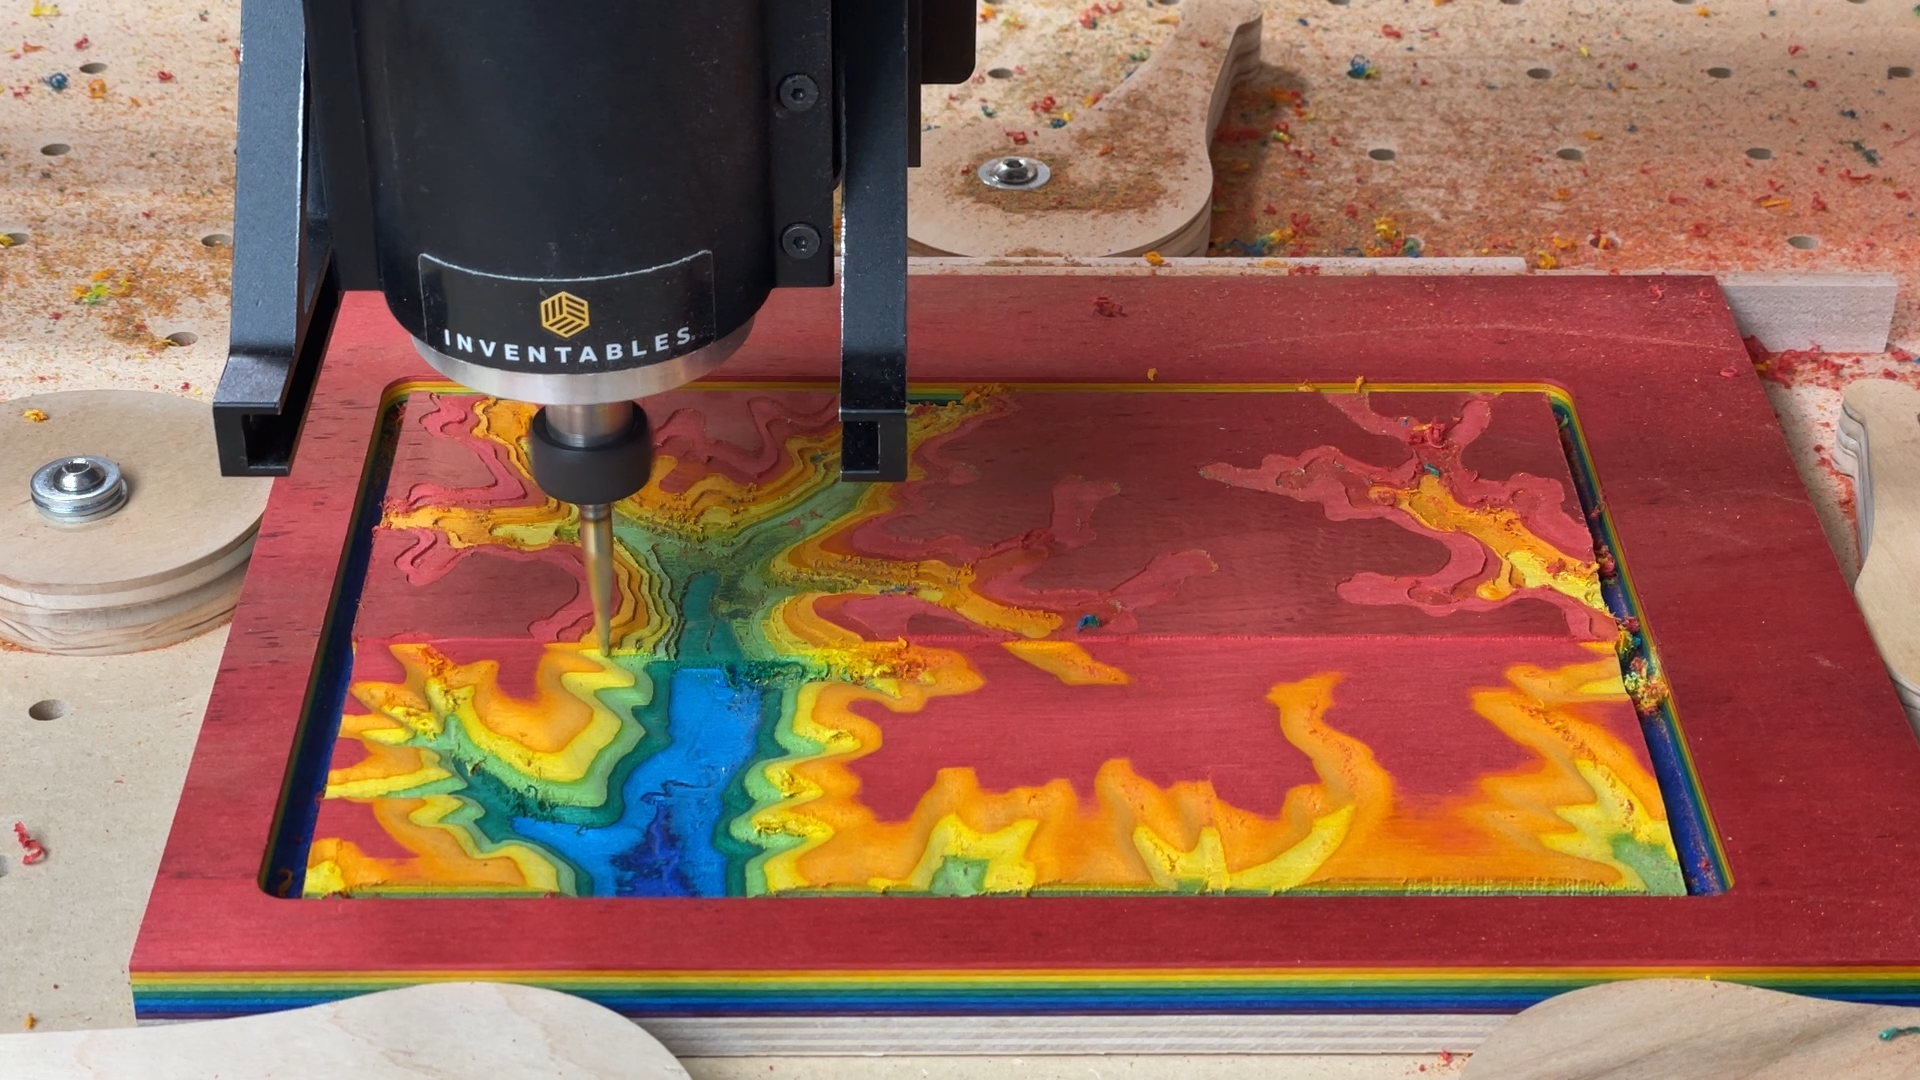
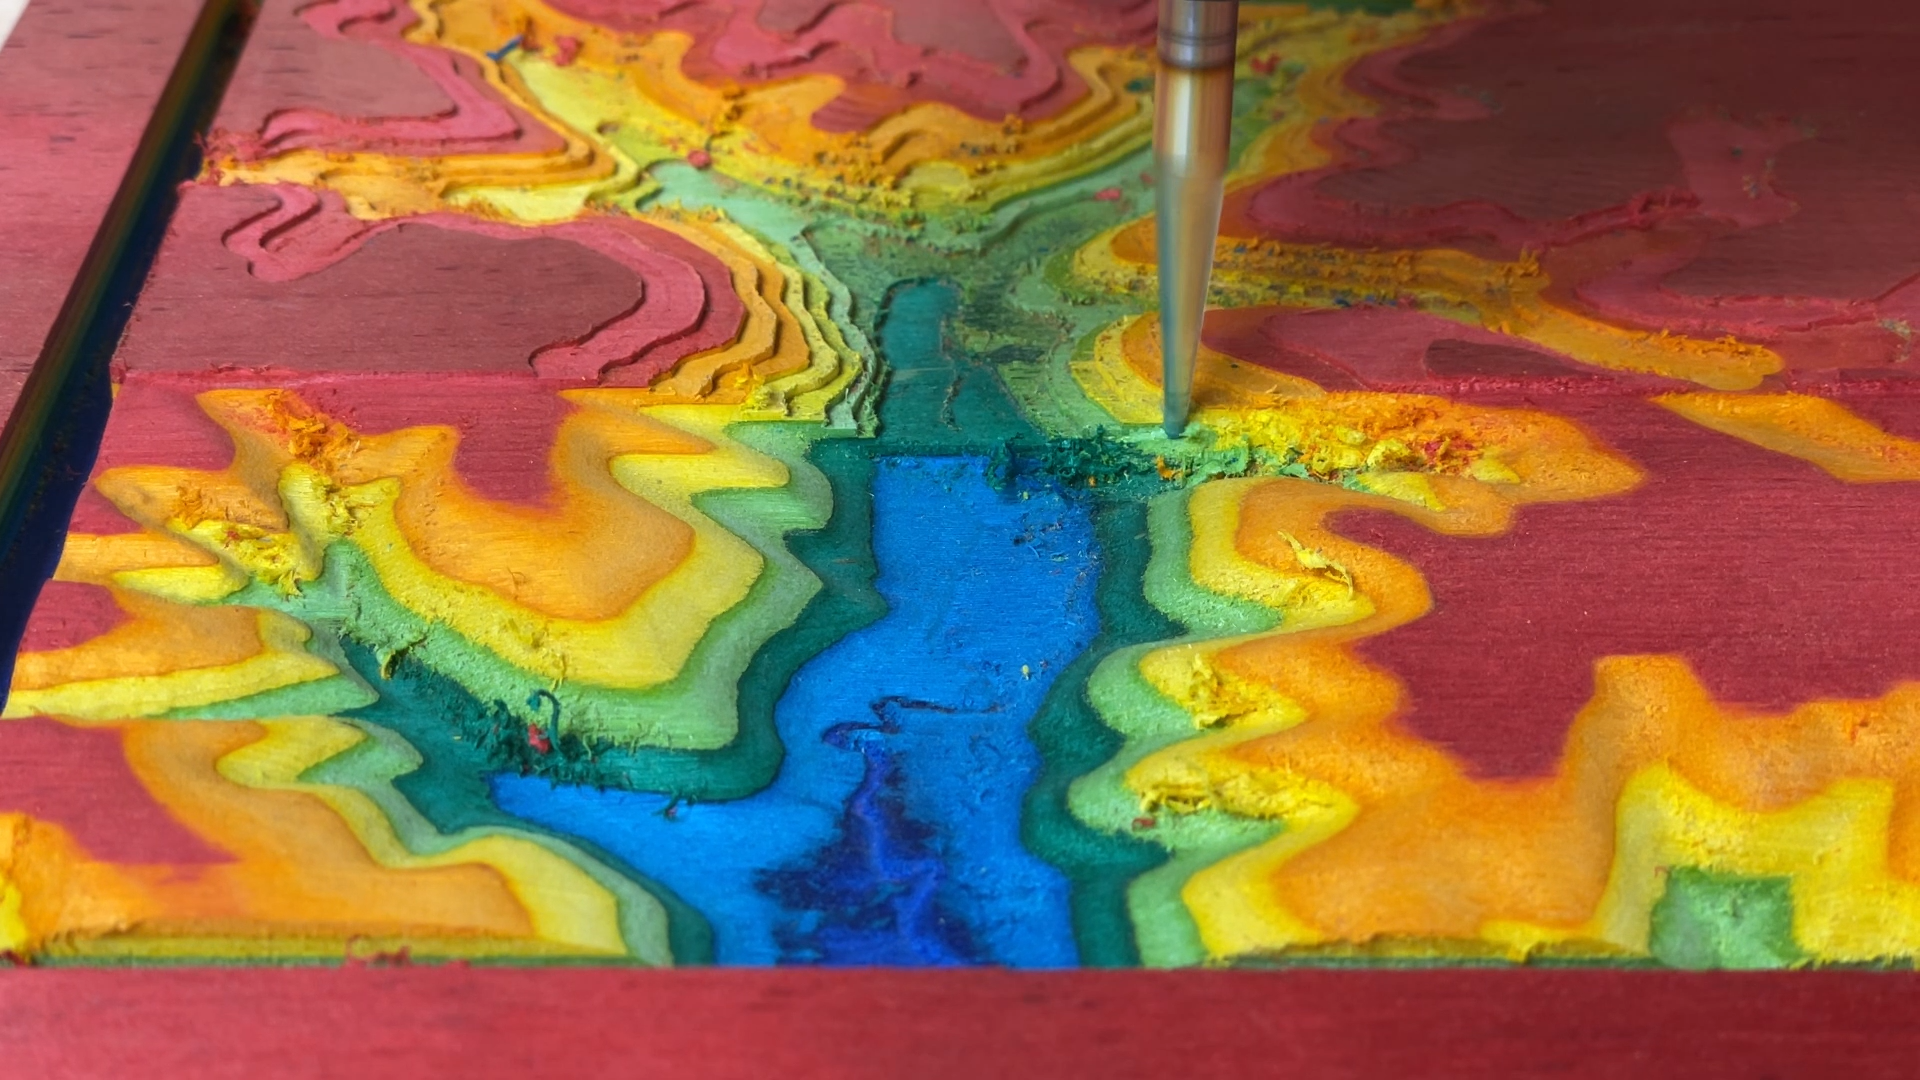
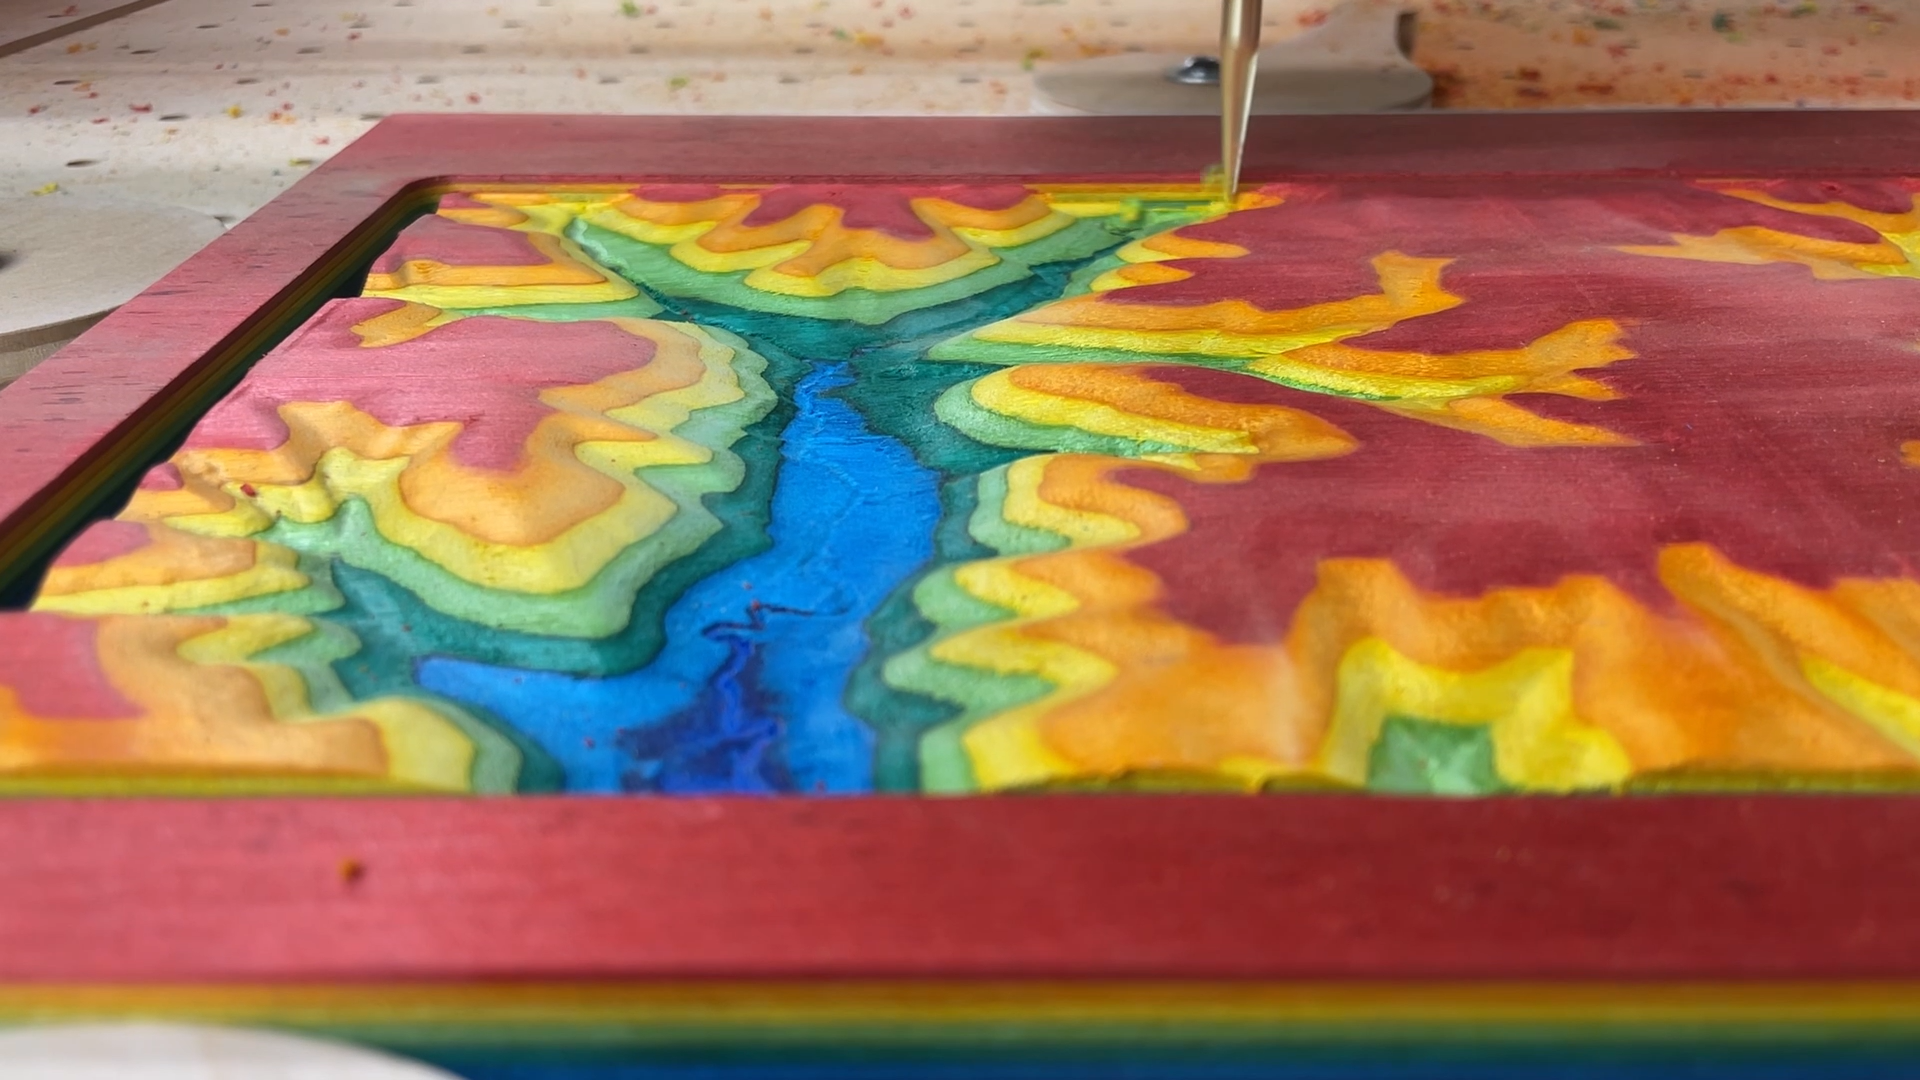
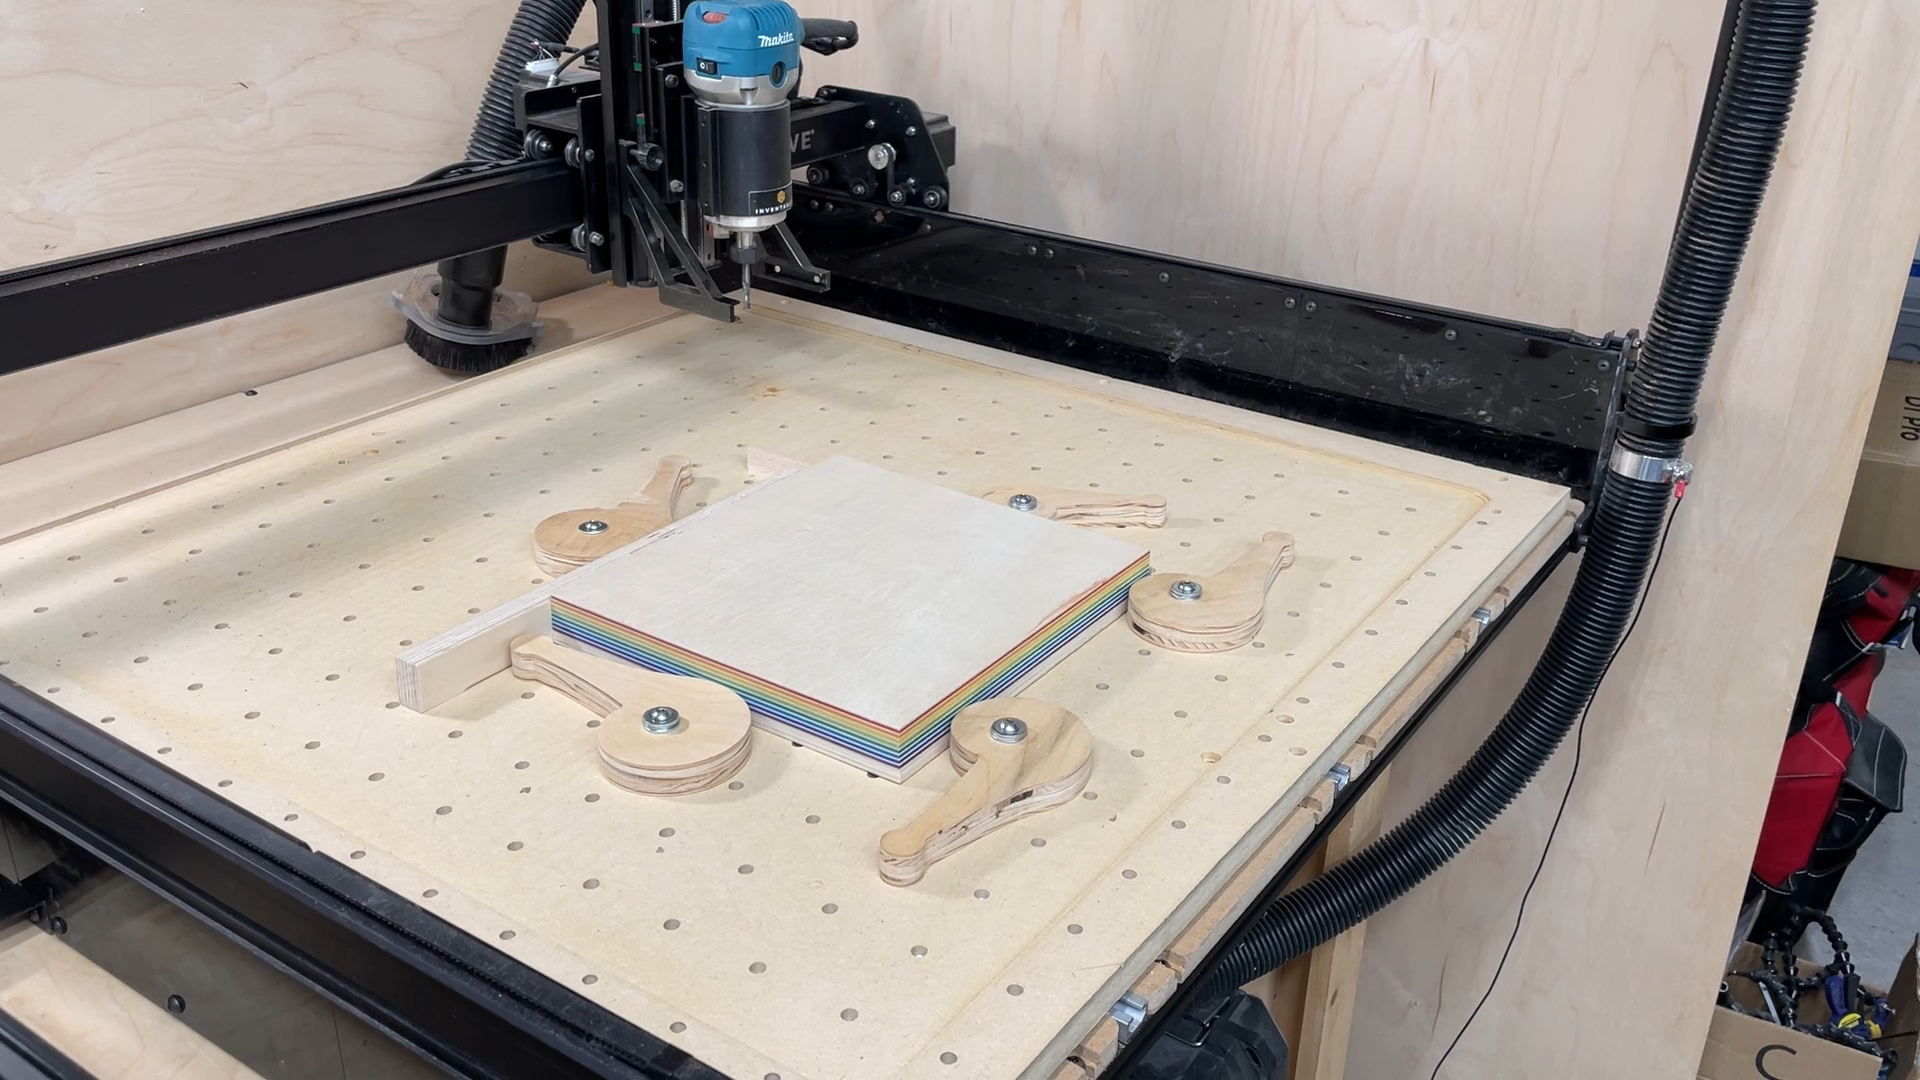
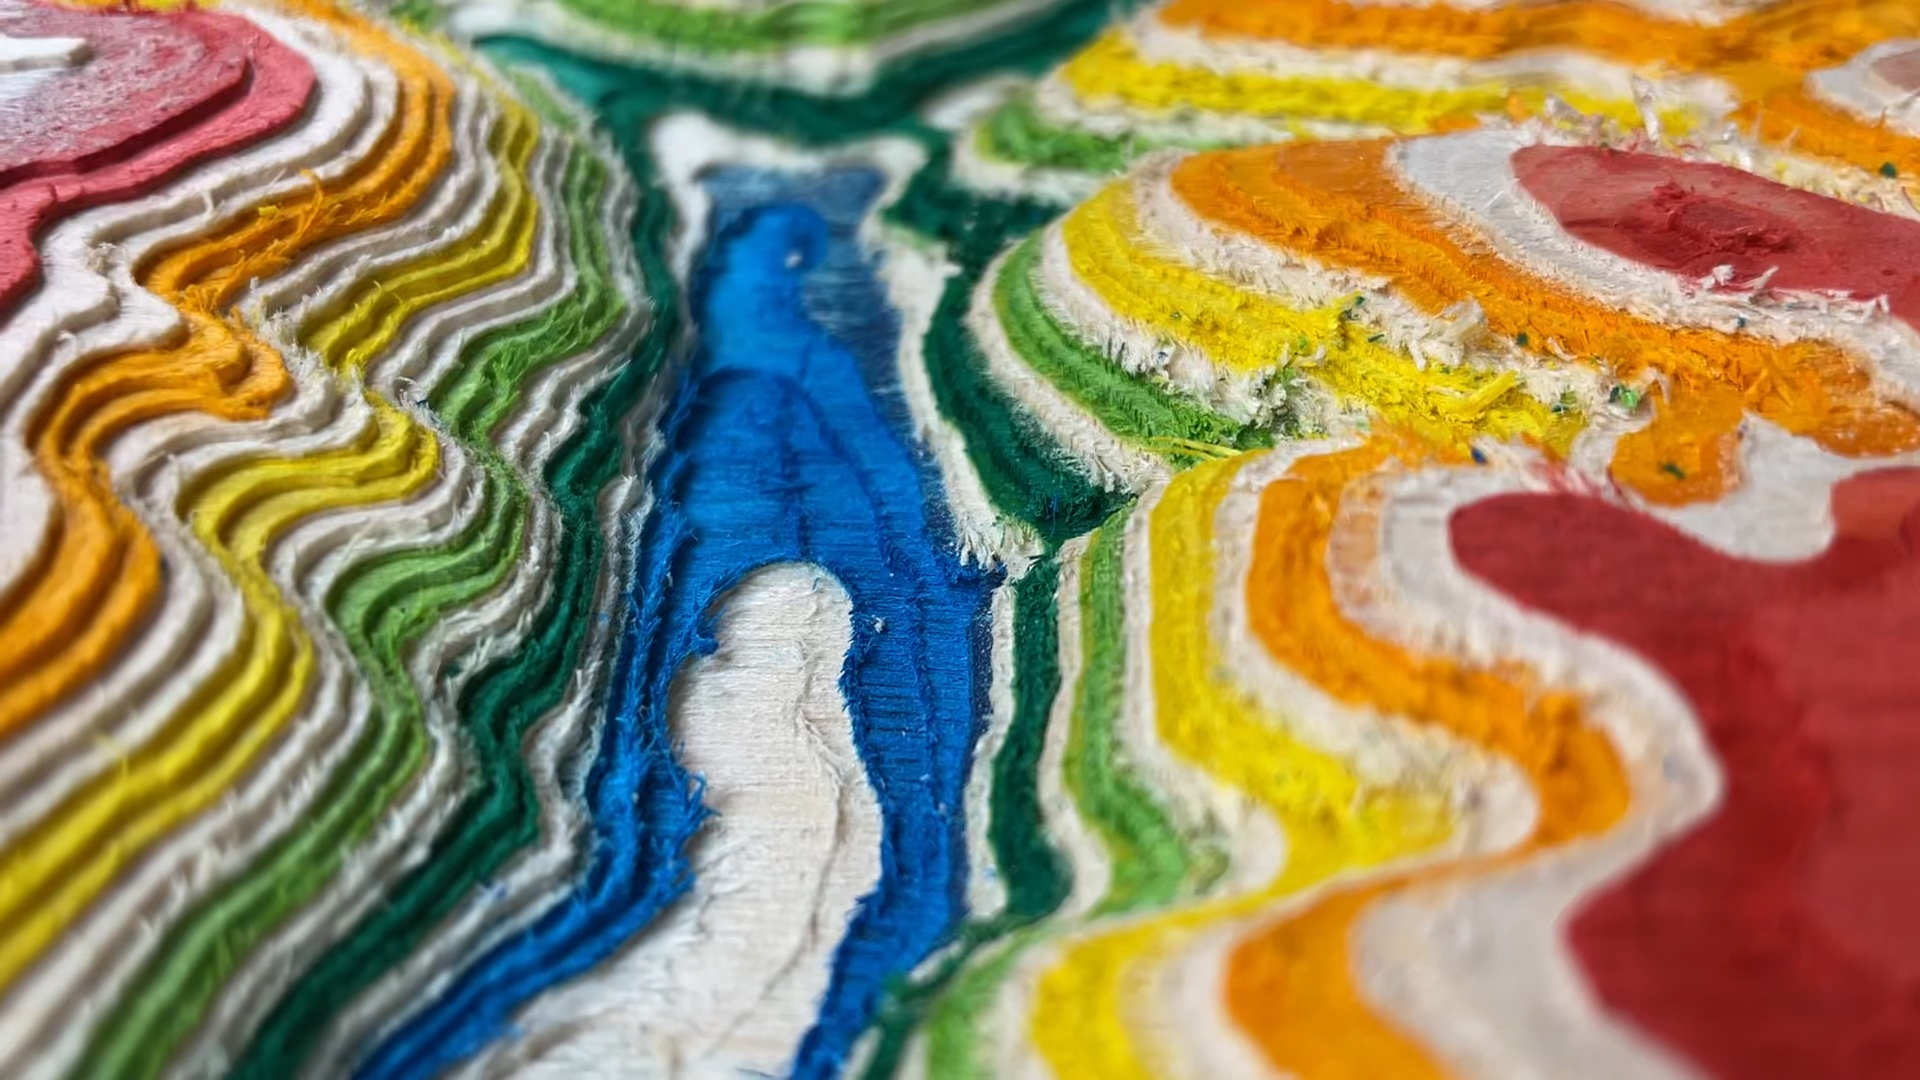
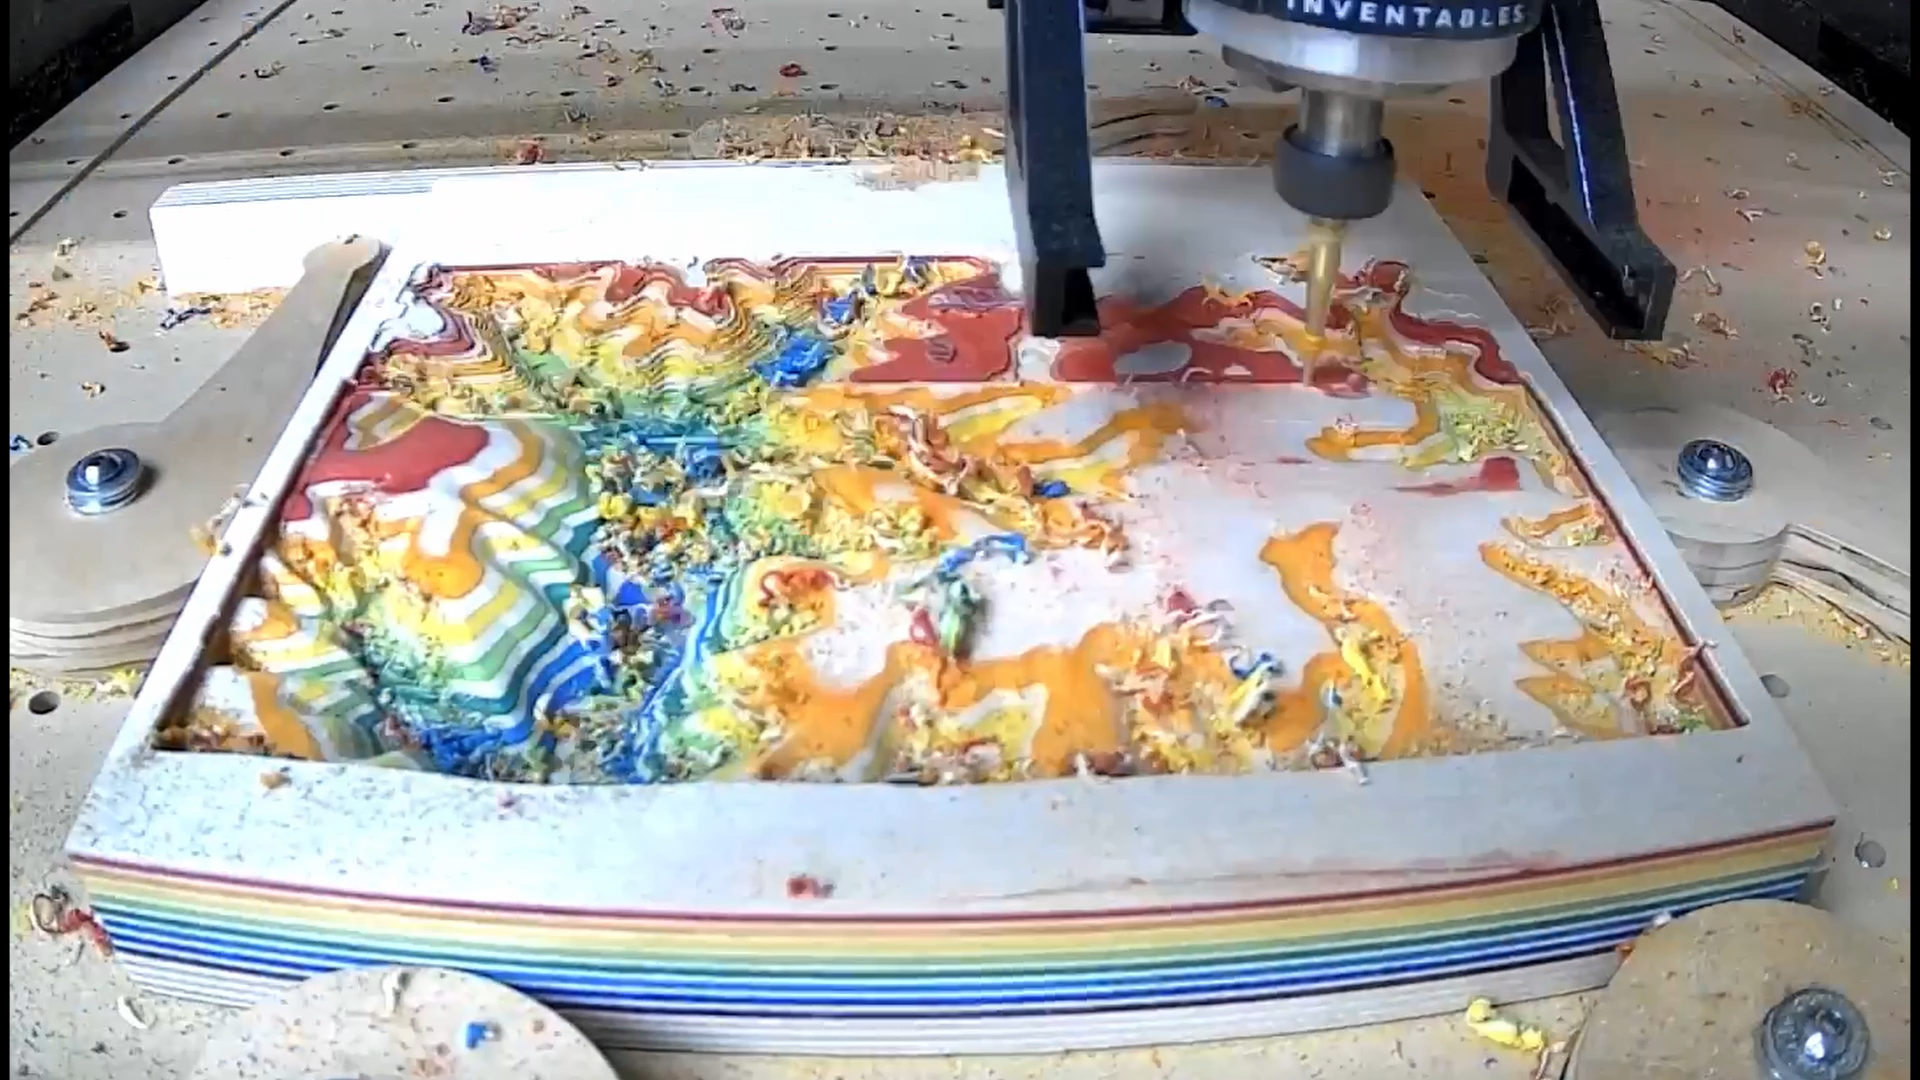
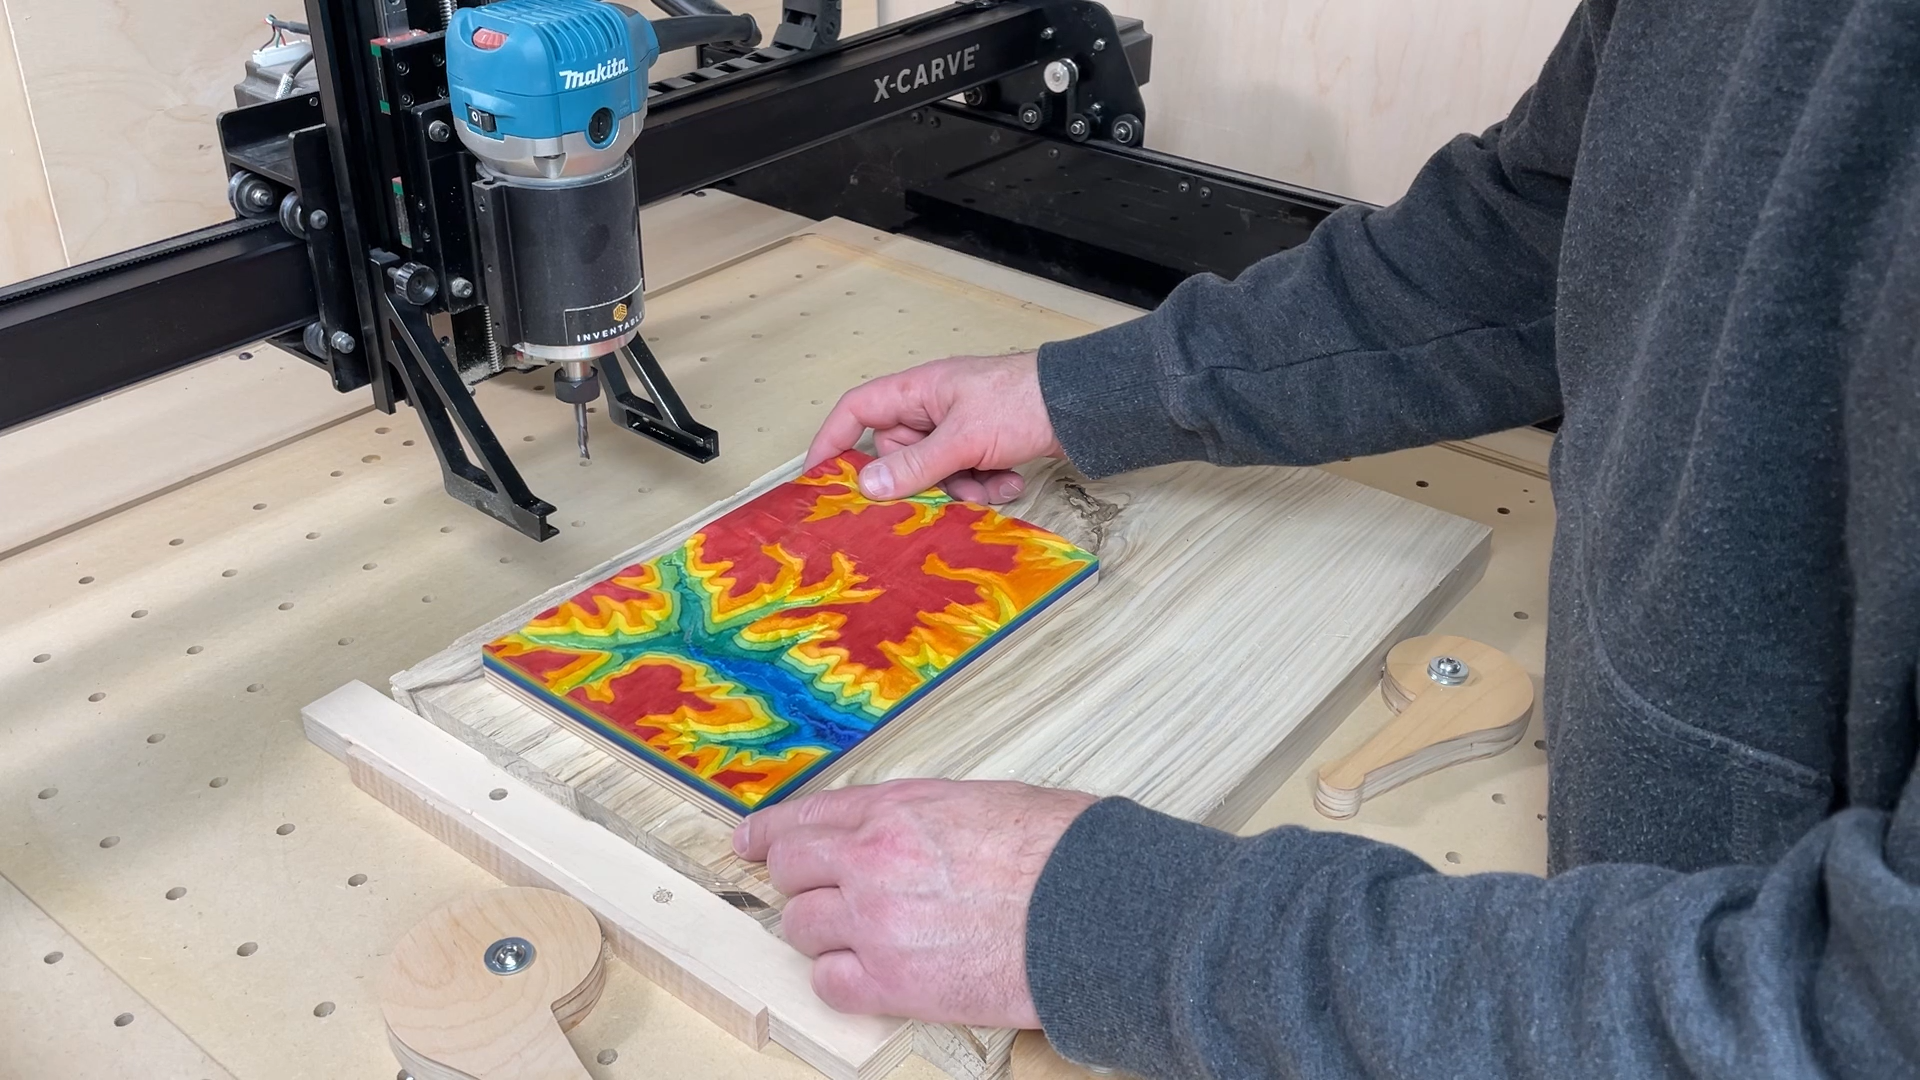
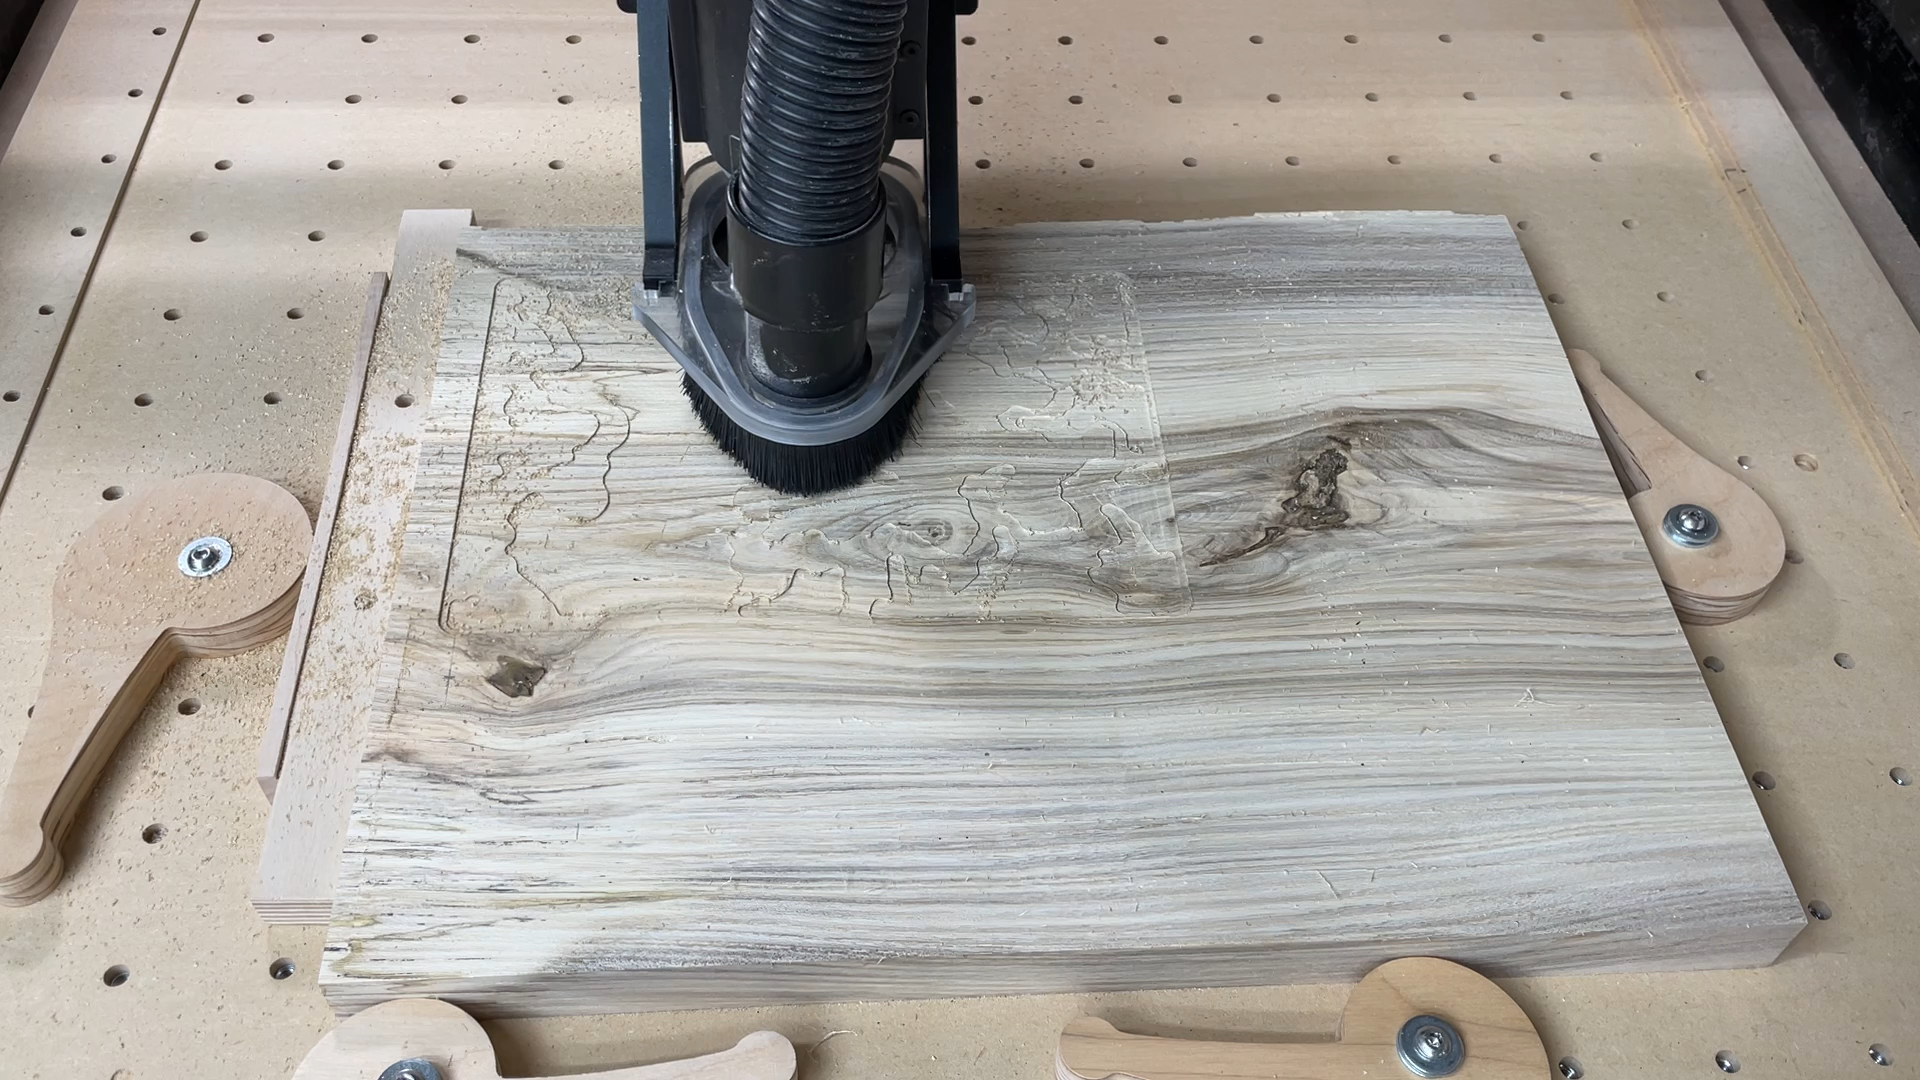
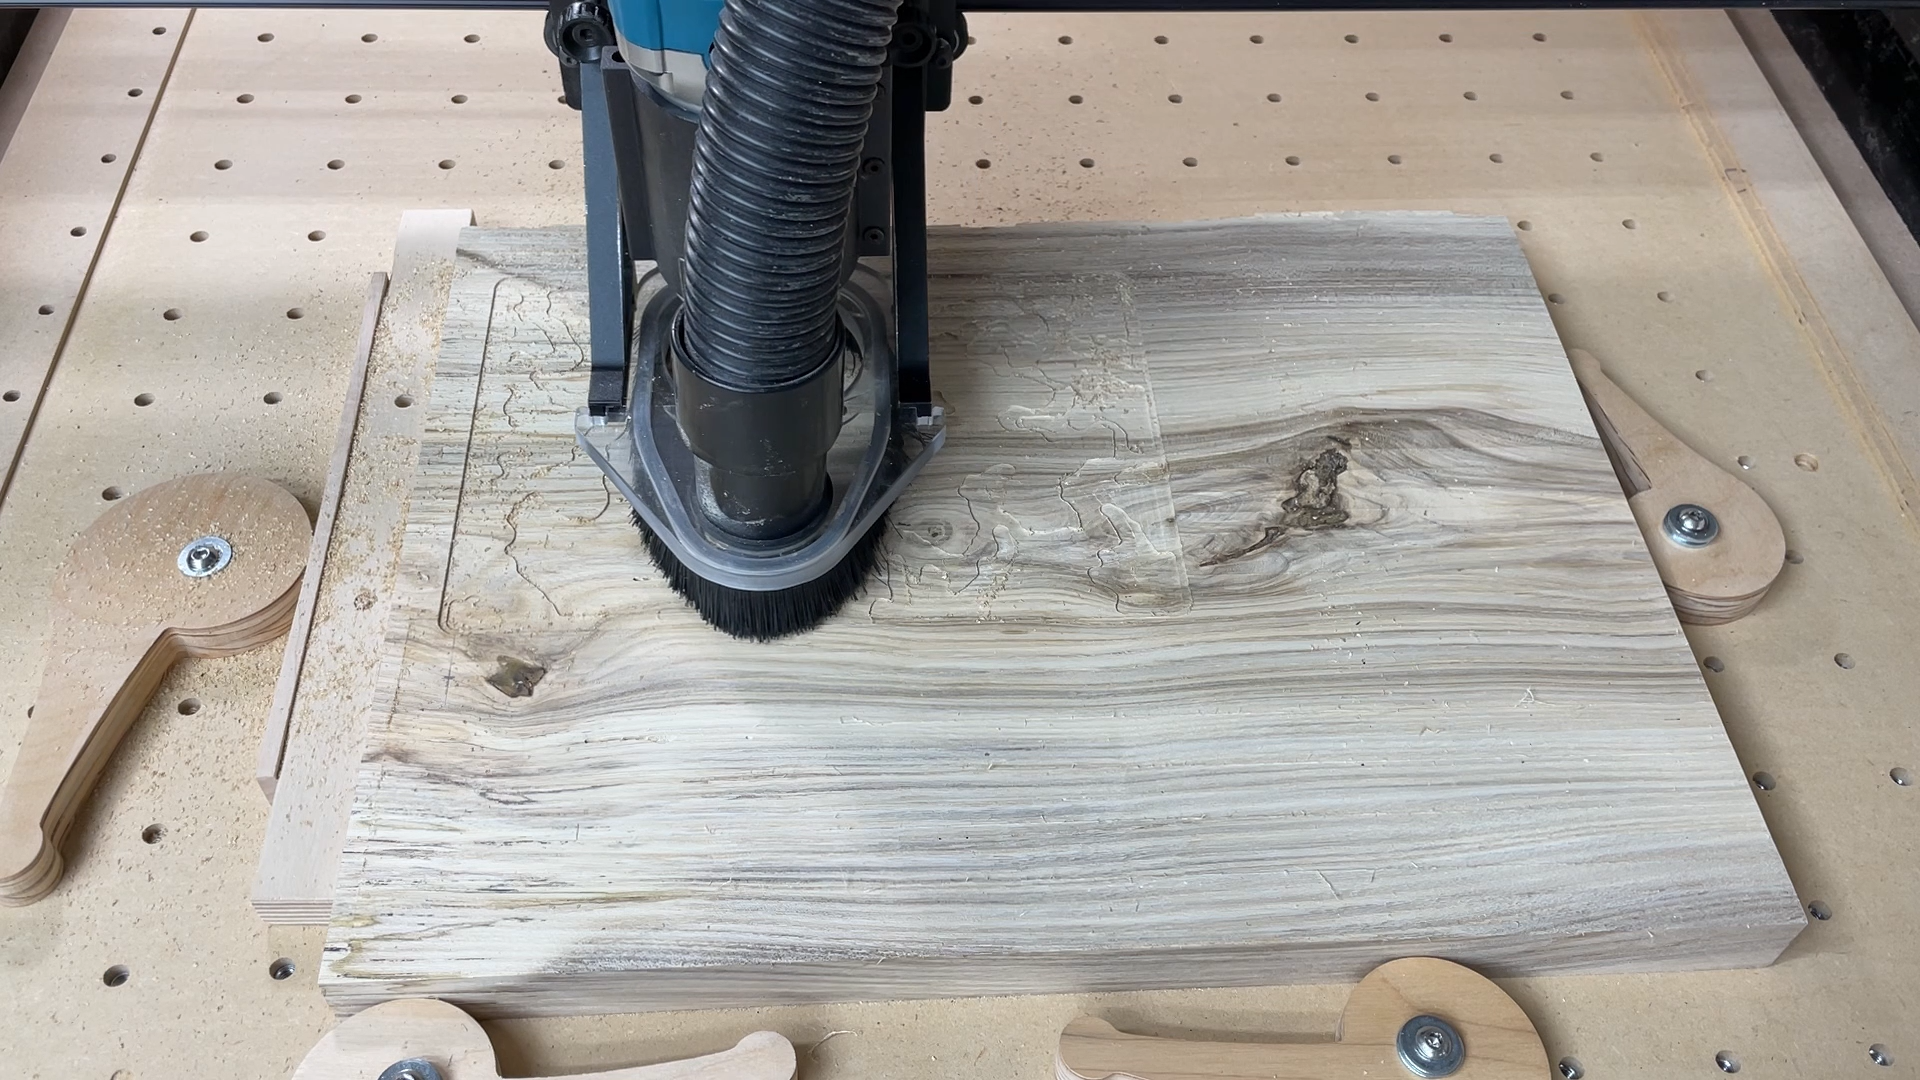
After securing your wood blank to the CNC bed you need to first set up the roughing pass and follow it with the finishing pass. I like to set up a zero point on the material so if there is a problem or the machine loses power I can get the machine back to the zero X, Y and Z position to finish the carve.
Roughing Pass
The roughing pass was done with a 1/4" downcutting bit.
Feed 72 in/min, Plunge 24 in/min, Step Over 40%
Finishing Pass
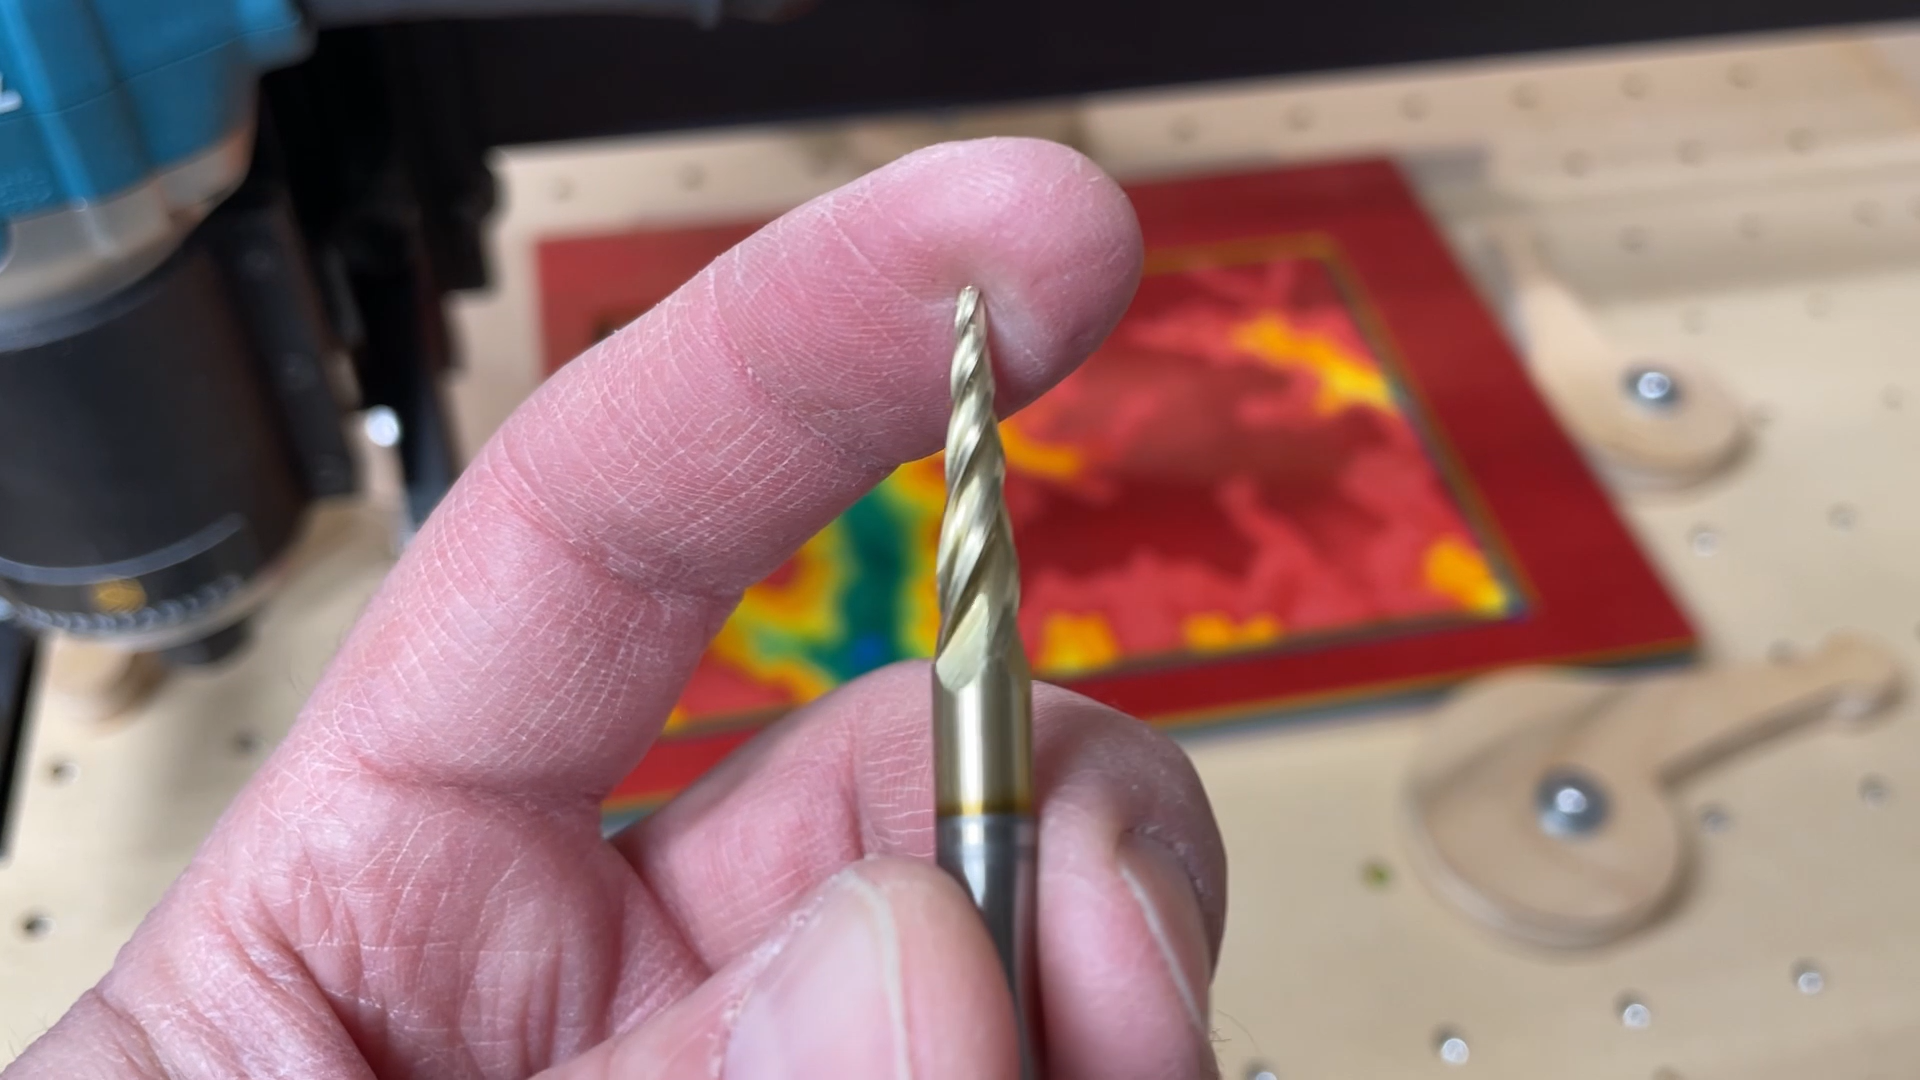
The finishing pass was an Amana Tool HSS1302 5.4 degree tapered ball nose bit with 1/16 tip diameter. I am very happy with how well this bit worked for these carves.
Feed 72 in/min, Plunge 24 in/min, Step Over 12%
The Cut Style I used for the first carving of the skateboard veneers was the Full Depth Cutout without tabs.
I would recommend running the first and last passes of the finishing bit at a slower than recommended speed since it might be carving down into the wood and removing more of the material than the light shallow passes in between.
Step 6: Remove The Excess Wood
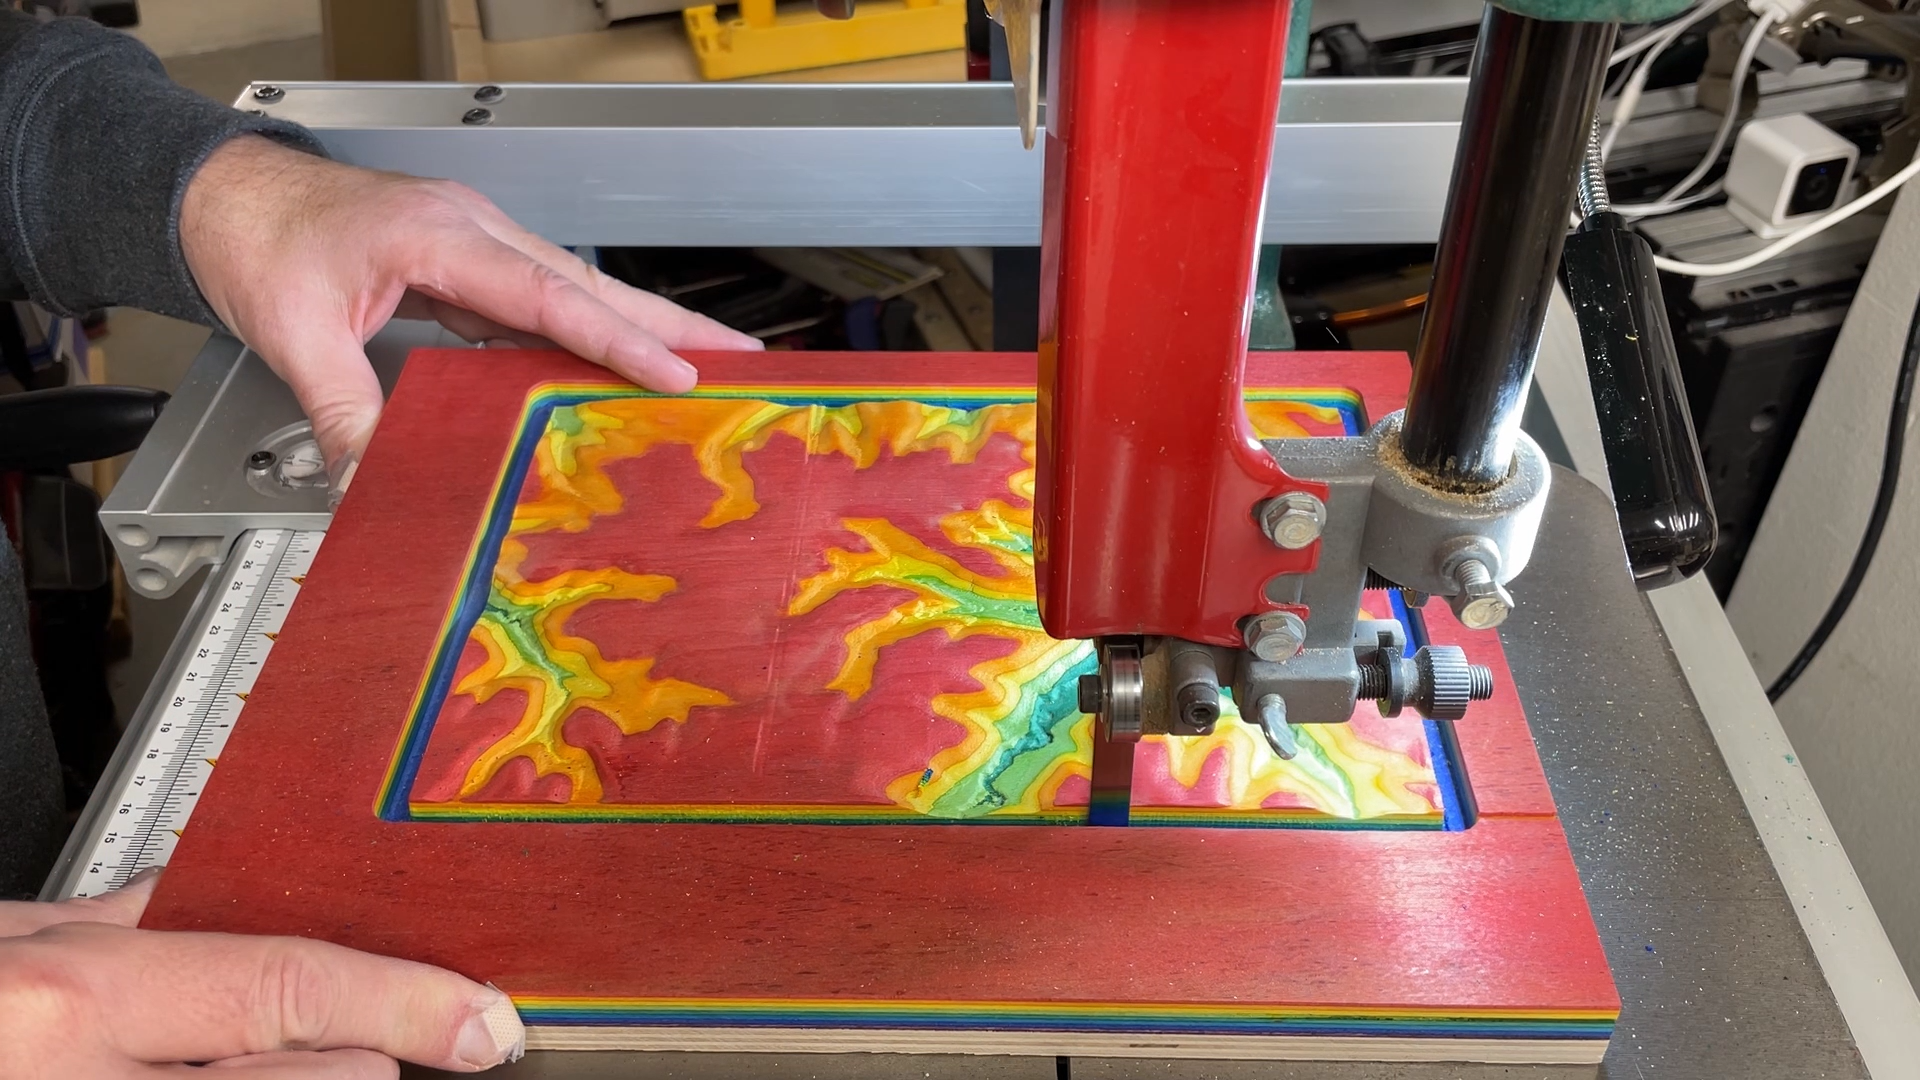
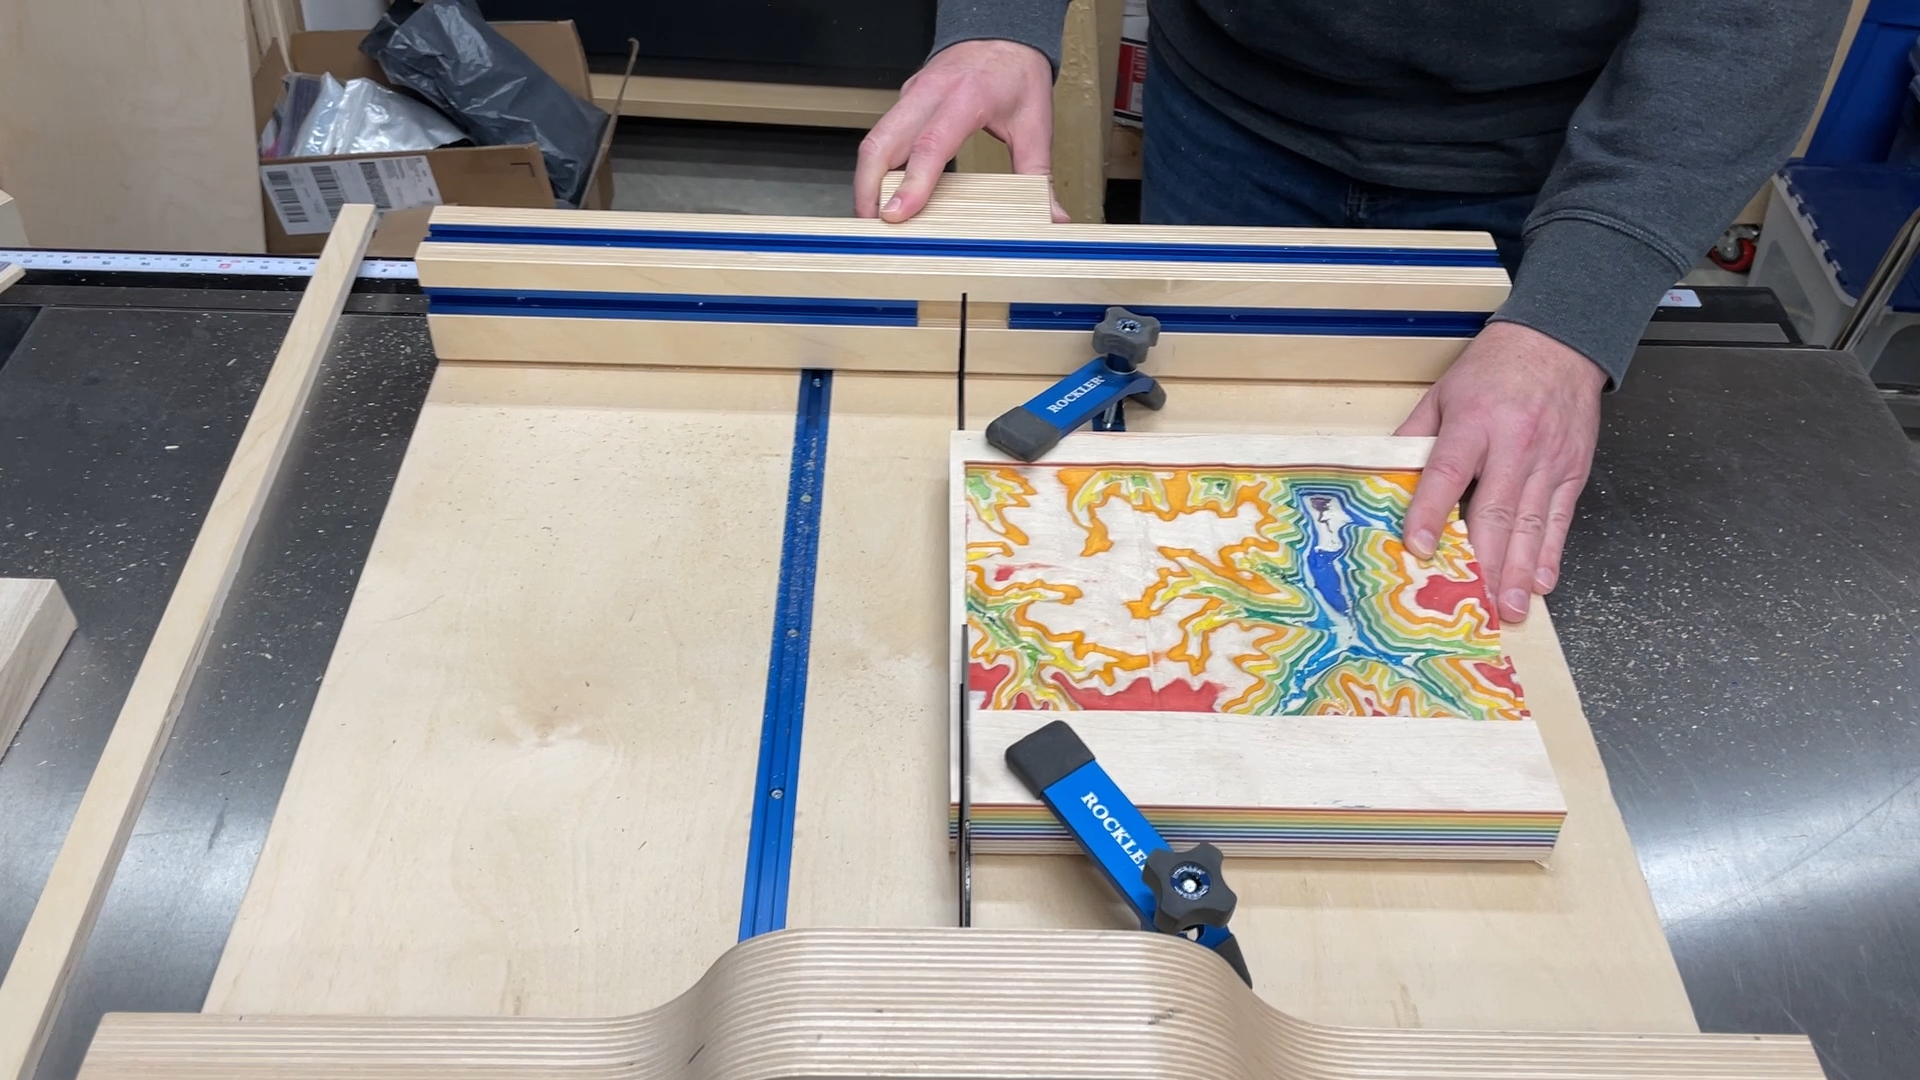
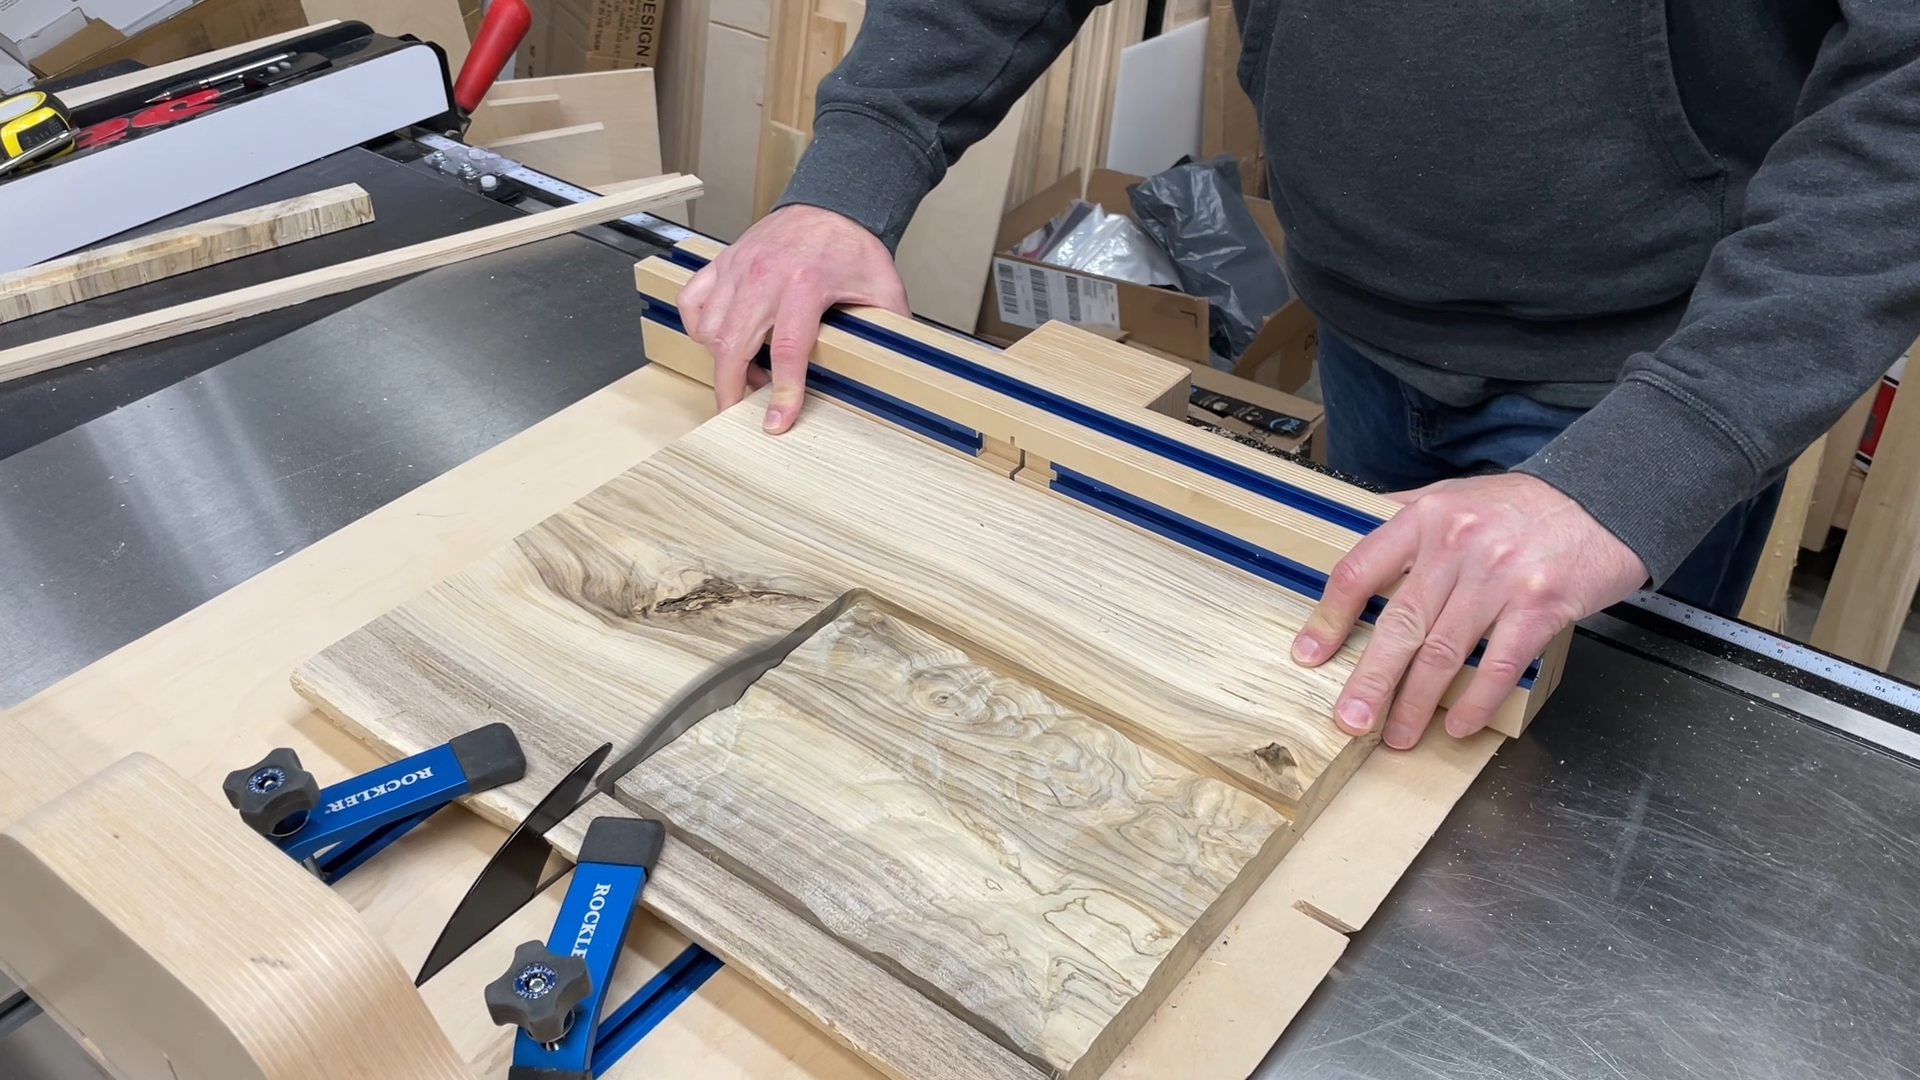
Once you have the maps carved out you can cut off the excess wood. In my case I wanted to have the edges cut clean with a vertical surface. I cut the excess wood off of the first one with the band saw. For the second two carvings I cut the excess wood off on the table saw using a crosscut sled. Make sure you have everything secure as you cut it. You don't want your piece to shift during the cut and possibly ruin the carve you spent so much time on.
Step 7: Sand And Add Finish
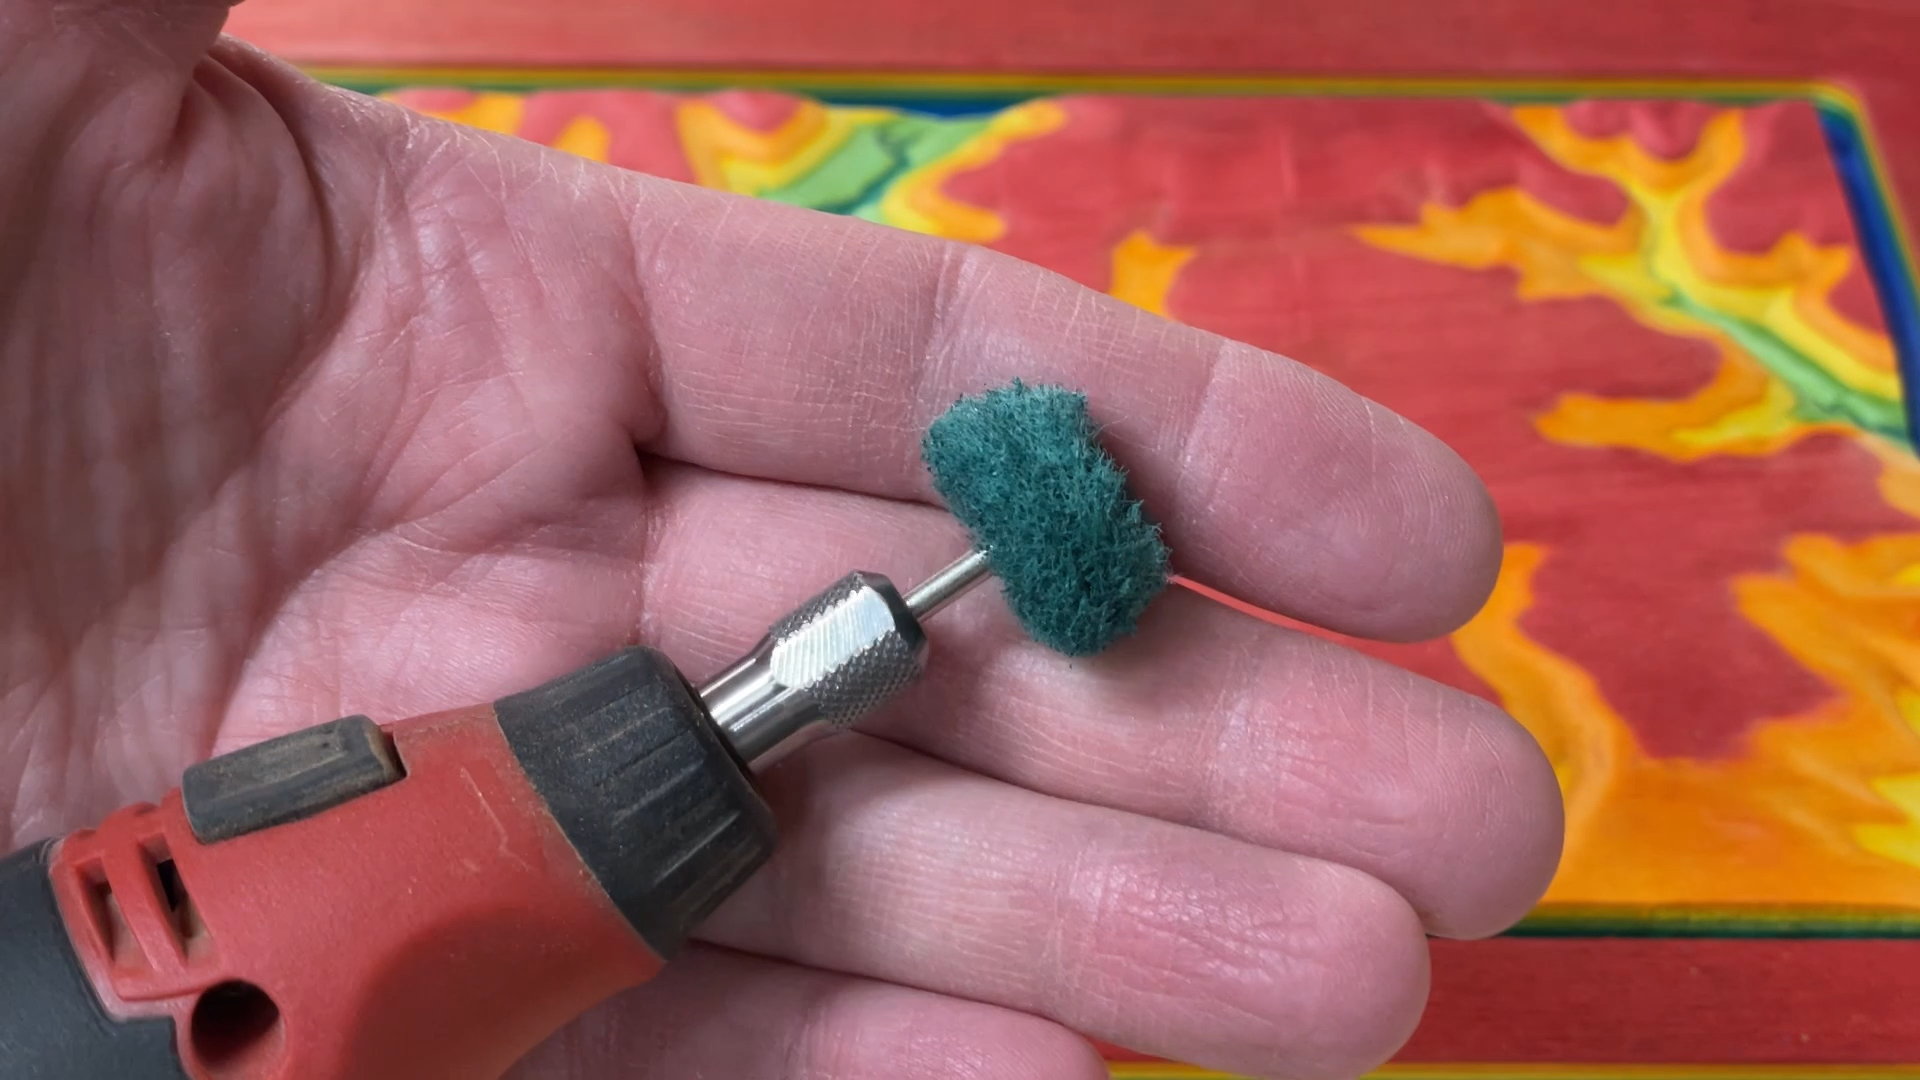
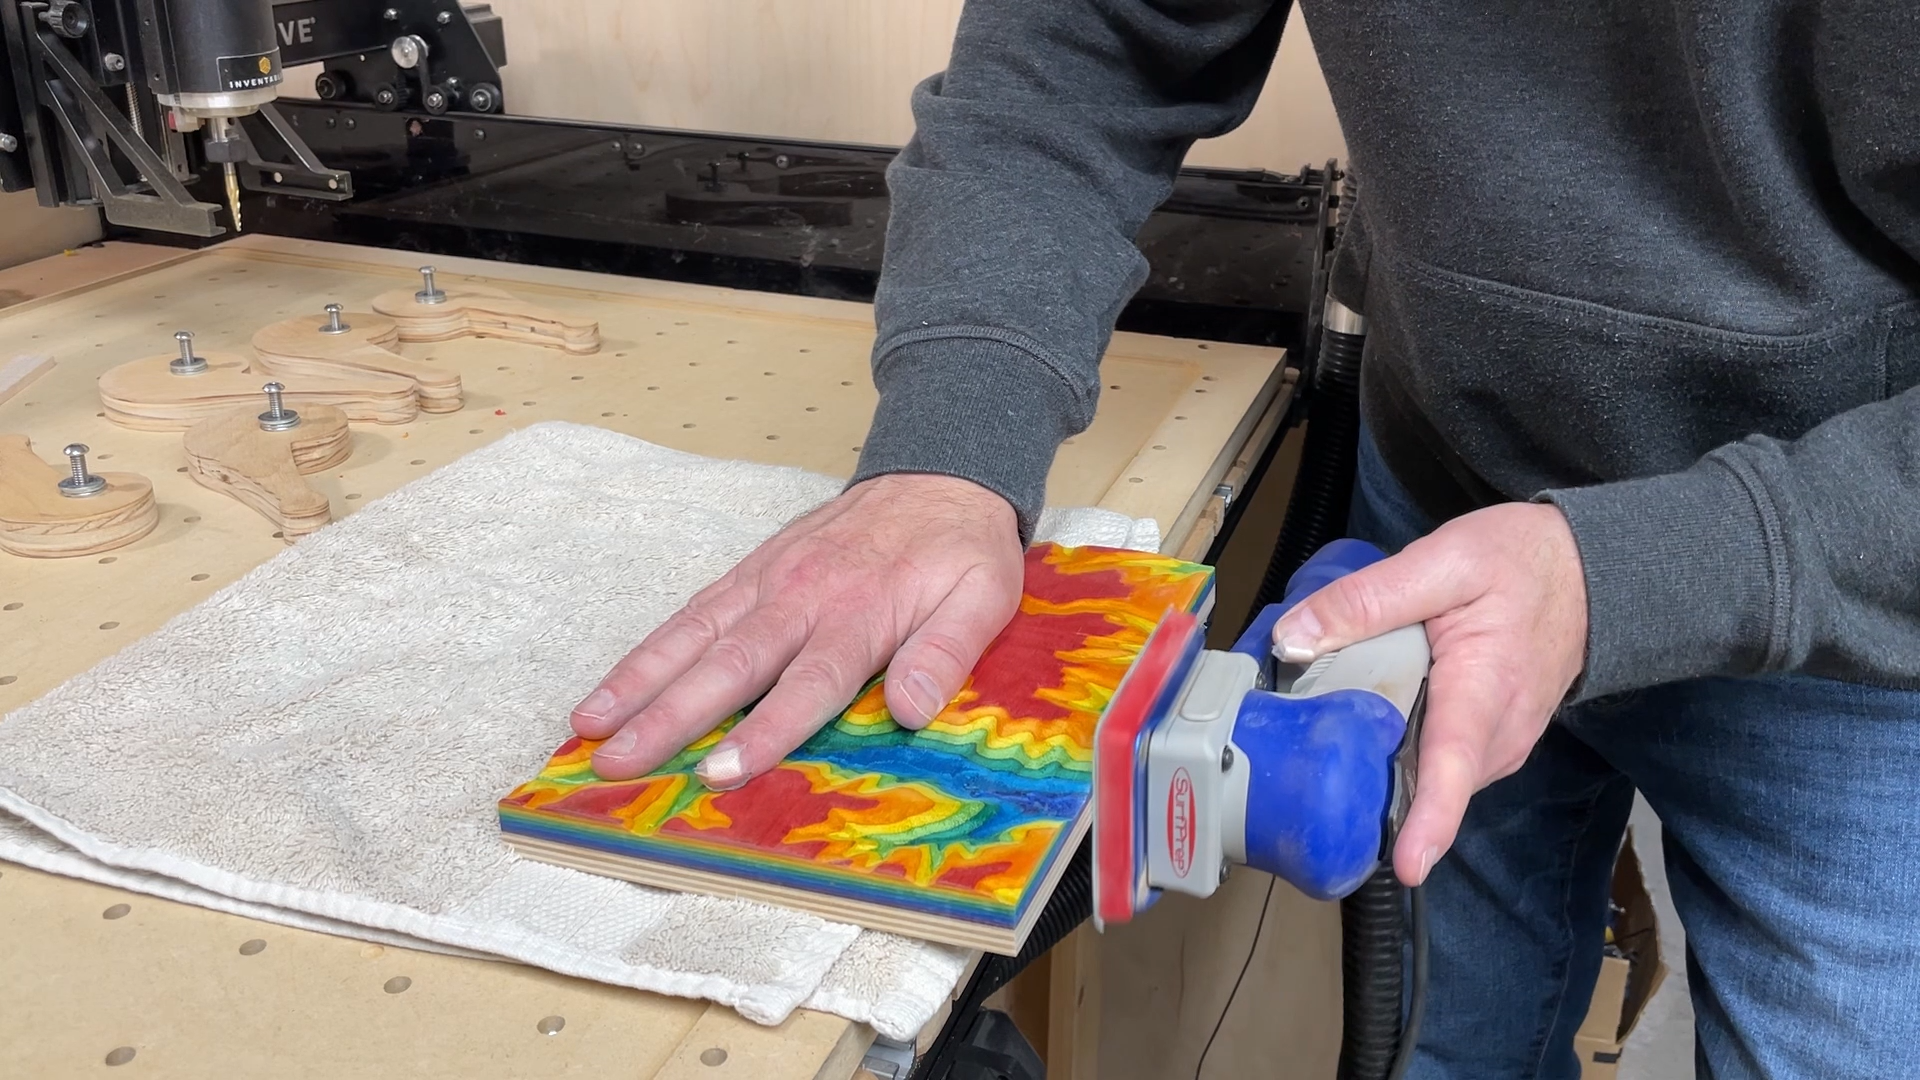
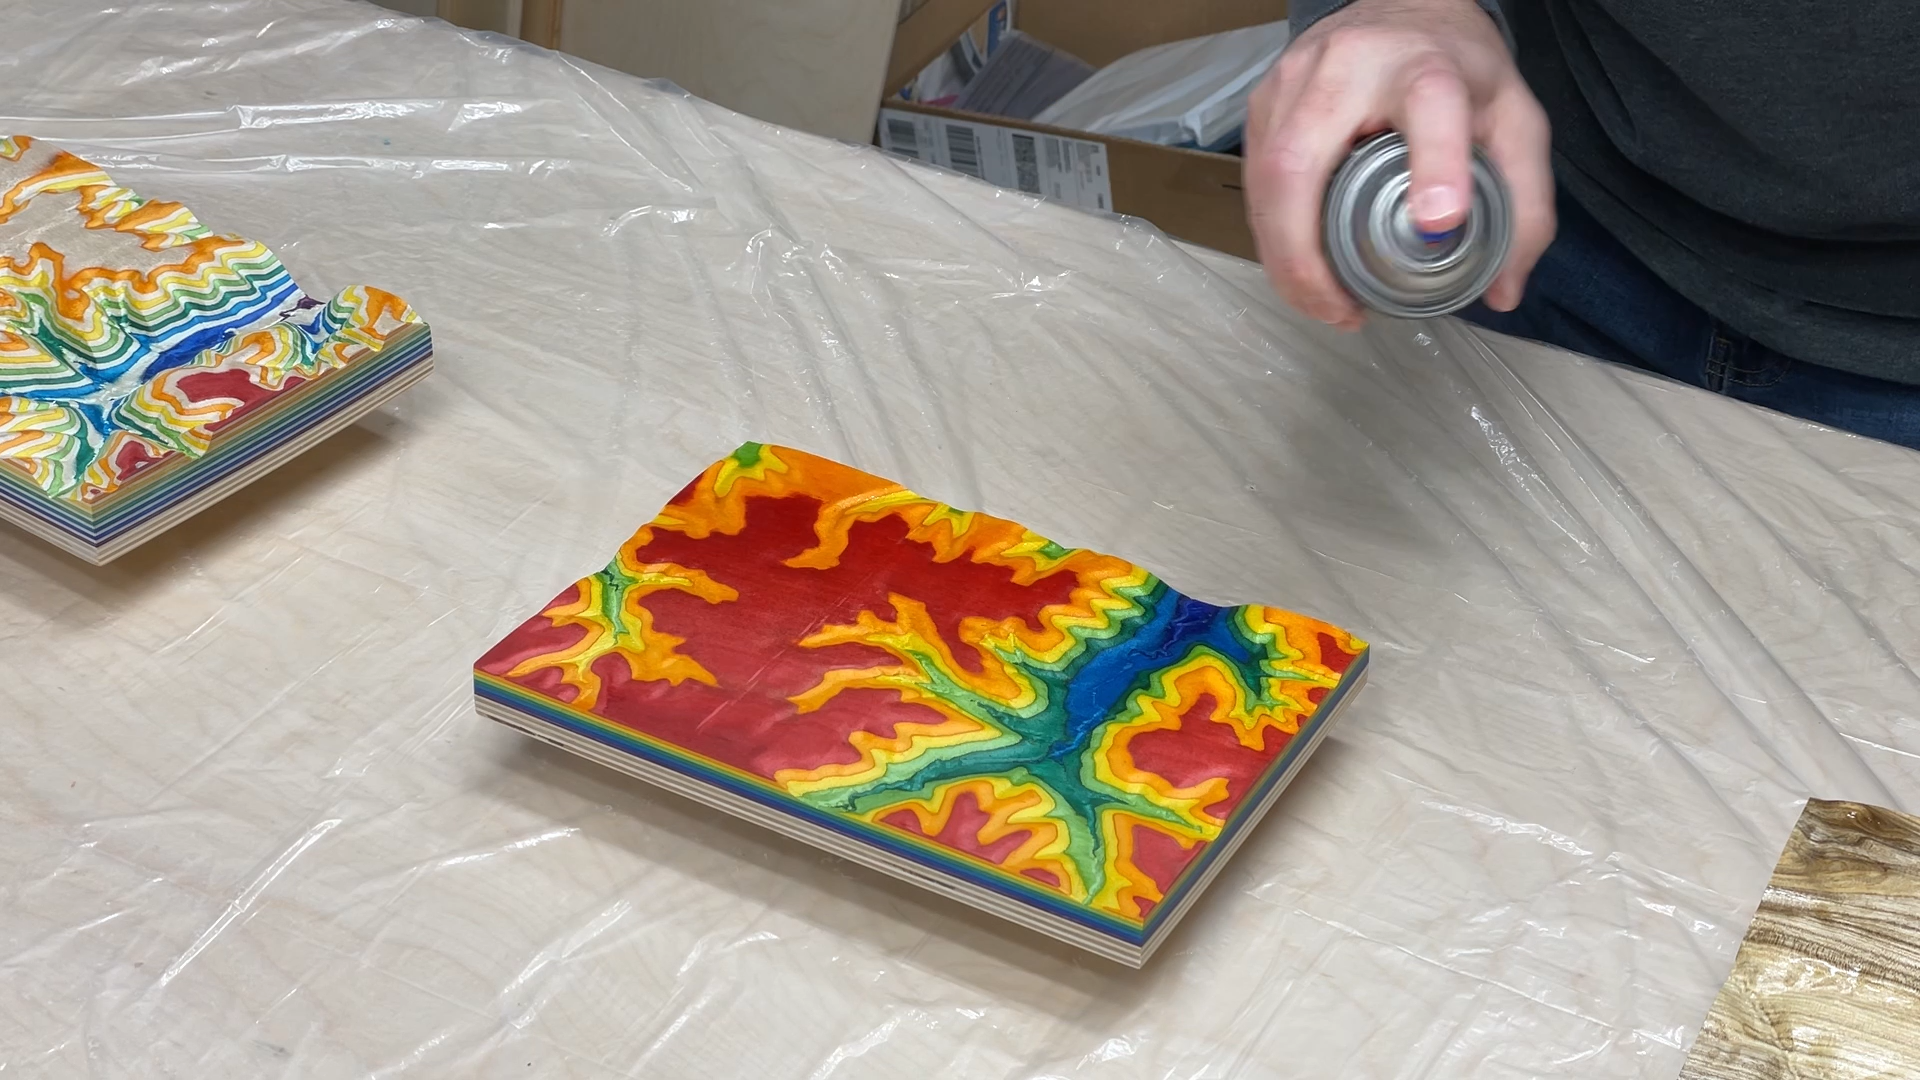
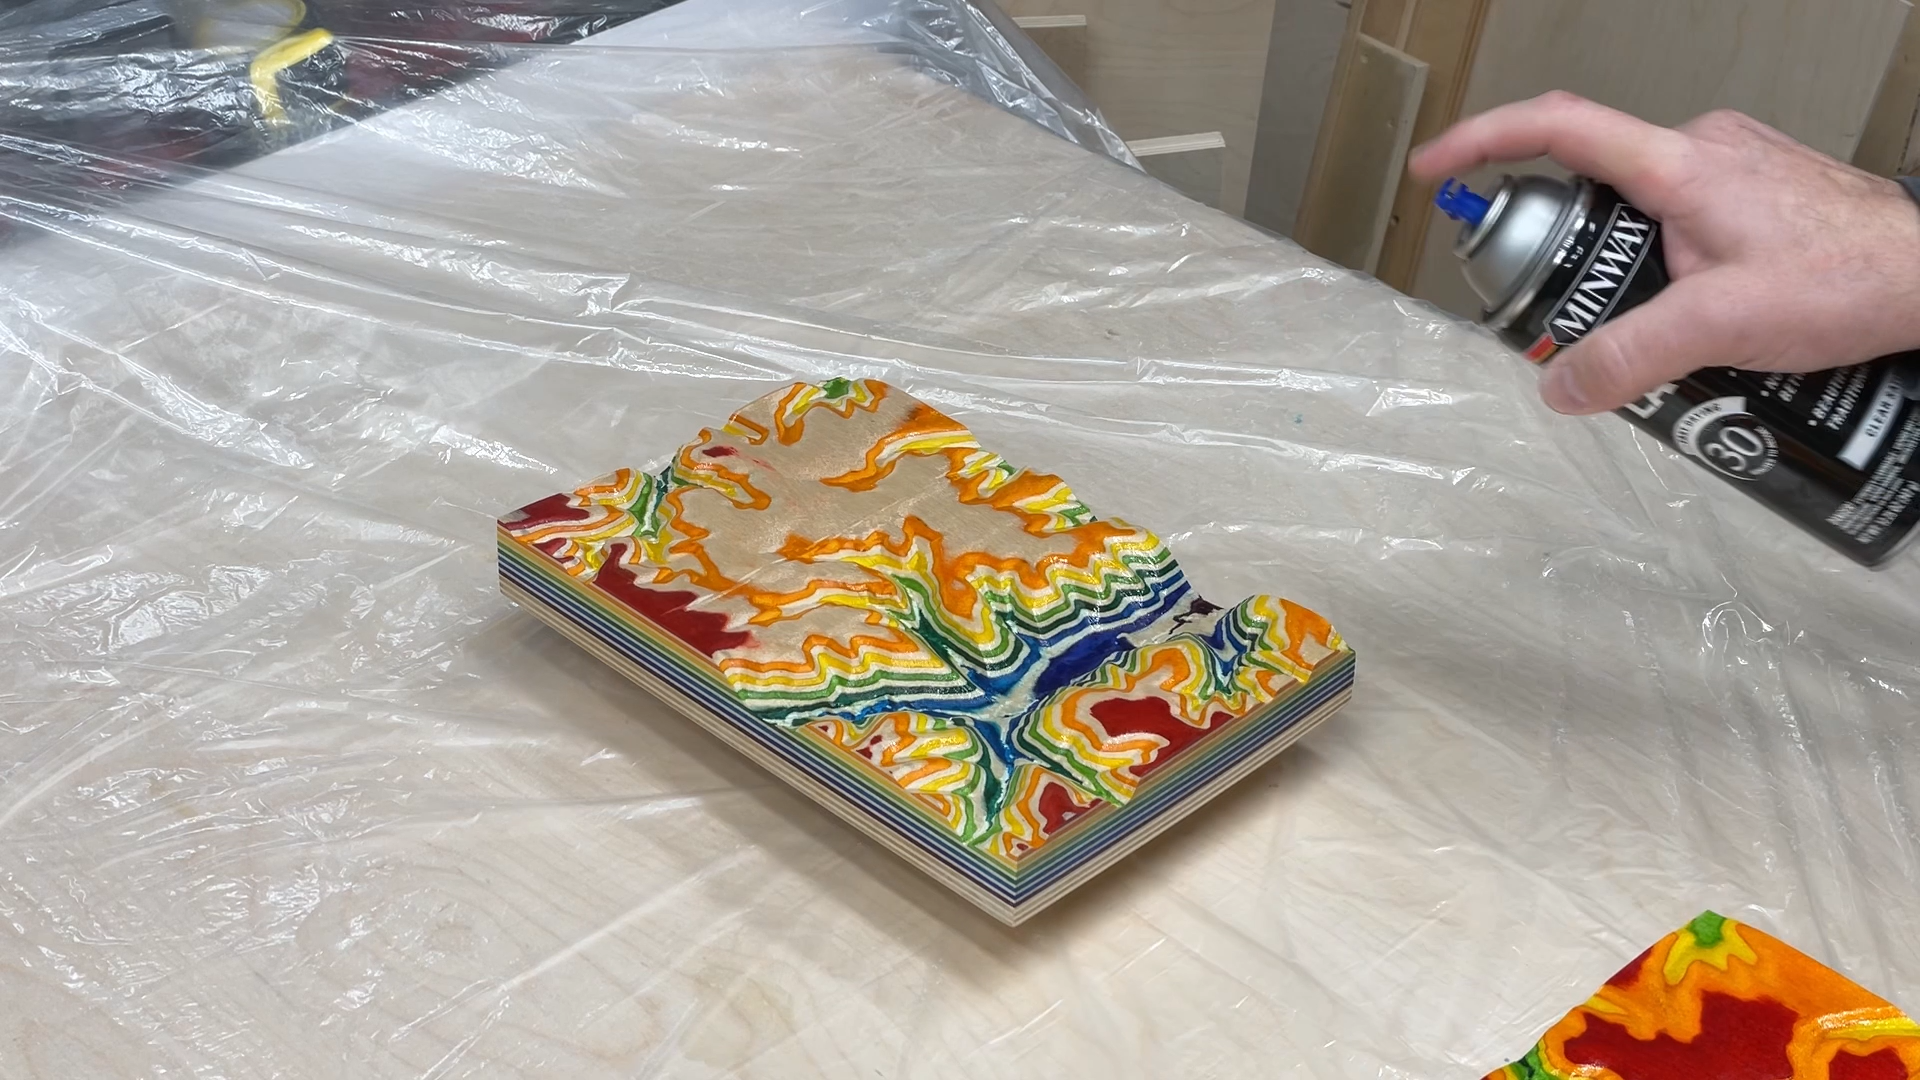
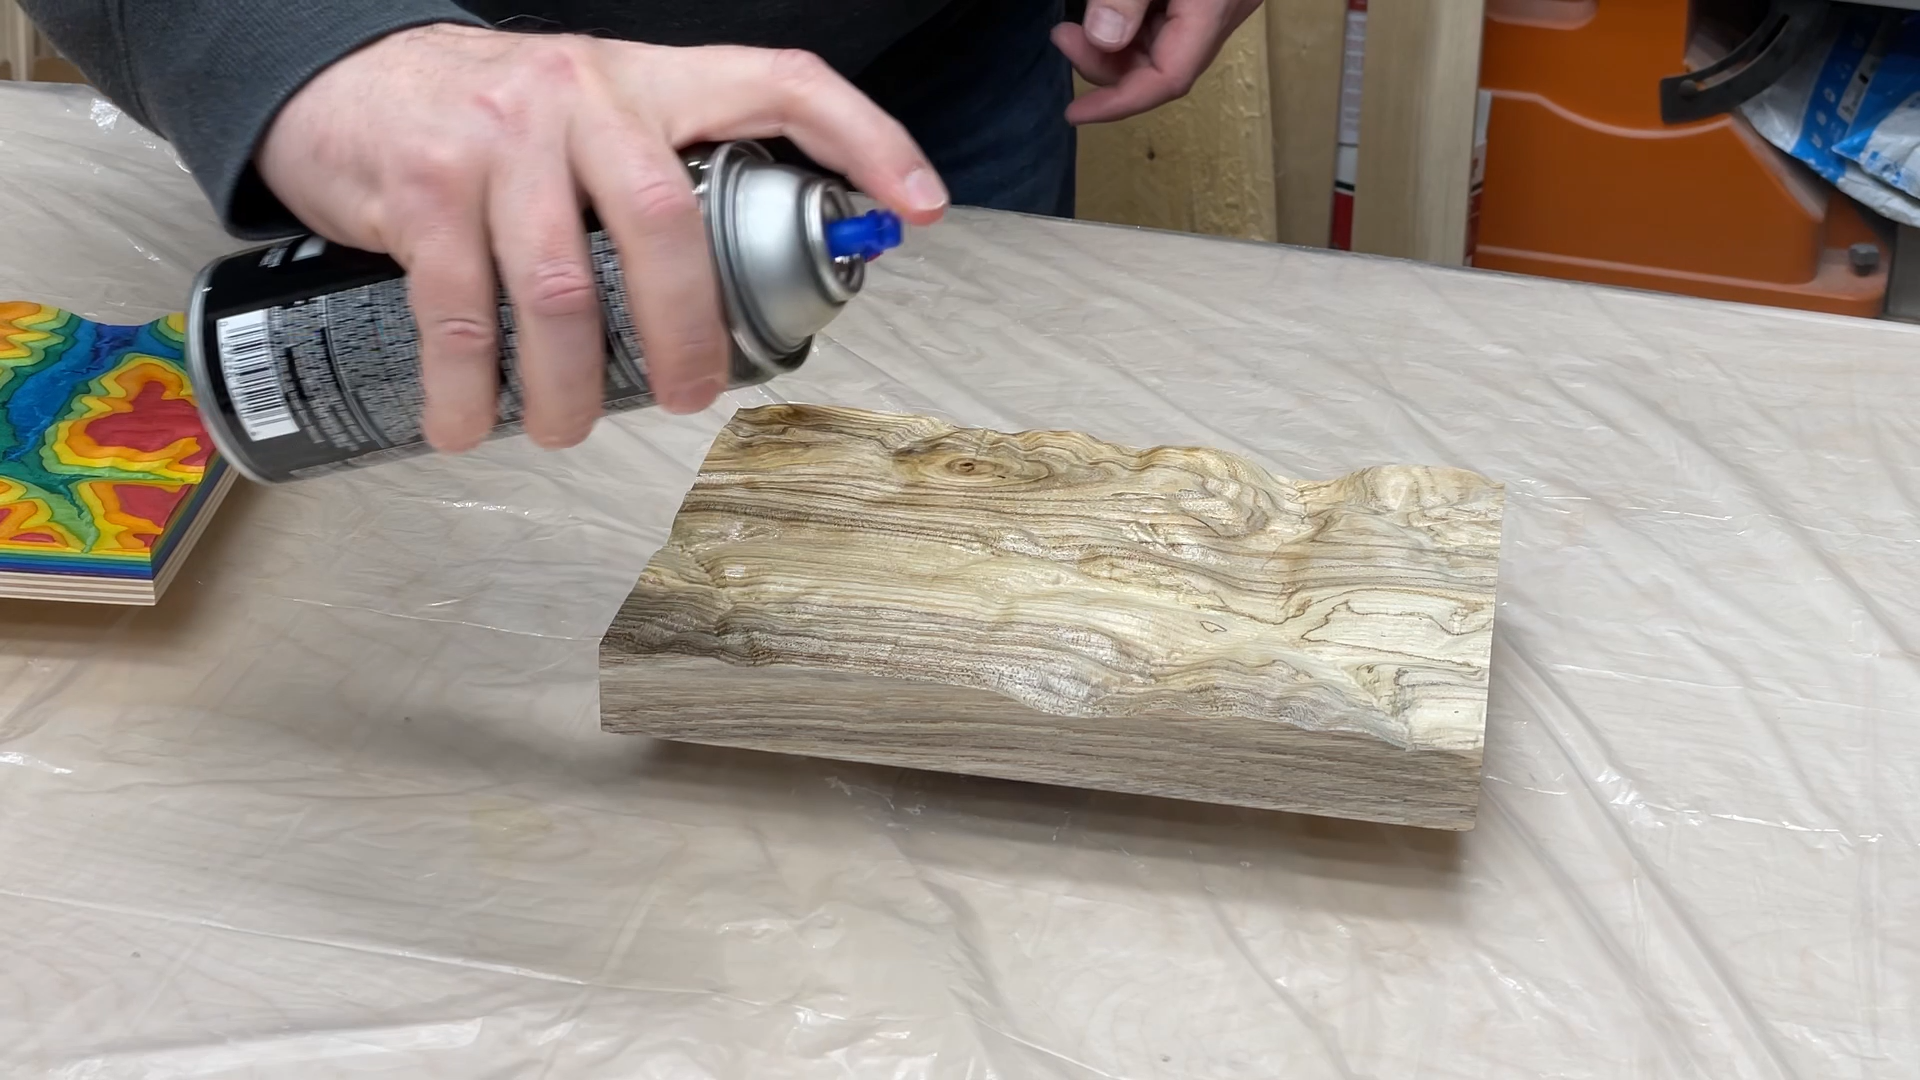
Once the sides were cut down I sanded the edges and bottom side with the a random orbit sander.
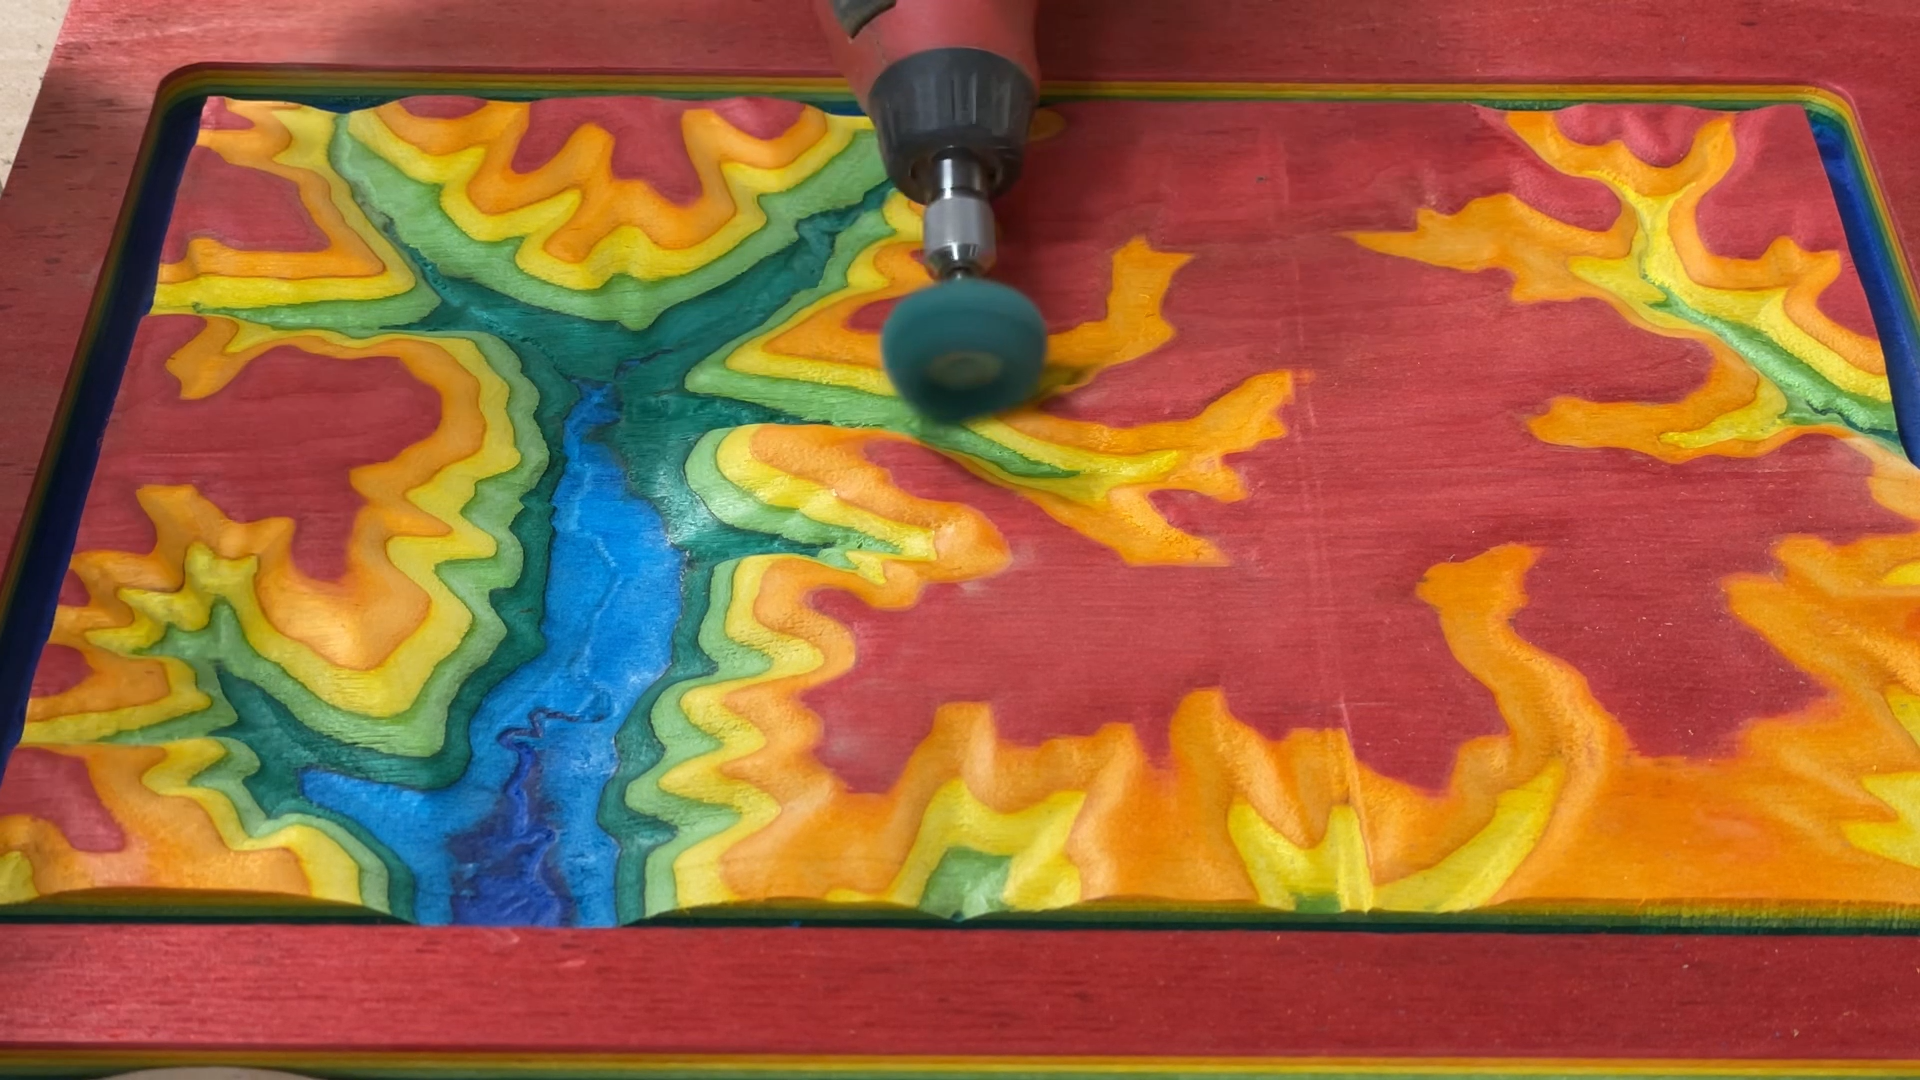
For the top of the carving I used some rotary tool sanding bits that come in different grits. Look for the link in the Materials and Supplies section above. These really make it easy to get down in the recesses.
The finish I used on all three versions of the farm carving was spray lacquer. The dyed skateboard veneers tend to bleed color dye if you don't use a quick drying spray. I would recommend not using a brush on finish on the color dyed veneers for this reason as well.
Step 8: Final Thoughts
Click here to subscribe to my YouTube channel.
I love how these carvings turned out. I have wanted to make something like these for a long time.
It's really amazing to look at the carving and know that I have been standing in specific locations on the farm. That really makes it a personal project. I gave the bright colored and hackberry carvings to my parents for Christmas and I think they really liked them.
I am sure I will be playing with the new 3D carving feature in Easel a lot as these were easy to make. Like most projects, they just take a little time.
If you have any ideas on how to make this better then please let me know as I am always looking for suggestions on how to improve on my projects.
Here is the link to Inventables where you can get an Easel copy of the 3D farm topographic file.
https://site.inventables.com/projects/topographic-surface-and-carving-with-easel
Please let me know if you build one of these as I would love to see it!
